A detailed guide to planting Alocasia: even beginners can grow it easily
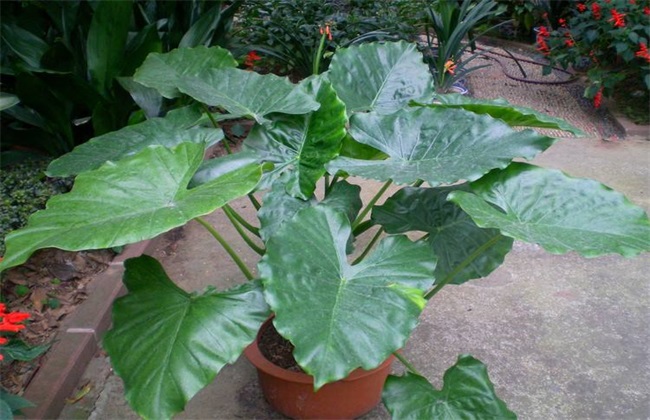
Alocasia is a fairly common plant in southern China, and as a potted plant it is also very popular. Moreover, Alocasia not only has very high ornamental value, but its rhizome can also be used as medicine. It can treat various problems such as abdominal pain and cholera. Therefore, more and more people are growing Alocasia now. So if you want to grow Alocasia, how should you go about it? Below, the editor brings you the planting method for Alocasia. Let's take a look!
1. Choosing the site and applying fertilizer
Alocasia is suited to growing in warm, sunny places. Therefore, before planting Alocasia, we must choose the planting plot well, selecting a place with higher terrain, dryness, normal drainage and irrigation, high fertility, and sufficient sunlight. Then do the land preparation well and apply sufficient base fertilizer. The base fertilizer should be mainly long-acting organic fertilizer, primarily decomposed farmyard manure plus an appropriate amount of cake fertilizer, compound fertilizer, etc. The base fertilizer should be spread evenly over the soil and fully mixed with the soil to improve soil fertility. Then make beds, keeping the bed width at about 1 m, and then dig furrows about 35 cm deep, ready for planting.
2. Timely planting
The time for transplanting Alocasia seedlings is generally around May. Regardless of the planting method, transplanting can be done when the seedlings have grown about 3 true leaves. Before transplanting and planting, we should grade the seedlings according to their size. Plant seedlings of similar size together in a concentrated area, with a plant spacing of about 60 cm and a row spacing of about 70 cm. The number of plants per mu should not be too many, and planting should be done around 4 p.m., when there is no dew and the temperature is not too high. After planting, be sure to water once with rooting water, and after about three days, apply a topdressing of dilute manure water once.
3. Cultivation and weeding
About 5 days after the rooting water has been applied, begin cultivation and weeding, with a cultivation depth of about 8-9 cm. After half a month, carry out the second cultivation; this time cultivation should mainly be shallow, keeping the depth at about 4 cm. Then carry out cultivation about twice a month until the plants close their rows and stop. When the plants overwinter, pay attention to earthing up and setting up a plastic shed to provide Alocasia with a warm growing environment. Avoid Alocasia suffering low-temperature freeze damage during overwintering, which would affect growth and reduce planting benefits.
4. Field management
After the seedlings are planted and have recovered from transplanting, water them appropriately with manure water once a week to increase the amount of nitrogen fertilizer applied. After entering summer, pay attention to doing the watering work well, and frequently sprinkle water on the leaf surface, which should be done in the morning or afternoon. Then every month, pay attention to removing the old leaves and yellow leaves of Alocasia to improve air permeability and avoid excessively fast water evaporation. Finally, do the shading work well, because Alocasia has relatively poor tolerance to strong light; if exposed to direct sunlight, its leaves are very easily scorched.
The above is a brief introduction to the planting method for Alocasia. That is all for today's introduction. This article is for reference only, and I hope it can help everyone!