A detailed guide to Clivia leaf-cutting propagation, teaching you step by step
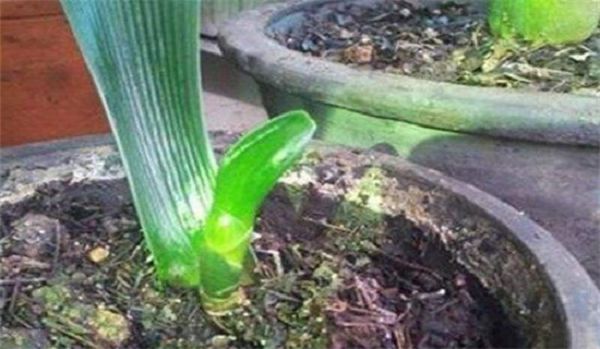
Clivia leaf-cutting propagation means using Clivia leaves for cuttings. Break the Clivia leaves off from the base. The growing medium should be nutrient-rich humus soil or vermiculite. Insert the Clivia leaves about 5cm deep. In the early stage of cutting, there is no need to water much; just keep it moist. Roots will form after one week, then increase the amount of watering. After about two months, small shoots will grow from the base.
1. Prepare the cuttings
Break leaves from a vigorously growing Clivia off at the base. Be very careful not to break or cut them from the middle of the leaf, otherwise they cannot take root and survive. New roots and new leaves of Clivia grow from the yellow node at the base of the leaf, so the node at the base must be kept intact.
2. Prepare the potting soil
Clivia cuttings need a nutrient-rich, loose and breathable growing medium. You can mix equal amounts of humus soil with river sand, or pine needles with vermiculite. There are not many requirements for the container; you can use a fairly attractive flower pot or a foam box, as long as it has a good drainage system.
3. Carry out the cutting
Insert the prepared Clivia leaves into the potting soil. Because of the survival rate, it is recommended to prepare several leaves and keep a certain spacing between them. They do not need to go too deep into the soil, about 5cm is enough. The first watering should be thorough, then do not water too much; just keep the soil moist.
4. Cutting care
Place the Clivia in a warm place without direct sunlight and maintain good ventilation. Roots will form in about one week. After rooting, increase the amount of watering to encourage sprouting. After about two months, new leaves can grow. Once the new leaves have grown, gradually increase the light.