Detailed guide to making orchid bonsai, teaching you step by step
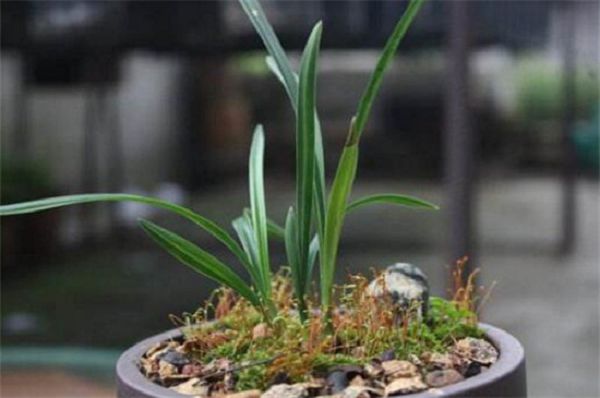
To make an orchid bonsai, first choose a purple clay pot of medium depth, then divide robust young orchid seedlings into several clumps of 3 to 5 plants each, transplant them into pot soil that has been prepared with a drainage layer, then slowly add more soil to secure them, place attractive small stones on the surface as topdressing, and carry out water and fertilizer management and pruning and shaping to make it more beautiful.
1. Suitable flower pot
When making an orchid bonsai, first choose a flower pot of medium depth, and the material is best purple clay or ceramic; its breathable environment allows the orchid's roots to grow better, and its beautiful appearance can also increase the ornamental value of the orchid bonsai.
2. When selecting seedlings, be careful to choose healthy and beautiful young orchid seedlings, divide them into several small clumps, ensuring each clump has about 3 to 5 young orchid seedlings, then clean their roots and place them in a cool place to let the wounds dry.
3. Pot lining treatment: before putting them into the pot, first do the pot lining treatment. Use tiles, bricks and shells, etc. to line the bottom of the flower pot, then fill it with fine sand and mud, so that the height reaches 1/3 of the flower pot, then add nutrient-rich culture soil. When filling soil for the lining, be careful to retain a certain loose space so that the roots can move freely.
4. Putting the orchids into the pot
Place the prepared young orchid seedlings in the middle of the flower pot, let their roots spread out freely on the soil, then use your hands to stabilize the orchid's rhizome, and slowly begin adding nutrient soil around its roots until the height exceeds the pot edge by about 3cm. Be careful not to let the seedlings tilt or fall over.
5. Stone topdressing: after putting them into the pot, it is also necessary to spread a layer of small colorful stones on the soil at the roots, which can nicely add to the ornamental quality of the orchid bonsai, and can also enhance the breathability of the soil, avoiding water accumulation and root rot.
6. Water and fertilizer management: after the orchid bonsai is made, water it promptly to soak the soil and provide sufficient water for its root growth, then place it in a cool place and wait for it to adapt to the pot. After about 2 weeks, normal care can begin, appropriately applying dilute fertilizer liquid and providing scattered light.
7. Pruning and shaping
In later care, also pay attention to pruning and shaping to keep the orchid bonsai highly ornamental. Promptly use scissors to cut off leggy branches and leaves so that the overall plant has a good shape. You can also place small stones or small grass around it to make the bonsai look full of natural poetry.