Detailed Explanation of Silkie Chick Brooding Methods and Technical Points
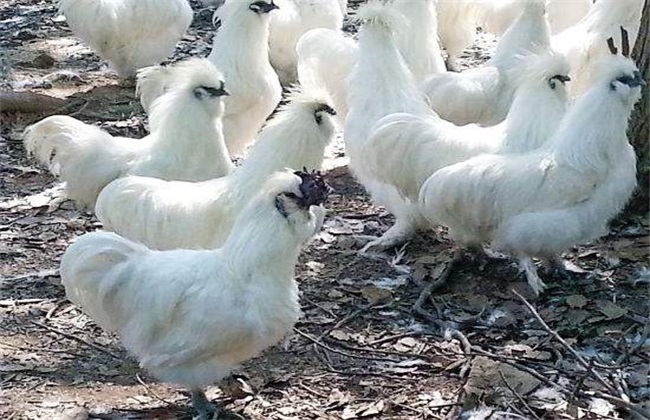
Silkie chicken, also known as silky fowl, gets its name because its bones are black. There are many different varieties, and its nutritional value is higher than that of other commonly raised chickens. It also contains various amino acids and trace elements, and has certain medicinal value, so it is widely used in the market. If you want to raise silkie chickens to earn economic benefits, the brooding period is a critical time in silkie chicken farming, and management during this period must be done well. With that said, let us briefly introduce the brooding methods.
I. Seed Selection and Timing
Generally, for brooding, you must first select authentic silkie parent stock. Choose individuals that are healthy, robust, agile in movement, with normal comb color, normal body feathers, glossy plumage, and normal spirits. Generally, breeding is done in spring, around March to April, after temperatures rise, or in late summer and early autumn when temperatures are not too high, as this makes survival easier. However, as long as artificial conditions can be created, brooding can be done in all four seasons.
II. Watering
After the chicks hatch, they should first be moved into an incubator to maintain a constant temperature. When they can stand, walk a little, and show pecking behavior, they can be given some clean water solution. A little potassium permanganate can be added to the water for disinfection. After they adapt to drinking water, set up clean drinking containers to supply water at all times.
III. Feeding
Feed two hours after the first watering, roughly one day after hatching. For the first three days, feed softened broken rice, cornmeal, or wheat and other grains mixed with crushed cooked eggs. For about one hundred chickens, add five eggs. Feeding should be done in clean containers, about 3 times a day. After three days and within five days, feed fried rice and concentrated feed, generally made from multiple grains plus salt and trace element powder, gradually increasing to 4 feedings a day. At one week old, chopped vegetables and other green feed can be added, with 5 to 6 feedings a day. After one week, add fine sand to the feed to enhance digestive ability. After three weeks, reduce feeding to three times a day.
IV. Management and Control
After birth, the temperature should be 30 degrees in week 1, can drop to 27 degrees in week 2, 25 degrees in week 3, 22 degrees in week 4, and maintained at 20 degrees after 4 weeks. Environmental humidity should generally be 60%. Within the first week after birth, they need more than 20 hours of light per day. In the second week, only natural light is needed. Ventilation should be done regularly every day to avoid the accumulation of toxic gases.
That is the entire brooding process from beginning to end. Generally, as long as you follow the above process for brooding, there are basically no problems, but the specific details require practice to truly master. If you look forward to more content, please continue to follow future updates.