How to keep koi fish? A comprehensive and practical sharing of breeding experience and methods
Fish tank stocking density
The stocking density of any fish tank is not fixed; it should be determined by your own habits and the filtration situation of the tank. The lower the density, the easier it is to maintain, and the fish are more relaxed and less prone to illness; conversely, it is much more troublesome. In short, high density is a major taboo in fish keeping. Generally, you should give the fish room to grow; it is best to keep one fish per 50/100 liters of water. Many people say that fish always fail to grow or grow slowly, and this has a great deal to do with the stocking density of the tank.
About setting up a new tank
How to set up a new fish tank is a process that beginners must know about and must be able to do, but how do you set up a new fish tank? If a new tank is not set up well, it will also have a great impact on future fish keeping. If the new tank is set up successfully, then cultivating good water is not a problem, and the occurrence of koi diseases during koi keeping will also be reduced.
So how exactly should a new tank be set up? First, prepare the conditions for setting up the new tank: filter, pump, filter media, tubing needed for filtration, etc. If there is previously used filter media, the nitrifying bacteria inside should already be well cultivated, and this is the best case.
1. Next is testing the tank. So-called tank testing means that nothing, including the filter, should be installed yet. First pour water into the koi fish tank (the premise is that the silicone of the newly glued tank must be completely dry and solid, at least for about five or six days). If there is no leakage for a week, then the first step has succeeded, and you can install the pump, pipes, filtration, and so on, then test the filter compartment to see whether it leaks, using the same method.
2. Disinfect the new tank: If there are no problems in the previous tests, then begin the disinfection work. Koi fish tanks can be disinfected with two agents: salt and potassium permanganate. Soak the tank with salt water or potassium permanganate for about half an hour, then rinse it clean with clean water, rinsing several times with plenty of clean water.
3. Test the water and add salt (table salt is fine). At this time, check the pump, and you can also disinfect again. Let the pump run in circulation and see whether any pipes are seeping water. If so, repair them promptly. If not, stop the pump after half an hour or an hour and drain the water.
4. If everything above goes smoothly, you can begin soaking the tank and cultivating the water. Soaking the tank mainly means filling the koi fish tank with water and removing the smell of the adhesive in the tank, for a period of 1 day.
Advertisements
Water cultivation in four steps
1. On the first day of water cultivation, only turn on the oxygen pump, adding oxygen continuously for 24 hours. Set the oxygen pump to maximum and wait until the water in the fish tank is rolling.
2. When winter is near or it is very cold, add a heater and adjust it to a temperature suitable for koi growth. On the second day, turn on the oxygen pump, and from this moment on, it must never be turned off again.
3. Cultivate nitrifying bacteria: As written above, if you have old filter equipment from before, you can use it, because it contains already cultivated nitrifying bacteria. If not, buy nitrifying bacteria sold on the market, pour the nitrifying bacteria into the filter, then adjust the water temperature to 20°C-30°C. There must also be sufficient oxygen, and the water must circulate. An important step is food for the nitrifying bacteria, that is, a small amount of fish feces or food residue, to promote the reproduction of nitrifying bacteria.
After water cultivation is complete, begin adding a test fish to the tank. You can observe this fish for 5 days to a week. If there are no other adverse reactions, it means the water has been cultivated well and the tank setup has succeeded. If not, continue cultivating the water. Finally, add 3 parts per thousand of special salt and wait for the new fish.
Temperature acclimation, water acclimation, disinfection
Temperature acclimation
Place the newly bought fish bag on top of the fish tank, for 30 minutes in summer and one hour in winter. Let the new fish slowly adapt to the temperature of the water in the tank.
Water acclimation
After completing temperature acclimation, scoop out the water in the fish bag with a container and replace it with an equal amount of water from the fish tank. Do this in small amounts multiple times, with an interval of more than ten minutes each time, repeating many times until the amount of water scooped out equals the amount of water in the bag, then let the fish adapt for more than half an hour.
Disinfection
Finally, pour the fish into a basin, leaving a small amount of water. Pour potassium permanganate, chlorine dioxide, or yellow powder dissolved in warm water into the basin for disinfection. During disinfection, an oxygen head should be placed in to oxygenate, and after soaking for the appropriate time, scoop the fish out and slowly place them into the fish tank. This process must be steady; do not harm the fish for no reason.
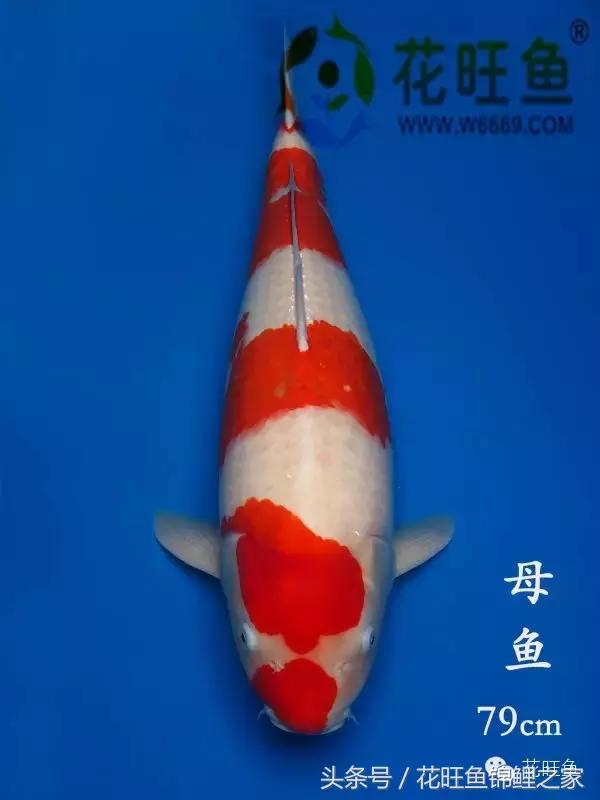
Operations after new fish enter the tank
After disinfecting and placing the fish into the fish tank, stop feeding for seven days. On the first day, use chlorine dioxide (dosage varies, strictly follow the instructions). On the second day, add VC (to increase nutrition), crush it, dissolve it in warm water, and pour it evenly into the fish tank. On the third day, use oxytetracycline tablets (antibiotic), crush them, dissolve them in warm water, and pour them into the fish tank. On the fourth day, add nitrifying bacteria and EM stock solution (add these two after future water changes). Do not turn on the light, set the oxygen pump to maximum, and let the fish rest quietly.
After seven days, begin feeding a small amount, based on two pellets of feed per fish, once every morning. For the first feeding, it is best to soak the feed for five minutes, which helps the koi's intestinal absorption. Change the water once every three days, each time one quarter, with water of equal temperature or aged water. Maintain this for three weeks. At this time, test the nitrite, and the test result should be normal by then. The nitrite concentration must not exceed 0.1; under normal conditions, 0.05 is good. Only when nitrite is normal can you slowly increase the feeding amount and reduce the frequency of water changes. Nitrite is the most important condition for koi survival, so you must pay attention to it and reduce the nitrite concentration. Generally, if nitrite is above the standard for two months, the fish will die from poisoning. This is the reason many fish keepers say their fish died for no apparent reason.
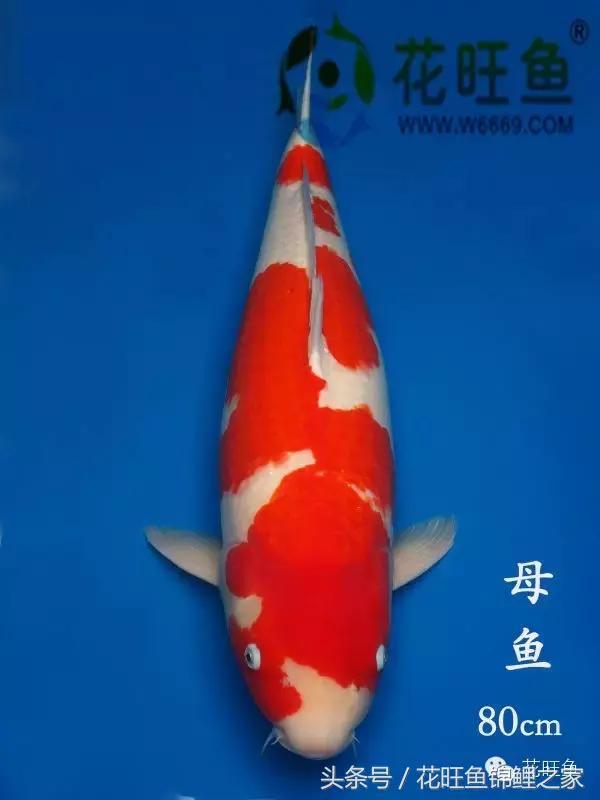
Oxygen pump
First, let's talk about the benefits of an oxygen pump
1. It increases the oxygen content of the water body, making fish eat more and grow quickly, with stronger resistance;
2. It increases the efficiency of nitrifying bacteria; nitrifying bacteria are aerobic;
3. It has a stripping effect on the ammonia produced by fish feces;
4. It turns over the water, forming convection between the upper and lower layers. Generally, ponds are deep and narrow, the lower layer has low oxygen content, and the water temperature is also inconsistent. Using strong aeration further turns the water over;
5. It removes dirt. In some positions, dirt cannot enter the bottom drain, or there are floating substances attached to the moss. Throw the air head near these positions for strong aeration, and it has a decontamination effect.
6. Strong aeration for koi is not entirely because of lack of oxygen. Common situations include:
(1) During koi keeping, if there is an external injury and bacterial infection, strong aeration in this situation can alleviate the koi's physical condition.
(2) When entering new water, the fish is not adapted to the new environment. At this time, strong aeration is healthier than medication. For fish keepers raising fish in ponds, strong aeration can promote the growth and reproduction of aerobic bacteria such as nitrifying bacteria, and it also helps to some extent with the decomposition of organic matter.
When the stocking density is low, it is also possible to do without oxygen, but it is not good for the fish. After reading this, do you still think the oxygen pump is useless?
Filtration system
In koi keeping in fish tanks, because metabolism occurs every day, and because the introduction of some external substances can affect the water quality of the fish tank, such as feeding, medication, some dust particles, and so on, as well as the various bacterial groups contained in the water itself, water quality filtration for koi keeping is divided into physical filtration, chemical filtration, biochemical filtration, and plant filtration.
The first is physical filtration
Physical filtration uses various filter materials or auxiliary agents to remove dust, gelatinous substances, suspended matter, leaves, and so on from the water, maintaining the transparency of the water. A relatively traditional and simple method is to use sand and gravel particles to let water seep through, so as to remove visible suspended matter. At the same time, it has the dual functions of physical filtration and biochemical filtration.
The second is chemical filtration
Chemical filtration is a filtration method that uses filter materials to remove various ionic compounds harmful to fish or odors dissolved in water by absorption. Commonly used filter materials include activated carbon, maifan stone, phosphate stone, and ion exchange resins.
The third is biochemical filtration
Biological filtration uses biochemical bacteria attached to filter materials, mainly to cultivate nitrifying bacteria, and then through the cultivated nitrifying bacteria to oxidize fish waste (such as feces and urine), residual bait, and the resulting nitrogen-containing organic matter or ammonia. It is the most important part of the entire pond filtration system. Commonly used filter materials include brushes, fiber cotton, biochemical wire, and biochemical balls. When cleaning or disinfecting the filter compartment, do not wash away or kill these bacteria. As for how to cultivate nitrifying bacteria, it is also the most important part of koi keeping in fish tanks.
The fourth is plant filtration
This is a method of using aquatic plants to absorb harmful factors in the water. Commonly usable aquatic plants include duckweed, Acorus gramineus, and so on. They have well-developed root systems and, in addition to the effect of plant filtration, can also absorb iron ions and pesticides in the water.
When we understand the several types of filtration above, when designing koi fish tank filtration, we should design a complete filtration system: first physical filtration, then chemical filtration, then biological filtration, and let the water flow through in this order. Friends with the conditions can set up plant filtration. Of course, being able to set up plant filtration is even better, as it is both visually attractive and enhances the filtration system.
A bottom filter tank is best with a sedimentation chamber, because koi can really eat a lot, so having a sedimentation chamber is good for both the fish and the people, and you do not need to wash the filter cotton every day. In short, filtration is very important. Equipping a filtration system suitable for your own fish tank can let you keep fish with ease. Generally, the filter tank is one quarter of the main tank. If it is too small, it will not work, but bigger is not always better either; if it is too big, it is a waste.
About feeding
According to scientific data, koi have the best digestive function when the temperature is 22 to 25 or 26 degrees. When the temperature is below 18°C, high-protein food is difficult to digest, but koi still need enough carbohydrates to supplement energy, especially when the water temperature is low and especially for koi less than 1 year old. Bread, peas, citrus fruits, and watermelon are very good sources of carbohydrates. Because koi do not have a stomach, feeding koi generally requires small meals more often, and it is recommended that when feeding koi, you keep it to about 3 to 5 minutes as much as possible.
However, when the water temperature is below 10 degrees, the digestive function of koi will be greatly reduced. At this time, everyone should not feed pellet feed.
When the water temperature of your fish tank is 10-13 degrees, when should you feed the carp? It is recommended to feed once every 4-5 days per week; if you see that your beloved koi has a good appetite, you can choose to feed a small amount of high-carbohydrate, low-protein, intestine-lubricating and laxative foods, such as pumpkin seeds, oatmeal, or bread, rice foods, and the like.
When the water temperature for keeping koi is 13-15°C, it is recommended that you feed once every 2 to 3 days per week. You can choose to feed vegetables and low-protein wheat germ feed. As the temperature rises, feeding can be increased.
When the water temperature for keeping koi is 15-16°C, you can feed low-protein (25%) feed once a day, and you can mix in high-carbohydrate vegetables and fruits for feeding. At 16-19°C, feed once a day, gradually increasing protein pellet feed (35%) and the amount of feed, adding a diet of different vegetables and fruits. When the water temperature is 19-21°C, feed twice a day with 35% protein feed, adding various fruits and vegetables.
When the water temperature for keeping koi reaches 22-26°C, feed high-protein feed (35%40%) 3 to 4 times a day, adding vegetables, fruits, and shrimp (if you want to use color-enhancing feed, you can add it at this time), and at this time, you can fatten up your koi.
But if the water temperature is 27-30°C, the feeding amount should be reduced, and vegetables and fruits should be increased (at this time, increase aeration, which is very important). When the water temperature exceeds 30°C, feed vegetables and fruits. When it exceeds 35°C, stop feeding and just increase aeration.
As long as you grasp the above discussion of when to feed carp, your beloved koi will basically no longer suffer from enteritis, and this is also helpful for how to keep koi.