Beekeeping Techniques: How to Replace the Queen Twice a Year
In southern Anhui, spring breeding begins in early to mid-January and ends in mid-to-late October after wintering bees are raised. The breeding period lasts as long as 10 months, and the queen is prone to aging, especially after the high-temperature summer period. The queen has already turned bronze-colored, looks decrepit, and her egg-laying capacity has declined. This not only affects the rearing of wintering bees, but also leads to a high mortality rate when the queen is confined for wintering, making it difficult to build strong colonies in the next spring breeding season, and it also easily triggers "swarming fever." In response to this situation, for more than ten years we have replaced the queen twice a year, maintaining new queens and strong colonies year-round, with high and stable yields every year. Our methods are described below.
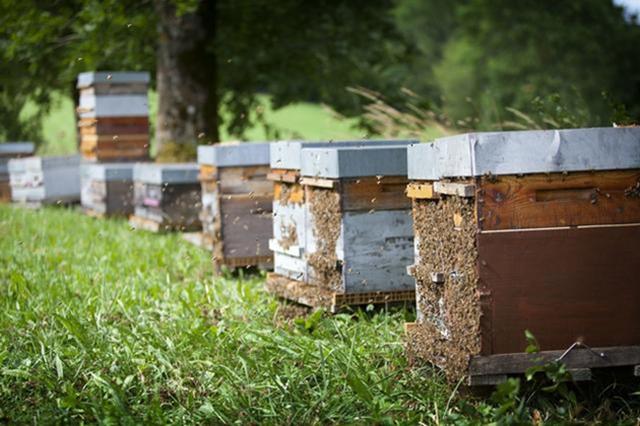
I. Partial Queen Replacement in Spring and Summer
1. Prepare mating colonies
In early April, during the peak rapeseed flowering period, start rearing queens. When the queen cells mature, take combs prepared in advance with half pupae and half honey-pollen and the bees on them and place them into a four-compartment mating box. Check the bee count in the afternoon; if insufficient, take bees from strong colonies to supplement. The next day, introduce the queen cells. For 50 colonies, prepare only four-compartment mating colonies, 2 boxes, until queen rearing ends in mid-autumn. From late June to August is the resting period for queen rearing, so switch to double-queen colonies, store 4 queens, and also use them as brood-source colonies for grafting larvae for royal jelly production.
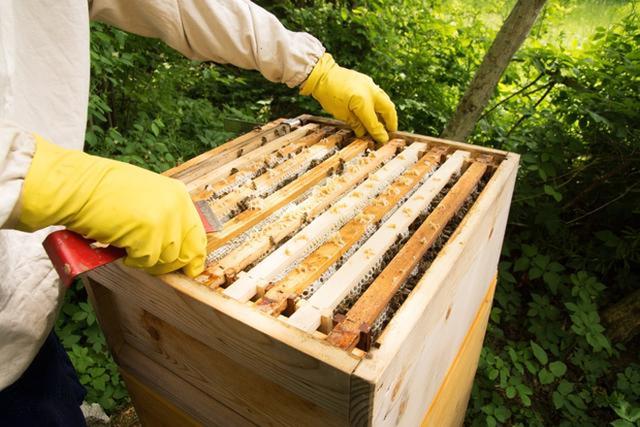
2. Partial queen replacement
(1) After honey and royal jelly production during the rapeseed flowering period, the quality of the queens has been identified. First cull the queens with poor economic traits and replace them with new queens that have already mated and laid eggs. If some inferior queens have strong egg-laying capacity, exchange them with weak egg-laying queens in the brood-source colonies.
(2) The high-quality old queens retained from the previous year often cause "swarming fever" in colonies during the middle and late rapeseed flowering period. Except for those that can be used as breeding stock, the rest are confined in queen cages and placed in supers for later use. Introduce new mated laying queens from the mating colonies into each colony.
(3) When individual colonies lose their queen or their queen flies away with a swarm, take a new queen from the queen-rearing colony or a spare old queen and introduce her. After about 1 month of partial queen replacement, the entire apiary has high-quality queens.
During this period, rear more than 10 queen cells every 3 to 5 days, so that after the new queens are taken from the mating colonies, mature queen cells are available as replacements.
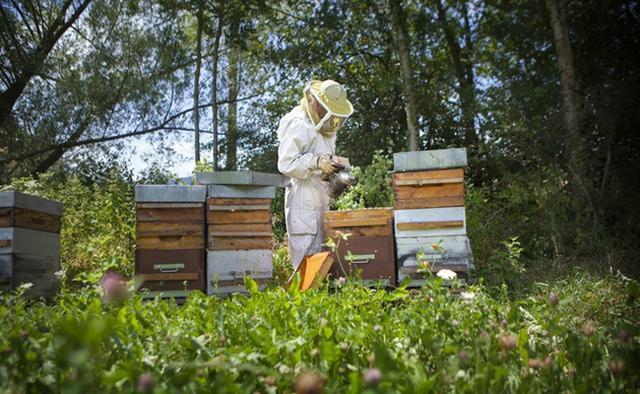
II. Comprehensive Queen Replacement in Autumn
Autumn is the key stage of beekeeping management for the whole year, and also the golden period for queen replacement. This round of queen replacement involves many colonies and a large number of queens, so arrangements must be made properly in advance. The specific steps are as follows:
1. Rear drones
From the queen laying eggs to sexual maturity, drones take more than 40 days. If you plan to graft larvae for queen rearing on August 25, the best mating period for this batch of virgin queens is September 12 to 14. Counting back 40 days from that, place drone combs from July 30 to August 2 for the father colonies' queens to lay eggs. Three days later, remove the drone combs and place them beside the royal jelly frames of strong colonies with sufficient honey and pollen and good royal jelly production. After the eggs hatch, temporarily stop royal jelly production, feed at night, until the cells are capped. After 10 to 12 days, rear 1 more comb of drones to ensure there are enough robust drones throughout the queen-rearing period.
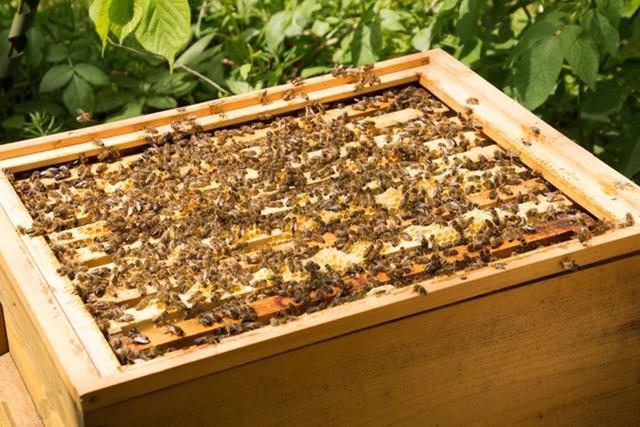
2. Adjust and allocate queens
During the high-temperature period in summer and autumn, adjusting queens and replacing bees neither causes balling of the queen nor robbing. Except for a very few of poor quality, the new queens reared in late spring and early summer do not need to be replaced again. They can be moved together at this time, and the old queens from the previous year that need to be retained can also be gathered together, making future management easier.
3. Rear queens in batches
About 40 colonies undergo autumn queen replacement. To arrange the timing of introducing queen cells, inspections, and mite treatment properly, queen rearing can be divided into two batches. Depending on the temperature, the first batch of larvae grafting for queen rearing is set around August 25, and the second batch is delayed by 7 to 10 days. The new queens can lay eggs around September 25, ensuring that in mid-October single-queen colonies lay 6 combs and double-queen colonies each lay 4 combs. On the 3rd day after grafting larvae in each batch, rear another 10 to 20 queen cells, in case a few colonies refuse the queen cells and to supplement virgin queens after queens are lost during mating flights. To guard against unexpected weather, we also rear a few queens in mid-September as spares.
4. Replace queens in main colonies
(1) Preparation for introducing queen cells: When queens are forcibly replaced by humans, strong colonies with more than 10 combs of bees often refuse introduced queen cells during the royal jelly production period, and the new queens are balled and killed within one or two days after emergence. Therefore, 4 to 5 days in advance, remove the old queen from the colony to be replaced. Queens that can be kept are hung in queen cages in the supers of colonies not being replaced, and the rest are removed or hung behind the boxes. Check one day before introducing the queen cells, remove all emergency queen cells, and introduce the queen cells the next day.
(2) Handle mating colonies: Two days before introducing the queen cells, take out the queen and introduce a new queen into another colony, and remove the queen cage confining the old queen; put down the second divider to convert it into 4 compartments, and introduce mature queen cells on the 3rd day.
(3) Retain surplus queen cells: After queen cells are introduced into production colonies and mating colonies, embed the remaining queen cells in wire protective rings or bamboo-plastic queen cages and place them on the top bars of the supers of colonies undergoing queen replacement. Later, when introduced into colonies that lost their queens during mating flights, they will mate quickly.
(4) Check after emergence: Check on the 2nd day after the new queen emerges. If no virgin queen is seen in an individual colony, immediately take a spare queen cell as a replacement (do not introduce stored virgin queens). According to the author's experience, queen cells added later are all accepted, so emergence checks can be omitted.
(5) Mating check: From the 7th or 8th day after the new queen emerges, as long as the weather is clear and fine, mating will succeed. Start checking after 5 p.m. on the 7th day or in the morning of the 8th day. If no queen is seen, check again the next day. When it is confirmed that there is no queen, take a new queen from the mating box and introduce her. The 2 mating boxes can produce 6 to 8 queens per batch, generally enough to cover the number of queens lost during mating in the main colonies. After taking out the queen from a mating colony, introduce a stored virgin queen the next morning; these virgin queens can mate within two days. If there is no queen available for introduction, introduce the next batch of queen cells.
To introduce a new queen from a mating colony that has not yet laid eggs into a large colony, confirm that she has already mated; otherwise she will still go on a mating flight and re-enter the original nest. This will be discovered when checking the new queen's egg-laying situation 3 days later, and she can be introduced again at that time. In a double-queen colony, when one compartment has a queen and the other does not, unmated queens from mating colonies are all accepted. Whether introducing an old queen, a new laying queen, or a mated queen that has not yet started laying, wrapping the cage in newspaper ensures safety.
From removing the queen in early September to stop egg-laying until the new queen lays eggs and they hatch, nearly 20 days have passed, and the brood combs will soon be empty. Seize the favorable opportunity before large larvae appear and spray with a liquid acaricide 2 to 3 times. The first treatment can be done together with checking the new queen's egg-laying, and the second at an interval of 2 to 3 days. If small mites are severe, brush the combs with sublimed sulfur when checking emergency queen cells, and sprinkle once more between the combs before the new queen lays eggs. After that, shift to normal autumn breeding management.
Beekeeping Techniques | Reflections on the Technique of Confining the Queen in Beekeeping
Beekeeping Techniques | Old Yang's Queen Rearing Schedule
Beekeeping Techniques | The Scene and Science of Swarming
Beekeeping Techniques | Thoughts on Confining the Queen for Wintering
Bee Leader | The Supervision Phenomenon of Worker Bees in a Colony
Bee Leader | Nesting Habits
Bee Leader | Grid Beehives