How to Grow Orchids? A Detailed Guide to the Eight-Step Cultivation Method
Many friends love growing orchids in pots, and I am also someone who loves growing orchids. I have searched for many methods on orchid cultivation, and the most detailed one is these eight steps. I hope to exchange and discuss more practical methods with friends who love growing orchids.
Dividing the Clump
Once the pot is full, divide the clump, generally once every 2 to 3 years, preferably from March to early April (autumn orchids), or from October to mid-November (summer orchids, spring orchids). When dividing, the potting soil should be somewhat dry. If it is wet mud, it is inconvenient to work with and the roots are easily broken and injured. After turning out the mother plant, gently remove the clumps of soil, separate the plants according to their natural divisions, and prune off rotten roots and dead leaves, taking care not to injure the leaf buds and fleshy roots. Then wash the roots clean with pure water and place them in a cool, shaded spot until the roots turn white and appear dry, only then can they be separated and potted. If the weather is becoming humid, they must first be exposed to sunlight for about 10 minutes, which benefits orchid growth.
Potting
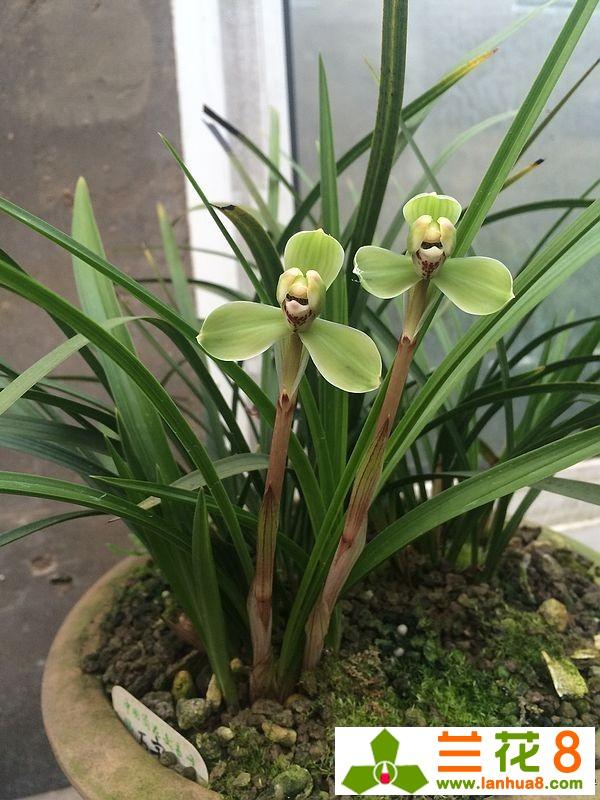
The best flower pots are those with a small mouth, deep body, and large bottom hole. Wild seedlings newly dug from the mountains must be planted in clay pots, and only after 2 to 3 years can they be moved into purple clay pots or porcelain pots. First cover the bottom hole with clam shells, palm fibers, etc., then add coarse sand, coal cinders, and charcoal in a steamed-bun shape, taking up about 1/3 of the capacity. Add potting soil on top to a depth of about 3 to 5 cm. Generally no base fertilizer is added. Then place the orchid in the pot, arrange the roots evenly, and add the mixed fine soil until it is 2 to 3 cm from the rim of the pot. Lift the orchid plant slightly, with the height set so that the upper end of the pseudobulb is level with the soil surface, neither too shallow nor too deep. Press the potting soil lightly so that the soil makes close contact with the roots, then press firm with your fingers around the rim of the pot to avoid creating hollows when watering. If the top layer is covered with a layer of moss or broken tile pieces, watering is less likely to cause compaction, and water evaporation can also be reduced. For the first watering, use the immersion method so the pot absorbs enough water. Finally, place the potted orchid in a shaded spot for about half a month to 1 month. During this period, watering must be controlled and it must not be too wet. Afterward, place it in a spot with half shade and half sun, good ventilation, and morning sunlight. The pot stand should be about 1 m high, and it must not be placed on a flat platform, to prevent ants and earthworms from entering through the bottom hole and affecting orchid growth. For potting soil, you can use the first layer of hillside soil from the mountains, or mix fine sand and loam at 3:7 with 30% humus compost. The potting soil must be sifted and disinfected before use.
Fertilizing
Not fertilizing is not acceptable, but fertilizing too much or too heavily is even worse. If a new orchid is potted in soil that is too rich, it often cannot survive, and even if it survives, it rarely blooms. If there is too much summer fertilizer, the autumn leaves grow excessively, often leading to poor leaf growth and blooming the following spring. If there is too little autumn fertilizer, it affects the formation of underground flower buds at the turn of autumn and winter. If there is usually too much nitrogen fertilizer, the leaves become too lush, causing an imbalance in the growth nutrition between leaves and flowers, resulting in no blooming or few blooms. Generally speaking, when new leaf buds emerge, a small amount of dilute fertilizer can be applied several times. The spring equinox, autumn equinox, and about 20 days after the flowers fade are all relatively appropriate times. The best time to fertilize is in the evening, then water once with clear water the next morning. Apply once every 2-3 weeks. At the same time, spray monopotassium phosphate once every 20 days to promote bud formation and blooming. Fertilizing according to leaf color is a relatively appropriate method: if the leaves appear yellow and thin, it is a lack of fertilizer and topdressing should be applied; if they are dark and the leaf tips are scorched, it is too much fertilizer and fertilization should be stopped. Fertilizer must be fully decomposed; undecomposed fertilizer cannot be used, and human waste is forbidden.
Watering
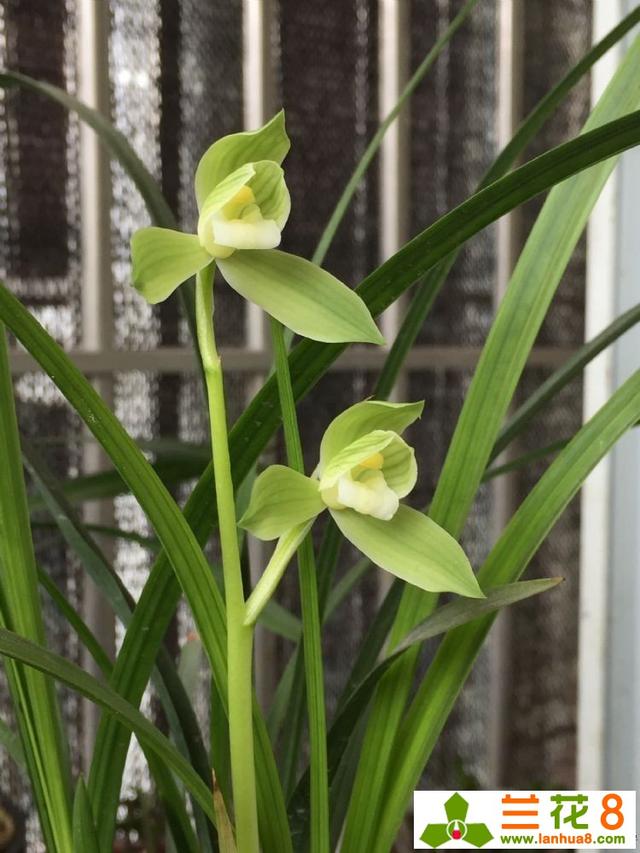
Practice has proven that orchids do best with eight parts dry and two parts wet; during the flowering period and the period when leaf buds sprout, watering should be less. During the plum rain season, they should be moved back indoors, or a shelter should be set up to keep off the rain. In summer, water in the early morning or evening, and not too much; in autumn, the amount of watering can be increased appropriately. In dry seasons, spray every evening. When spraying, spray upward so the mist droplets are fine and even, moistening the leaf surface and dampening the ground, increasing air humidity. Sometimes it is best to spray several times a day. Water along the edge of the pot, and do not pour directly onto the crown; do not water at noon. Although watering can be greatly reduced in winter, it is not that you do not water at all; be careful not to let the potting soil dry out completely. In late winter and early spring, if watering wets the leaves and leaf sheaths, wait until they dry in the sun before moving them indoors, to avoid rot. In short, water when dry, stop when wet, and the principle is to keep it appropriately on the dry side. Rainwater and spring water are best for use; all kinds of water should first be drawn and stored in a jar, so that pollutants in the water settle, the water temperature normalizes, and the chlorine in tap water dissipates, and only then should it be used for watering.
Light
Light is an important factor in the formation of flower buds. Although orchids like cool conditions, if they are placed in a hidden spot year-round, they also rarely bloom. Orchid growers discovered long ago that orchids on the shady side of a mountain have long leaves and sparse flowers, while orchids on the sunny side of a mountain have short leaves and many flowers. Therefore, when cultivating orchids, attention must be paid to the issue of light. In spring and summer, orchids are best shaded with reed screens, or placed at an east- or south-facing ventilated window indoors. Orchids under the screen should have the pot turned once every half a month, so that the orchid receives light on all sides, which is beneficial for balanced plant growth. When the weather turns cool in autumn, the potted orchid should be moved out from the shaded spot and allowed to bask in the morning sun for half a day, but be careful that autumn does not become dry. In cold weather, place it under a south window indoors to overwinter, but it need not be too warm; it is best to cover it with a plastic film cover to maintain appropriate humidity on the leaf surface. As for preventing and controlling pests and diseases, if brown rust disease or southern blight occurs, treat with 0.5% lime sulfur mixture. If there is an ant nest, the pot can be immersed in water to drive them away.
Location
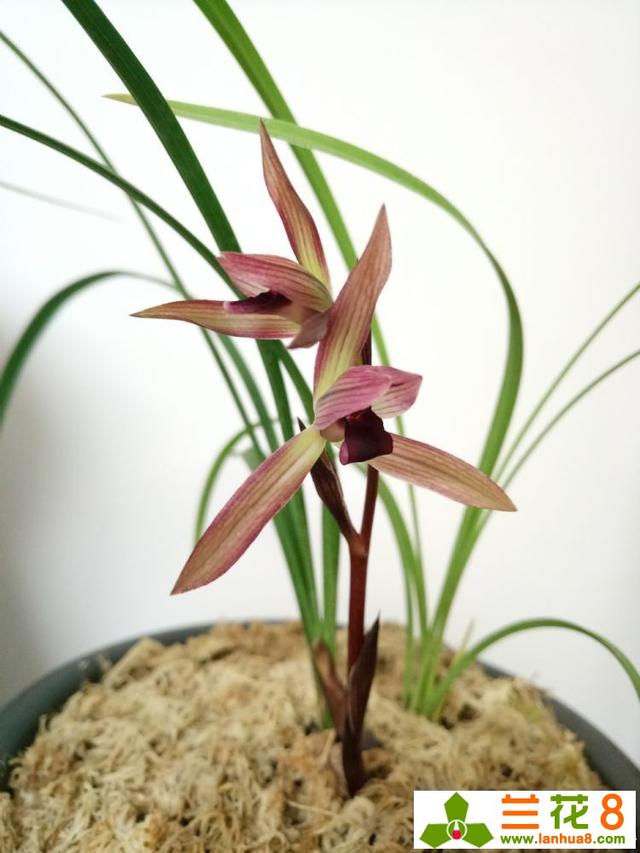
The location where orchids are placed is very important, as it directly affects the growth and development of the orchids. Orchids are generally placed outdoors in spring, summer, and autumn (in a shaded outdoor spot in summer), and indoors in winter. Outdoors, it is best to have open space on all sides and moist air. Indoors, there must be ample light, preferably facing south. This is beneficial for orchid growth. The orchid pot is best placed on a wooden stand or table, not on the ground.
Shading
Most orchids belong to the semi-shade-loving plants, and most species fear direct sunlight and need appropriate shading. In early to mid-April, orchids can receive more sunlight to promote their growth. After late April, they should be appropriately shaded. For summer orchids and autumn orchids with upright leaves, the varieties are best placed on the south side of a shaded spot so they receive a suitable amount of extra sunlight; for drooping-leaf autumn orchids and spring orchids, two hours of light per day is best. From the beginning of June to September, shading should be started earlier each day; if reed screens are used, dense screens or two layers of sparse screens can be used. After October, when the weather turns cooler and the sunlight is weaker, shading can be delayed, but around noon, attention must still be paid to doing the shading work well.
Rain Protection
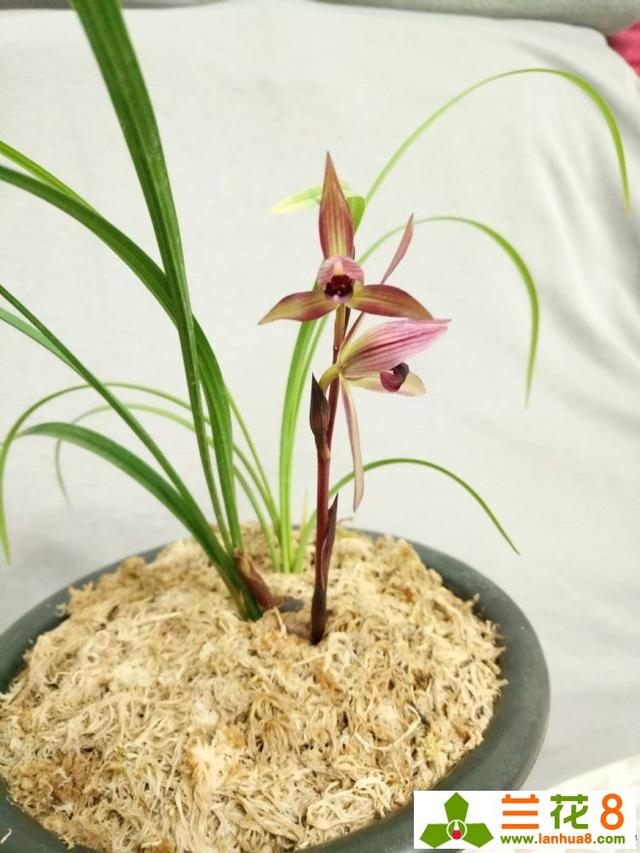
Orchids can tolerate light rain, but must be protected from plum rain, showers, or continuous rain. During the plum rain season, rain protection work must be done especially well. From late June to mid-September, there are often showers. If the rain is short in duration and the rainfall is also small, more watering should be done in the evening to let the heat inside the pot escape; otherwise the orchids will be damaged, or even have root rot and die. If a shower is followed by sunshine, shade them promptly, so that the heat rising from the ground does not affect orchid growth. The rainy season coincides with the stage when orchids sprout leaf buds; if the potting soil is too warm, it will cause poor leaf bud growth or invite disease. At this time, a small amount of plant ash can be scattered to regulate the humidity of the potting soil. I publish orchid knowledge and pictures every day, taking you to understand orchids in depth and teaching you to grow orchids easily. If there is anything you do not understand about orchids, you can ask me anytime or leave a message below. If my knowledge has helped you, I hope you can give me a like or share it to help more people!