How to grow Selaginella uncinata? A detailed guide to planting pot-surface grass
 Step one Preparation: one pot of Selaginella uncinata, soil, an empty flower pot, scissors, a small wooden stick (picture1-2)
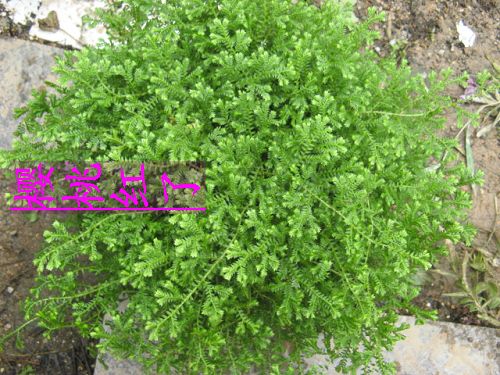
Good Selaginella uncinata should be emerald green, glossy, with thick, sturdy stems and a vigorous look. If it was just bought, it may be a bit shrunken from long-distance transport, so let it rest for a few days first, and once it has recovered, take cuttings from it. For the soil I used peat soil plus perlite, in a ratio of2:1, which makes it loose and airy. Other well-draining sandy soil also works. Any flower pot works as long as it does not hold standing water. Cut one end of the small wooden stick into a slant, which will come in handy when taking cuttings.
Step two Cut the stems (picture3-4)
Choose thick, upright stems; skip the bent and spindly ones. Since everyone uses this on orchid pots, a length of about5
Step three Taking cuttings (picture5-9)
First soak the pot soil wet, poke a hole with the small wooden stick, not too deep, then put the stem in, and if it has aerial roots bury the roots too, then gently press the soil firm; insert them one after another until full, spray some water on the leaves, and it is done. Be careful not to push the stems directly into the soil, because the stems are very tender, and doing so easily breaks and damages them, and the survival rate drops greatly.
Step four Placement (picture10-14)
Place the planted Selaginella uncinata in a shaded spot, but not one where the light is too dim, and keep a certain humidity. Normally water when the soil is half dry; do not water frequently, because the roots have not grown yet and the grass cannot yet use up the water in the soil. If it is too wet, it will instead cause the stems to rot. You can also spray some water on the leaves when they are dry. My balcony is very dry, so I put them in a foam box with a layer of sand inside, watered it thoroughly, set the planted Selaginella uncinata on top, and then loosely covered the top half of the foam box with a sheet of plastic film, so it is both ventilated and moisture-retaining. Using this method I have also rooted quite a few other flowers and plants.
After about half a month like this, gently lift a stem with your hand; if it feels a little heavy, it means it has grown roots and survived, and at this point it can be transplanted, with soil and roots, into an orchid pot. It is better to transplant as soon as the cuttings are taken, because if you wait until the roots have grown many and deep, moving it will damage the delicate roots and the result will be worse.
Selaginella uncinata two or three days after cutting Selaginella uncinata on an orchid pot