Methods and Key Techniques for Growing Pumpkins on a Balcony
1. Seedling Raising
With the dibbling method, dig holes in the flower pot and place 2 to 3 seeds in each hole. Note that when placing them, the pointed end of the seed should face down. The soil covering them should be 2-3 cm thick. Water thoroughly, being careful not to wash the seeds out. When the surrounding temperature is 20 to 30 degrees, sprouts will emerge in about half a month. Before sowing, the seeds can be soaked in warm water, which helps promote germination. When each seedling has grown 3 to 5 leaves, it can be transplanted. Transplanting is best done on a sunny afternoon, choosing healthy young seedlings. Use 1 seedling per pot; after transplanting, the soil can be mounded up to the leaves, and the soil should be watered thoroughly.
2. Daily Management
About the 10th day after transplanting, apply some organic fertilizer, with nitrogen fertilizer as the main one. After pumpkin seedlings start to vine, they grow very quickly; at this point a trellis can be set up, and when about 9 leaves have grown, the tips can be pinched off once.
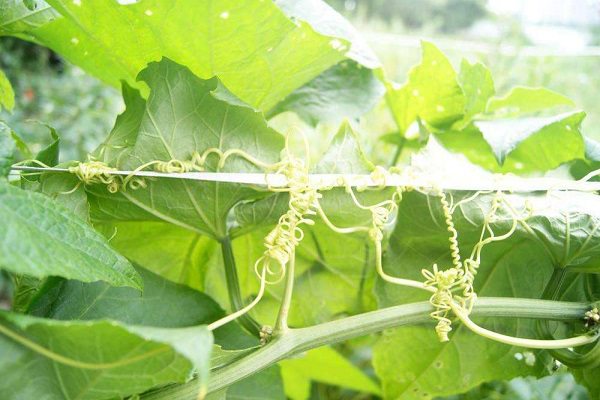
When the vines begin to wrap around the pot, the vines can be guided manually onto the trellis.
When the flowering stage begins, the first flowers to open are male flowers, which can be picked and eaten. When female flowers open, apply decomposed organic fertilizer mainly consisting of phosphorus and potassium fertilizer.
During the growth of pumpkin seedlings, pay attention to the amount and frequency of watering. If branches and leaves with pests or diseases are found, prune them off as early as possible and keep good ventilation.
3. Harvesting
Pumpkins can be picked 10 to 15 days after the flowers open; at this time the pumpkin is very tender. If you want a hard-skinned pumpkin, you can harvest it a while later.
For more professional agricultural science and technology information, please scan the QR code to follow WeChat: NongXunNET

Please indicate the source when reprinting.