Orchids can't be grown just any old way - 3 key points to get right
Orchids are treasured because they stay evergreen all year round, with graceful leaf forms and beautiful, understated yet elegant flower clusters, as well as the orchid's delicate fragrance, which is loved by many. But if you want to see the orchid's graceful form and delicate fragrance...
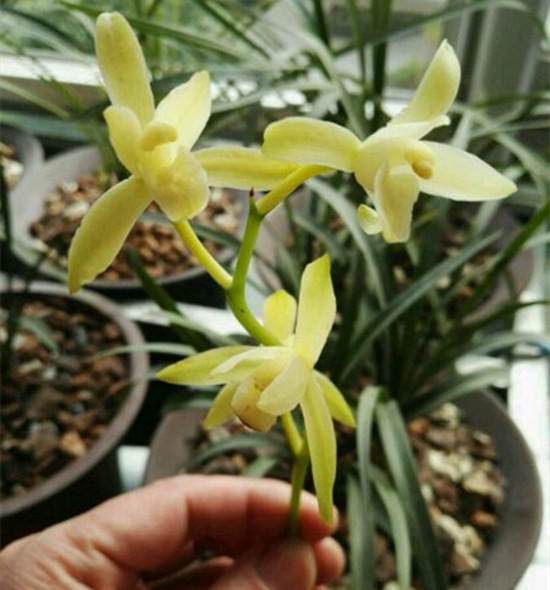
Orchids are treasured because they stay evergreen all year round, with graceful leaf forms and beautiful, understated yet elegant flower clusters, as well as the orchid's delicate fragrance, which is loved by many.
However, if you want to see the orchid's graceful form and delicate fragrance, the care process can't be done just any old way - there are 3 cultivation points to get right, and fellow flower growers need to master them well.
1. The flower pot matters
Orchids like to grow in clusters, so never plant a single solitary seedling. When dividing and repotting, fellow flower growers should choose the pot size according to the number of orchid seedlings. Generally, 3-4 seedlings are best suited to a pot with a diameter of 20-25 cm, 5-6 seedlings to 30-40 cm, and so on.
As for the ratio of pot height to pot diameter for orchids, you should make the pot diameter 1 chi and the pot height 8 chi - this ratio is very suitable. Clay pots are the ideal choice for orchid pots, but as long as the pot chosen is suitable, plastic pots are also fine.
The golden season for dividing orchids is around the Dragon Boat Festival, when you can do a round of repotting and root washing, removing old roots, waste roots, diseased roots and hollow roots, and at the same time move them into a slightly larger pot, once a year.
2. Planting matters
When planting orchids, if you use a new pot of the tao type, it has a dry, fiery nature, so it is best to let it sit for several months or soak it in water for several hours before use; other pots and old pots can be used right away for planting.
After choosing the pot, first break up some broken tile pieces and place them in the bottom of the pot, covering the drainage hole well. Fill in a small amount of coarser humus soil or special orchid soil, then add another layer of special orchid soil, sawdust, coarse chaff and the like, mix evenly, level and press firm, with the middle slightly higher.
At this point you can place the already-divided orchid seedlings into the pot. The seedlings should be chosen with relatively intact root systems, little damage to root length, and roots that are fresh and tender rather than blackened or hollow. Wash off the dust with water, cut away the blackened and hollow roots, trim off yellow leaves, and let them dry for several hours until the roots are soft rather than brittle, then they are ready for potting. Plant them shallow rather than deep - remember, "there's no trick to growing orchids - if the wind can blow them over, that's right."
3. Fertilizing matters
After planting the orchids well, next add fermented chicken manure fertilizer; if conditions allow, you can also add some crushed eggshells, then add a layer of finer humus soil - that way the orchids are planted well. Then, fertilize no fewer than 5-8 times a year, best by alternating dilute liquid fertilizer and chicken manure fertilizer, and try to follow "many meals, small portions."
For more professional agricultural science and technology news, please scan the QR code to follow WeChat: NongXunNET

Please indicate the source when reprinting.