How to sterilize potting soil for flowers? 6 practical methods to teach you
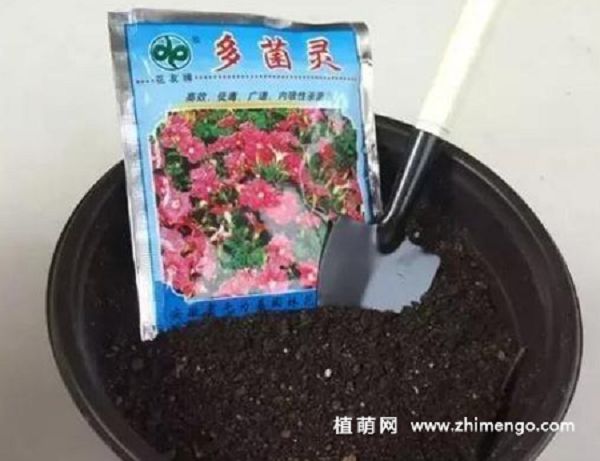
For flower growers, there are many things to do in spring, the common ones being repotting and changing soil, leaf cuttings, stem cuttings, etc., but every one of these things cannot be done without soil. Many flower growers dig soil from outdoor woods or from the ground, and for this kind of soil,
after digging it up, it cannot be used immediately; it must be sterilized and disinfected. Using it directly to plant flowers or succulents will be bad for the growth of the plants. This is because this kind of soil easily carries pathogens or insect eggs, and if these are not killed in time, they will harm the flowers and plants.
So how should the soil be sterilized and dewormed? Below are 6 methods for you.
1. Put it under the sun to bake
For the soil you dig up, choose a time when the weather is clear, and in a place with good light, spread out a piece of plastic film or a bag, then spread the soil you dug up evenly onto the film and put it under the sun to bake for 3-7 days.
Remember to turn the soil so that it receives light evenly. If you have a courtyard, you can also spread the soil directly on a concrete slab that gets strong light. Through the intense sun, the pathogens and insect eggs in the soil will be killed by the sun.
Putting it under the sun to bake is a very practical method, and flower growers are generally recommended to use this method.
2. Scald the soil with hot water
That is, put the soil you dug up into a flower pot or a foam box. If it is a flower pot, block the drainage holes. Then pour boiling water directly onto the soil, and while pouring, stir the soil with a wooden stick.
After 10 minutes, drain the water out. Then pour boiling hot water over it once more, cover it with plastic sheeting, and put the flower pot in a place with strong light. After one day, filter the water out, and once the soil is dried in the sun it can be used to plant flowers.
3. Sterilize with a special chemical agent
First find a bucket, a larger one, put the soil you dug up into the bucket, then spray carbendazim into the bucket. After spraying, seal the mouth of the bucket tightly with plastic wrap, and after a week remove the plastic wrap.
After removing the film, leave the soil open for 3-5 days to air it out, and then the soil can be used directly to plant flowers.
4. Fry the soil in a hot pan
Generally, you can build a temporary stove outdoors with bricks, then find an old iron pan or iron basin, and at the same time put the soil you dug up into the iron pan and place it on the temporary stove. Then light a fire to heat the iron pan.
The soil in the pan should be stirred back and forth, stirring for half an hour, so that the soil is heated evenly. After another half hour, once the soil has cooled, it can be used to plant flowers.
5. Sterilize with a microwave
That is, put the soil you dug up into a heat-resistant bag, then put the bag containing the soil into the microwave, set the microwave to high power, for 3 minutes. After 3 minutes, take out the soil, turn the soil over, and heat on high power for another 2 minutes.
Remember that when using a microwave to sterilize soil, the heating time must not be too long; if the time is too long, it easily damages the nutrients in the soil. Generally, this sterilization method is not recommended for flower growers to use.
6. Sterilize the soil by steaming
Likewise, build a simple stove, prepare an old steamer pot, then put half a pot of water in the bottom, then place the steamer pot on top, steam over low heat for 40 minutes, then turn off the heat and let it sit covered for another 20 minutes, take out the soil, and dry it in the sun, after which it can be used directly to plant flowers.
Of course, no matter which method is used for sterilization, the ultimate goal is to sterilize the soil and kill insect eggs; as long as the effect is achieved, that is enough. Generally, the methods of sun baking or chemical sterilization and disinfection are recommended. As for the other sterilization methods, flower growers who do not mind the trouble can give them a try.