Detailed Guide to Sowing Methods for Open-Ground Herbaceous Flowers
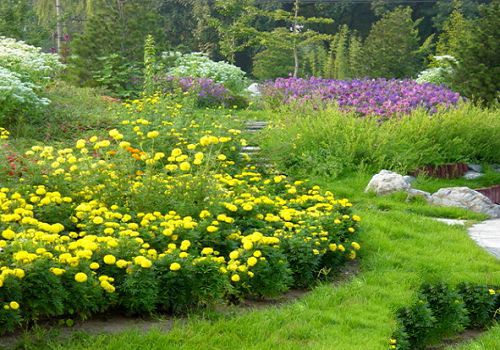
Sowing Techniques for Open-Ground Herbaceous Flowers
Sowing Techniques for Open-Ground Herbaceous Flowers: Land Preparation and Bed Making
The steps for land preparation and bed making are: first, clear the vegetation and debris from the nursery site, then plow and break up the clods, remove residual roots, stones and other foreign matter from the soil, kill dormant pests, and then rake the bed surface level and even. Before plowing, apply the base fertilizer to the garden plot, so that through plowing the base fertilizer can be turned into the cultivation layer, creating good conditions for the germination of flower seeds, stem emergence, leaf unfolding, and seedling growth. The plowing depth depends on the flower species and the soil conditions of the plot. For annual and biennial flowers, the plowing depth is generally 20-30cm, and the length of the seedbed depends on the garden plot conditions, generally 5-8cm. Our area has high temperatures and abundant rain, so the seedbed should be 20cm above the ground, and the seedbed soil is required to be loose, fertile, and well-aerated. It should have good drainage performance and a granular structure to ensure good growth of flower seedlings.
Sowing Techniques for Open-Ground Herbaceous Flowers: Timely Sowing
Annual flowers are usually sown between March and April. Too early or too late is not good, because the air and soil temperatures are not suitable for seed germination, and it is often difficult for seedlings to emerge or they emerge unevenly, or even seedling cultivation fails, so timely sowing is necessary.
Sowing Techniques for Open-Ground Herbaceous Flowers: Sowing, Covering with Soil and Covering with Grass
The seeds of open-ground herbaceous flowers are mostly fine seeds, and it is suitable to broadcast them or sow them in wide rows; for different flower species, or seeds of the same species but with uncertain sowing rates, the sowing rate is calculated based on a density of 1000-1600 seedlings per sq m.
After the seeds are sown into the seedbed, it is best to cover them with fertile, loose, sifted fine soil. The covering should not be thick, just enough that the seeds are no longer visible. After covering with soil, grass material such as rice straw or thatch should also be spread over it. This helps retain moisture and warmth and prevents rainwater from washing away the seedbed. After covering with grass, soak it thoroughly with water, and then water frequently to keep the soil moist.
Sowing Techniques for Open-Ground Herbaceous Flowers: Transplanting
After thinning, the flower seedlings grow rapidly. When the seedlings have grown 5-6 true leaves, transplant them once or twice to expand the nutritional area and facilitate continued cultivation.
After transplanting the seedlings, immediately water the seedbed thoroughly once. After a 3-4 day recovery period, the stems and leaves spread out. At this time, apply liquid fertilizer and frequently loosen the soil and remove weeds. The row spacing for transplanted seedlings is 15-25cm, providing good conditions for growing strong seedlings.
Sowing Techniques for Open-Ground Herbaceous Flowers: Final Planting
Take seedlings that have grown 10-12 true leaves and are about 15cm tall and plant them in the required positions in flower beds, flower borders, flower frames and other green areas according to the landscaping design requirements. Generally, they are planted with soil attached to improve survival. After final planting, "root-setting water" must be applied. The row spacing for final planting should be such that the flower crowns connect without being squeezed. For annual and biennial flowers, it is generally 30-40cm.
Sowing Techniques for Open-Ground Herbaceous Flowers: Removing the Cover and Thinning
About 10 days after spring sowing, the seedbed should be observed to check seedling emergence. If most seeds have already sprouted and emerged, remove the covering to let the seedlings get sufficient sunlight. Removing the cover is best done in the evening. If the sunlight is strong the next day after removing the cover, temporary shading should also be provided for one or two days to prevent damage to the seedlings. When the seedlings have all emerged and the cotyledons have fully expanded and true leaves have grown, thinning should be carried out. After thinning, the seedling density should be 2400-100 plants per sq m.