Handmade Yogurt Pot DIY - Creative Mini Pot DIY
I basically make yogurt twenty or thirty times each summer, and every time it's a 1L batch - how much can I possibly eat!
And every time, before I even get a chance to plate it up and take a photo, the pot is already scraped clean~
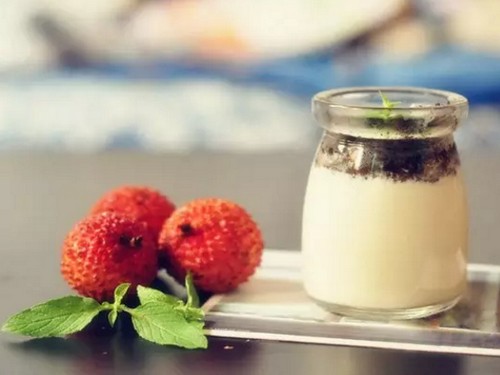
I saw people making yogurt pots and they were so cute, I was envious, so that afternoon I held myself back from eating first and tinkered around to make it.
It's pretty cute, right haha~
The "soil" is crushed Oreos - remember you must remove the filling in the middle before crushing them.
A few tips for making yogurt:
1. I've tried all kinds of milk - Mengniu, Yili, Yantang, imported milk, and milk made from milk powder - and I found that yogurt made from Yantang pure milk tastes the best, and it sets well too, quite thick.
2. After adding the lactic acid bacteria to the pure milk, it's best to add some sugar and stir well, and once it dissolves, put it into the yogurt maker - this turns out better than adding honey after it's made.
3. The container must be scalded with hot water before use, to kill other bacteria, otherwise it may affect fermentation.