A Detailed Guide to Golden Camellia Planting Techniques and Cultivation Management Methods
Golden camellia has a marked effect on regulating blood lipids, blood sugar and cholesterol in the human body and on strengthening the body's immunity, and today we are going to introduce golden camellia planting techniques to you.
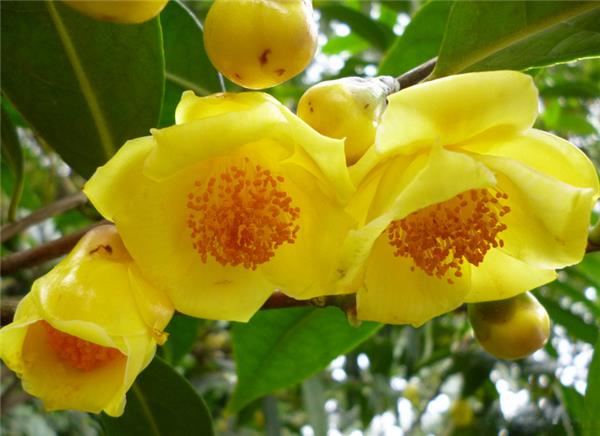
Golden Camellia Planting Techniques
1. Create a suitable environment. Golden camellia likes to grow in a semi-shaded, semi-cool and humid environment, and it needs regular ventilation, which is especially necessary in the north. In the glass greenhouse, in addition to the boiler and radiator used for heating, self-made atomizing machines, exhaust fans and other facilities were also installed.
2. Use pine needle soil mixed in the correct proportions, and gradually remove the "yellow clay" brought from the south.
3. The water used for watering the flowers must have 1% ferrous sulfate added each time, so that the water always maintains a certain weak acidity.
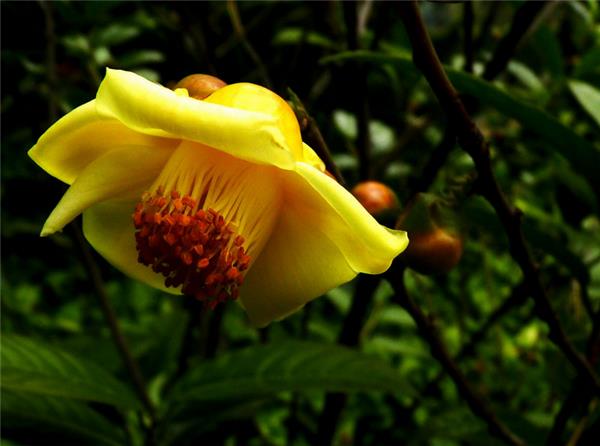
4. In addition to good environmental ventilation, it must also be given regular "physical exercise": blow wind on it once every 2 weeks, and the wind force must be even when blowing. The purpose is to promote balanced metabolism and normal development through "exercise".
5. Control the temperature. The temperature difference should be between 7°C and 10°C. When the greenhouse temperature is 20°C, pull down the shade cloth after four or five hours and ventilate immediately.
6. Fertilizing. One type is diluted sour milk, which can be used directly without fermentation; the other traditional method is fermented soybean cake water. Fertilizing once a month is enough.
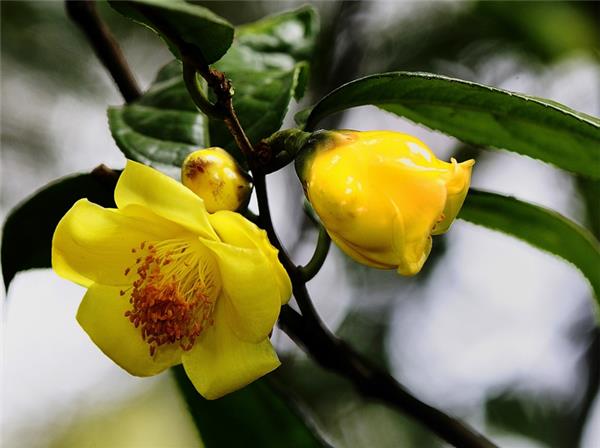
Golden Camellia Propagation Methods
① Cuttings: In the dry season from May to June, select a young mother tree and cut a one-year-old young shoot from the top, about 10 cm long. Remove the lower leaves, smooth the cut below the node with a blade, keep one terminal bud and one lateral bud at the top, and 2 to 3 leaves. Insert it into a medium of river sand or gravel, with the insertion depth at 1/3 to 2/3. After insertion, cover with a straw curtain for shade, increase foliar spraying, and maintain the air humidity of the cutting bed to encourage rooting. To improve the survival rate of cuttings, soak the cuttings in a 50 to 100 ppm ABT rooting powder solution for 8 to 12 hours.
② Grafting: Choose vigorous seedlings or camellia species that root easily from cuttings as the rootstock, cut it off at 4 to 5 cm above the ground diameter, split it through the pith to a depth of about 1.5 cm, and use 1- to 2-year-old branches as scions. Keep 1 to 2 leaves on the upper part of the scion, cut the lower part into a wedge shape, insert it into the split opening of the rootstock, make sure the cambium layers on both sides fit closely, and then tie it tightly with plastic tape.
Post-grafting care: After grafting, cover the scion with a plastic bag and tie it below with a string, but not too tightly, so that water droplets form inside the bag and drip onto the rootstock from time to time. Then add a paper bag on the outside of the plastic bag to shade it from direct sunlight.
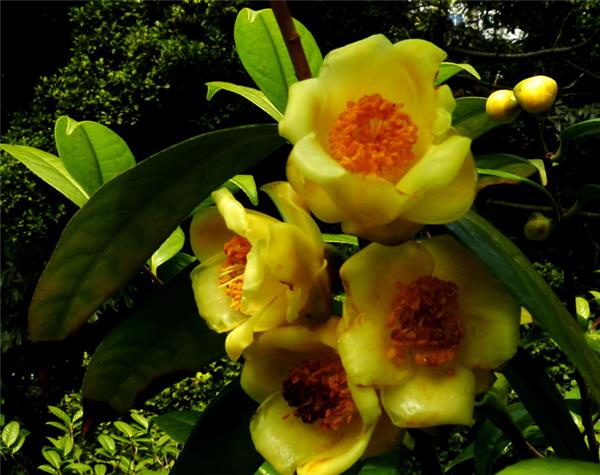
③ Bud cuttings: Take each bud node as a section, keep one leaf, about 1.5 cm long, cut the lower part diagonally, and then insert it into the medium, with the depth just covering the branch. This method can make full use of branches and is suitable for many propagation needs.
④ Pot cultivation: When potting golden camellia, it is advisable to use a culture soil made from leaf mold or peat soil plus part garden soil and river sand. To make it grow quickly, it should be planted in a clay pot with good air permeability. When planting, it is best to choose a deep pot. Before potting, first fill the bottom of the pot with a layer of broken tiles to facilitate drainage; then apply a small amount of decomposed cake fertilizer powder or bone meal on top as a base fertilizer, and fill a layer of culture soil above the fertilizer; then place the seedling in the center of the pot, straighten it, and fill in the culture soil layer by layer, pressing it firmly as you fill, and finally leave about a few cm of pot rim. After planting, water thoroughly and place it in a semi-shaded place for cultivation, and transfer it to normal management after the seedlings recover.