A Detailed Guide to Orchid Planting Methods: Even Beginners Can Easily Grow Orchids Well
Orchids are one of the Four Gentlemen, and they represent a person's temperament and elegance. They are also a must-have choice for indoor plants. Orchids have become the most distinctive element in the field of landscaping. Below, let us take a look together at orchid planting methods.
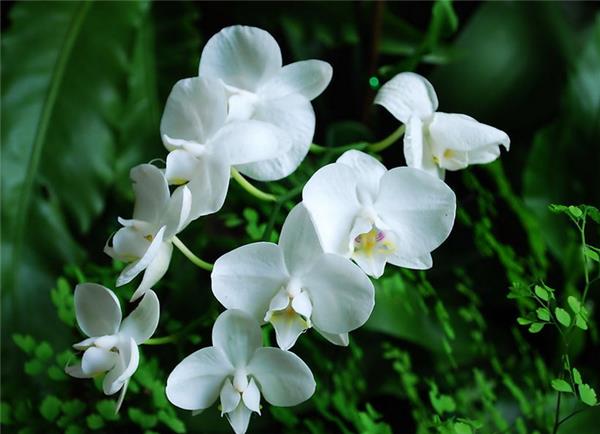
Orchid Planting Methods
Orchids are propagated by sowing seeds and by division.
Orchid seeds can be sown as soon as they are collected. Orchids have a special characteristic: the orchid roots must coexist symbiotically with orchid fungi in order to survive. Therefore, when sowing, the seeds are often sown on the surface of the mother plant's pot, making use of the mother plant's orchid fungi for germination and growth. The seeds germinate after about half a year, and after growing in the mother pot for two months, they can be moved into small pots for cultivation.
The division method is the method commonly used at present. Because orchid species differ and their characteristics vary, opinions differ among famous orchid growers as to the best time for division. Generally speaking, the more suitable times are spring, before new shoots emerge, and autumn, when orchids gradually stop growing. At these times it is easy to avoid bruising or breaking the new shoots, the temperature is milder, and it is convenient for handling and for restoring and building up the plant. Summer temperatures are high, and it is the peak growing season for orchids, while winter is cold and the plant's resistance is weaker, so division is mostly unfavorable at those times. You can also divide after the flowers have finished blooming. Generally, those that bloom in summer and autumn should be divided in early spring; those that bloom in early spring should be divided in late autumn. This way, flowering is not affected, and it can also stimulate the sprouting of leaf buds, giving green leaves and bright flowers.
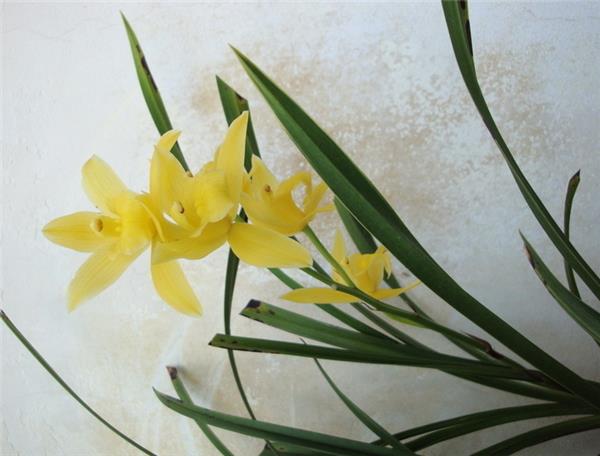
When dividing, take the mother plant out of the pot, shake off the soil, and use a knife to divide it into several clumps. Each clump should carry 3-4 pseudobulbs and new shoots, and the withered leaves and rotted, shriveled roots should be trimmed away. If you are using wild orchids bought from the market, since their root systems have mostly already lost water and become shriveled, you can first soak them in clean water, and after they have absorbed enough water, wash and clean the roots and whiskers, then dry them in the shade until the roots turn white before planting.
For planting orchids, you can use black mountain soil, peat soil, garden soil, pine-needle soil, moss, fern roots, bark chunks, and so on. Cover the drainage hole at the bottom of the pot with a piece of tile, then spread a layer of broken brick, tile, and stone granules to a thickness of one quarter of the pot's depth to enhance air permeability and drainage, and then spread another layer of growing medium. Hold the orchid upright and plant it, fill in the growing medium, and cover the pseudobulbs. The soil should be pressed firm, and no soil should be filled within 2 cm of the pot rim, to make watering easier. After planting, water thoroughly, and place it in a cool, shaded spot. After half a month, move it to a sunny, well-ventilated environment for tending. To increase beauty and moisture retention, a layer of small crushed white stones can be spread on the pot surface.
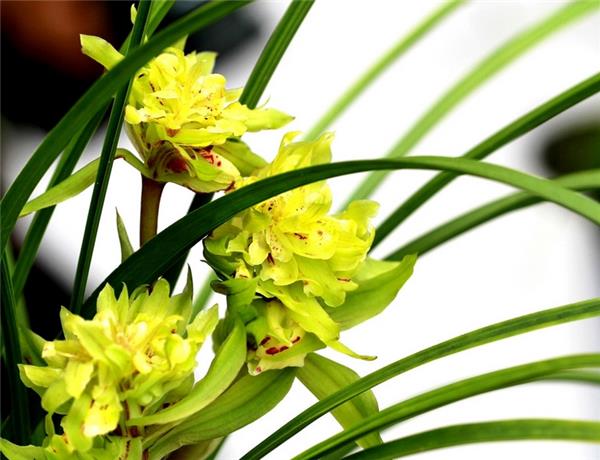
There are four prohibitions in growing orchids: namely, "do not take them out in spring, do not expose them to the sun in summer, do not let them dry out in autumn, and do not keep them wet in winter." In spring, the temperature is still unstable, and taking them out of the house too early makes them susceptible to wind and cold. It is relatively safe to take them out in early April. In summer, they should be placed under a shade frame, avoiding direct sunlight, and tended under diffused light. Autumn is the period when orchids sprout and send up flower spikes, so corresponding humidity should be maintained and dryness avoided. Orchid roots are fleshy, and in winter dormancy the water requirement is not great; the pot soil just needs to be slightly moist, and watering should not be excessive, so as to avoid diseases of the roots and leaves.
Fertilizer should be dilute rather than concentrated: during the growing season, apply once every half month with decomposed soybean cake water or horse-hoof sauce residue water. If an appropriate amount of monopotassium phosphate is added, the effect is even better. Do not fertilize in the heat of summer. When the temperature is too high (above 32°C), besides watering every day, spray water several more times. Slightly acidic water is preferable. Frequently spraying and washing the leaf surfaces with clean water not only improves the growing environment of the potted orchid, but also keeps the leaves clean and reduces the chance of pest and disease infection.
Orchids are prone to scale insects, which can be controlled by spraying with a 1000-fold dilution of dichlorvos emulsifiable concentrate. When whiteflies cause damage, spray to kill them with a 2000-fold dilution of deltamethrin. Orchid roots have a sweet taste and easily attract ants, which can be lured and eliminated with meat bones. Orchids are prone to anthracnose fungi and black spot fungi. After disease occurs, promptly remove and burn the diseased leaves, widen the spacing between potted plants, and improve ventilation and light conditions. Reduce water spraying and control humidity. Also apply carbendazim for prevention and control.