How to Grow and Care for Double-Flowered Wax Begonia
Double-flowered wax begonia is a classification within wax begonia (Begonia semperflorens-cultorum). Today we are going to introduce how to grow double-flowered wax begonia, so let's take a look!
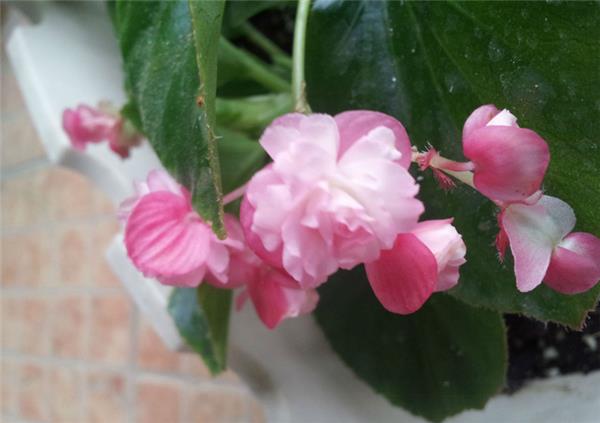
How to Grow Double-Flowered Wax Begonia
1. Fertilizing
During the growing period, wax begonia should be fertilized according to the leaf color and leaf growth conditions, but not too much fertilizer, otherwise the leaves will grow excessively and flowering will be affected. Before flowering, apply an appropriate amount of phosphorus and potassium fertilizer to improve flowering quality.
2. Overwintering
When winter comes, dig up the tubers and hang them for storage in a dry, ventilated place, or move potted plants indoors to a warm place to overwinter.
3. Disease prevention
During periods of high temperature and dryness, wax begonia is prone to root rot and stem rot. At the first sign, watering should be controlled promptly and carbendazim sprayed for prevention and control. Continued use for a period of time can show results.
4. Potting soil
The ideal potting soil for wax begonia is a mix of river sand, leaf mold and snakewood sawdust. Wax begonia fears extreme heat, so in summer it should be kept in a cool place for care.
5. Watering
Wax begonia likes warm and moist conditions, so during the growing period, watering should be based on the plant's growth and changes in temperature. Water less during the sprouting stage and keep the potting soil slightly dry; if it is too wet, the roots will rot. During the growing period, water once every two days and frequently spray water around the plant to increase air humidity. Also note that when watering, do not pour from the top of the leaves and stems; water along the edge of the flower pot, otherwise the stems and leaves are prone to water accumulation and rot.
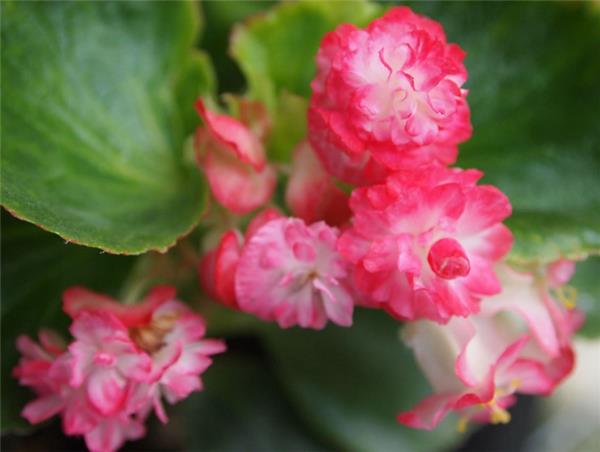
6. Winter and summer management
Because of the influence of temperature in winter and summer, wax begonia grows relatively slowly, so fertilizer and water management need to be strengthened.
7. Sunlight
During the high-temperature period of midsummer, be sure to avoid direct strong light on wax begonia, as this will sunburn it.
8. Pinching
After the flowers fade, be sure to remember to pinch off the growing tips of wax begonia in time and remove the remaining flowers, so that it can grow more luxuriantly.
9. Pests
The common pest of wax begonia is the leaf-roller moth. This insect uses its larvae to feed on tender leaves and flowers, directly affecting the growth and development of wax begonia. If the situation is not particularly serious, they can be picked off by hand; if serious, spray with a diluted dimethoate solution.
10. Placement
Wax begonia pots should usually be placed on a balcony or in a courtyard for care in partial shade. Never let direct sunlight come in, and pay attention to ventilation. About half a month after planting wax begonia, apply one application of decomposed fertilizer water; afterwards, during the growing period, apply a light fertilizer water once every 20-30 days. In winter, move it indoors to a sunny place, and the minimum temperature must not be lower than 10 degrees.
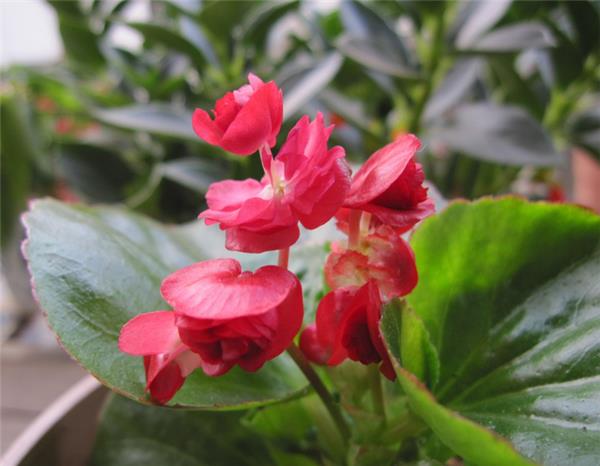
How to Graft Double-Flowered Wax Begonia
Cleft grafting:
The best grafting time is generally in early spring when the terminal buds have just begun to swell. The scion is a plump, well-developed one-year-old branch left from pruning the previous autumn, cut into sections 6 to 10 cm long, each with at least 2 plump buds. To retain moisture, the cut ends are often sealed with paraffin. When grafting, use a cutting knife to cut two symmetrical sloping faces of different sizes on the scion, one sloping face 1.5 to 2.0 cm long and the other 0.8 to 1.0 cm long. The cut faces must be smooth, preferably made with a single cut. At the same time, cut off the rootstock at about 20 cm above the ground, and make a downward incision 2.0 to 2.4 cm deep on the north side of the rootstock cross-section. Then insert the scion with its long cut face facing inward into the incision of the rootstock. The cambium on one side must align with the cambium on one side of the rootstock; if the thickness of the rootstock and scion is similar, it is even better if the cambium on both sides can align. Finally, bind it with plastic strips. It is even better to bind a small plastic bag around the graft to prevent water evaporation.
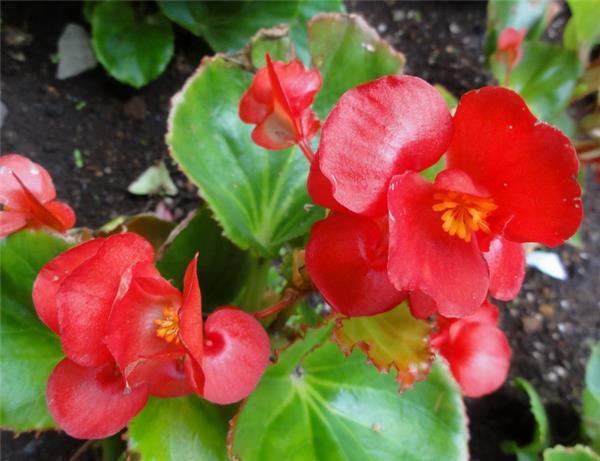
Bud grafting:
The grafting time is around August in autumn. Choose a suitable seedling as the rootstock. The scion is begonia, and a healthy, pest-free one-year-old branch with plump buds growing upright should be selected, grafted as soon as it is collected. Patch budding is a grafting method that is not limited by season, is simple to perform and has a high survival rate. Patch budding is similar to chip budding, but the bud used in patch budding does not carry xylem, so the cambium contact surface between the rootstock and the bud is larger, healing is easier and the survival rate is higher. Grafting is carried out in three steps:
Cutting the rootstock: choose a smooth spot at the grafting site on the rootstock. First make a horizontal cut at the lower part, deep enough to reach the xylem, then make a vertical cut downward along the xylem 2.5 cm above the horizontal cut, and remove the bark strip.
Cutting the bud: the method of cutting the bud is the same as that for the rootstock, using the two-cut bud-cutting method. First make a horizontal cut 1 cm below the bud, then make a vertical cut downward along the xylem 1 cm above the bud, and remove the cut bud. The size of the bud piece is the same as that of the bark strip removed from the rootstock.
Tying: attach the cut bud to the cut area of the rootstock, then tie it. It is best to use soft, elastic plastic strips for tying, as this gives a better seal. For early spring grafting, because the scion has no leaf stalk, the bud can be sealed together inside the plastic strip when tying. For grafting in the growing season, leave a 1 cm long leaf stalk on the cut bud, and when tying, leave the bud and leaf stalk exposed outside.
Remove the bark strip.Cutting the bud: the method of cutting the bud is the same as that for the rootstock, using the two-cut bud-cutting method. First make a horizontal cut 1 cm below the bud, then make a vertical cut downward along the xylem 1 cm above the bud, and remove the cut bud. The size of the bud piece is the same as that of the bark strip removed from the rootstock.
Tying: attach the cut bud to the cut area of the rootstock, then tie it. It is best to use soft, elastic plastic strips for tying, as this gives a better seal. For early spring grafting, because the scion has no leaf stalk, the bud can be sealed together inside the plastic strip when tying. For grafting in the growing season, leave a 1 cm long leaf stalk on the cut bud, and when tying, leave the bud and leaf stalk exposed outside.