How to Sow Lithops? Detailed Guide to Sowing Methods and Steps
Lithops have a unique form and colorful patterns, small succulents that look like rain flower stones, and they have become very popular ornamental plants. So how do you sow lithops?
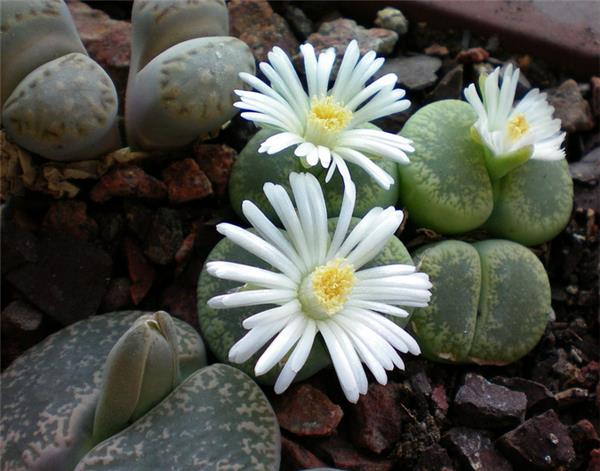
How to Sow Lithops
1. Preparation Before Sowing Lithops
Preparing Seeds
Usually what we obtain directly are lithops seeds, but if what we get is a seed capsule, we need to find a way to get the lithops seeds out of it. The lithops seed capsule is yellowish-brown, hemispherical, with five valves, dry and hard (Figures 1-2), and getting the seeds out of it is not easy. If the seed capsule is crushed, the seeds will mix with the fragments of the capsule. They are not easy to separate. In fact, there is a simple method: just prepare a cup, a pair of tweezers, and some absorbent paper. Pour a little warm water into the cup, put in the seed capsule, and very soon the capsule will slowly open, and you can clearly see the seeds inside. At this point, just hold the capsule with the tweezers and shake it back and forth, and all the seeds inside will shake out and stay in the water, leaving only the empty capsule. Finally, pour the water and seeds together onto the absorbent paper, and after the excess water on the seeds has been absorbed, you will have seeds of very high purity. This method imitates the habits of lithops in their place of origin. Whenever the rainy season comes and raindrops fall on the lithops seed capsule, the capsule opens and prepares to release seeds, and when more raindrops hit the capsule, they carry out some of the seeds.
Preparing Substrate
There are many types of substrate available on the market, such as akadama, kanuma, peat, vermiculite, and so on, and river sand and coal cinders are also very good lithops sowing substrates. Because lithops seeds are very small, the substrate must be sieved to remove powder and overly large particles, leaving substrate of about 1 mm for sowing. Mix the sieved substrate in a certain ratio (there are many methods, and you can gradually figure them out through practice), mix it thoroughly, and set it aside for later use. There are no strict requirements for the pot; as long as it is convenient to work with, any size will do.
Disinfection
Whether it is seeds or substrate, strict disinfection must be carried out before use. There are many disinfection methods, but they fall into two main categories: physical disinfection and chemical disinfection. Physical disinfection includes washing, sun exposure, high temperature, high pressure, and so on; chemical disinfection means using chemical agents for disinfection, mainly insecticides and fungicides. Sun exposure and chemical treatment are relatively convenient and practical.
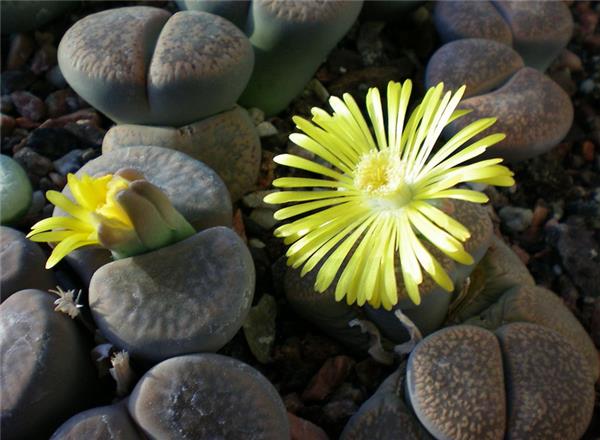
2. Sowing
Time
As long as the temperature is guaranteed, lithops can be sown in all four seasons, but spring and autumn are suitable, and autumn is best.
Filling the Soil
First place a piece of mesh at the bottom of the pot, then add some of the large particles left over from sieving to prevent water accumulation. Then fill the pot with the prepared substrate, tap it lightly a few times to make the substrate compact, and leave a distance of 1 cm between the substrate and the upper rim of the pot. Then water thoroughly and set it aside.
Sowing
Lithops seeds are small, so they are generally broadcast sown. When sowing, spread them as evenly as possible and do not let the seeds clump together. A 10 x 10 cm pot can be sown with 150-200 seeds, no more. Too many seedlings will be crowded, affecting ventilation and light, and they will also compete with each other for water and nutrients, resulting in uneven growth, size differentiation, deformities, and even death. Conversely, if there are too few, the wet-dry cycle of the substrate will be slow, which easily leads to root rot, so choosing a pot of appropriate size is very important. After sowing, thinly scatter a layer of vermiculite or river sand on the surface, in order to prevent the seedlings from lodging after emergence and to effectively prevent the growth of moss and green algae. Finally, spray water once more so that the seeds and substrate are fully in contact. After sowing, cover the mouth of the pot with glass or plastic film and place it in a spot at 22-26°C, waiting for germination. During this period, no further watering is needed.
Emergence
If the temperature is suitable, 3-7 days after sowing, the seeds will germinate one after another. You will see small green seedlings on the surface. Although they look a bit sparse, they will soon fill the pot. At this point, place the pot in a spot with scattered light so the seedlings can receive light. After a few days, once most of the seedlings have grown out, gradually remove the covering above to increase ventilation and light.
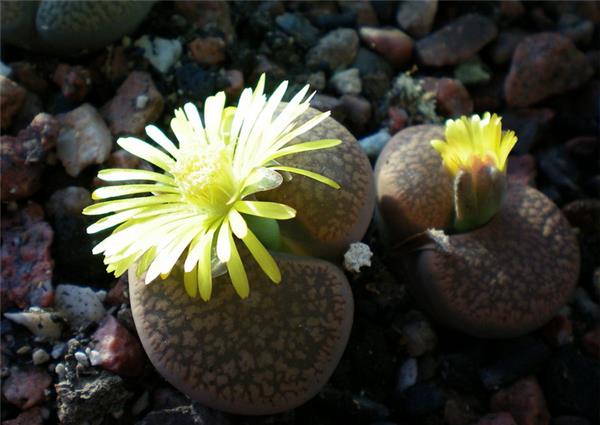
3. Management After Sowing Lithops
Fertilizing
One month after emergence, fertilizing can begin, mainly with nitrogen fertilizer and potassium fertilizer, applied with water every 15-20 days at a concentration of 1500 times. It must not be too concentrated, and the principle of light fertilizer applied frequently should be followed.
Pest and Disease Prevention
Lithops have relatively few pests and diseases, mainly rot disease and root mealybugs. Rot disease can be prevented by controlling water. There is currently no very good preventive method for root mealybugs. If root mealybugs appear, root pruning can be done after they appear.
Care During the Molting Period
After 3 months of growth, the young seedlings will welcome their first molting. At this time, stop watering so that the moisture in the old skin is fully absorbed by the new leaves. After this molting, the little stones already have some shape, only the opening in the middle is a bit small. After 1 year, the variety and patterns can be clearly distinguished.
Transplanting
There is no fixed time for transplanting. When the seedlings grow somewhat crowded, it is time to transplant. It is recommended to transplant in autumn. When transplanting, trim the root system, remove old roots, dead roots, and roots with root mealybugs, then apply fungicides such as carbendazim to the wounds. After the wounds dry, replant. When planting, leave a certain amount of growth space, and after 1 week normal care can be resumed.
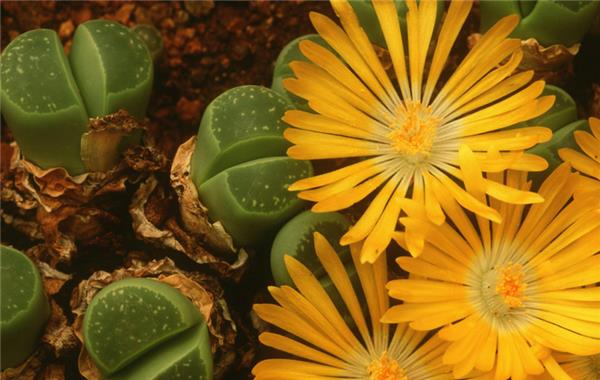
4. Key Points for Lithops Care
Humidity Management
Lithops prefer a relatively dry air environment. If rainy days last too long, they are susceptible to infection by pathogens. They are afraid of rain, and the leaves should be kept dry at night. The most suitable relative air humidity is 40-60%.
Temperature Management
The most suitable growth temperature for lithops is 15°C-25°C. They are afraid of high temperature and stuffiness, and enter a dormant state when the summer heat exceeds 33°C. They are averse to cold and frost, and the overwintering temperature needs to be kept above 10°C. They also enter a dormant state when the winter temperature drops below 7°C, and if the ambient temperature approaches 4°C, they will die from frostbite.
Fertilizer and Water Management
Lithops have a very strong drought tolerance and can grow even under dry environmental conditions, but this does not mean not giving them water or fertilizer; their root system is afraid of waterlogging. If water accumulates in the pot, or if they are watered and fertilized too frequently, root rot is easily caused. The principle for fertilizing and watering them is "alternate dry and wet, when dry let it dry thoroughly, do not water if not dry, and water thoroughly when watering." When fertilizing and watering, avoid getting the plant wet.
Pest and Disease Management
Lithops mainly suffer from leaf spot disease and leaf rot disease, which can be sprayed with a 600-times solution of 65% zineb wettable powder. Pests include ants and root-knot nematodes. Use the soil replacement method to reduce nematode damage. To prevent ants, use the double-pot water-isolation method for care so that ants cannot climb onto the tender, juicy spherical leaves.
Transplanting
There is no fixed time for transplanting. When the seedlings grow somewhat crowded, it is time to transplant. It is recommended to transplant in autumn. When transplanting, trim the root system, remove old roots, dead roots, and roots with root mealybugs, then apply fungicides such as carbendazim to the wounds. After the wounds dry, replant. When planting, leave a certain amount of growth space, and after 1 week normal care can be resumed.
4. Key Points for Lithops Care
Humidity Management
Lithops prefer a relatively dry air environment. If rainy days last too long, they are susceptible to infection by pathogens. They are afraid of rain, and the leaves should be kept dry at night. The most suitable relative air humidity is 40-60%.
Temperature Management
The most suitable growth temperature for lithops is 15°C-25°C. They are afraid of high temperature and stuffiness, and enter a dormant state when the summer heat exceeds 33°C. They are averse to cold and frost, and the overwintering temperature needs to be kept above 10°C. They also enter a dormant state when the winter temperature drops below 7°C, and if the ambient temperature approaches 4°C, they will die from frostbite.
Fertilizer and Water Management
Lithops have a very strong drought tolerance and can grow even under dry environmental conditions, but this does not mean not giving them water or fertilizer; their root system is afraid of waterlogging. If water accumulates in the pot, or if they are watered and fertilized too frequently, root rot is easily caused. The principle for fertilizing and watering them is "alternate dry and wet, when dry let it dry thoroughly, do not water if not dry, and water thoroughly when watering." When fertilizing and watering, avoid getting the plant wet.
Pest and Disease Management
Lithops mainly suffer from leaf spot disease and leaf rot disease, which can be sprayed with a 600-times solution of 65% zineb wettable powder. Pests include ants and root-knot nematodes. Use the soil replacement method to reduce nematode damage. To prevent ants, use the double-pot water-isolation method for care so that ants cannot climb onto the tender, juicy spherical leaves.