How to Grow Spider Plant in Water: Water Culture Methods for Spider Plant
The spider plant has unusual flower stems, drooping foliage, and stays evergreen all year round. It is an excellent choice for indoor hanging decoration and has the function of purifying the air. Keeping 1 to 2 pots of spider plant indoors has an effect similar to installing an air purifier indoors, keeping the air fresh and contributing to human health. So how do you grow spider plant in water? Below we introduce the water culture methods for spider plant.
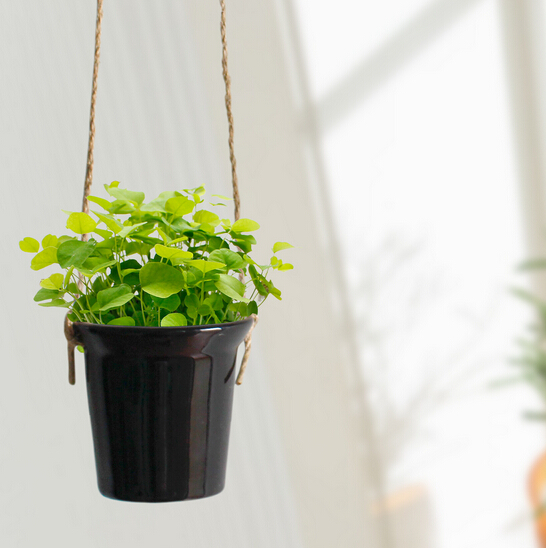 How to Grow Spider Plant in Water
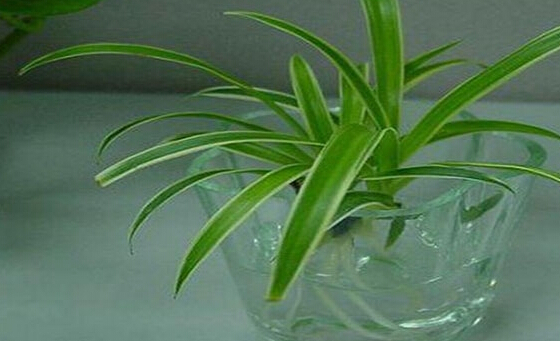
Growing spider plant in water is actually a relatively simple task. When starting water culture, you only need to cut off the small plantlets produced from the tillers in the middle of the clustered leaves and insert them into clean water (in a culture container). Generally, in just three short days, white translucent fleshy roots will appear. At this point the spider plant has been successfully grown in water, though it will no longer grow new leaves.
To keep a successfully water-cultured spider plant continuously growing new leaves, you must change the water every day, and once a month apply a 1/10000 dilution of a special nutrient solution for soilless foliage plants. This way, not only will the leaves keep their bright color, but new leaves will also keep growing.
Water Culture Methods for Spider Plant
Water Culture Method One for Spider Plant:
1. Choosing a container: Generally, the vase should be chosen according to the size of the water-cultured spider plant. It is best to choose one with a neck at the 1/3 point; it can be fixed or not fixed.
2. Choosing water culture plantlets: You can choose small plantlets newly grown on the runners, preferably with aerial roots; you can also wash the soil off a soil-grown spider plant and then grow it in water, but note that it must be disinfected before water culture.
3. Starting water culture: Choose a vase according to the size of the spider plant. When growing in water, do not add too much water; just enough to submerge 1/3 to 1/2 of the root system.
4. Care: Change the water once every 2 to 3 days. For those converted from soil culture to water culture, some roots will rot at first; these need to be cut off during water changes, and disinfection is best. When the new water roots are 3 to 5 cm long, you need to add nutrient solution to the water, and only a small amount is needed.
The care environment should preferably have scattered light, and must not be too shady or exposed to strong sun. If leaf tips dry out, prune them promptly.
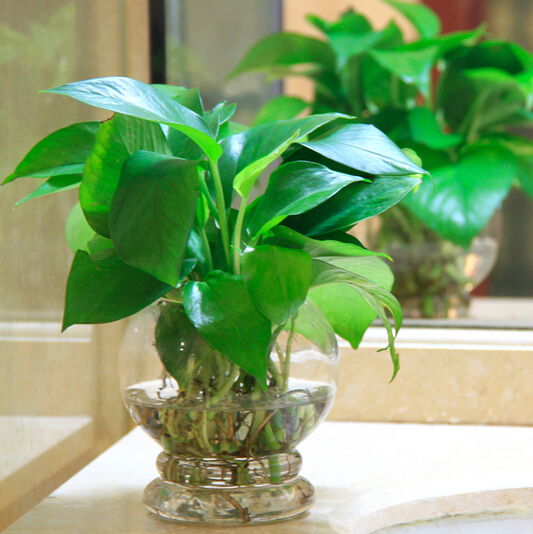 Water Culture Method Two for Spider Plant:
1. Container: The container bottle can be single-layer or double-layer. A single-layer bottle is a bottomless plastic bottle or bottomless ceramic bottle used to plant the spider plant. For a double-layer bottle, a plastic sieve is used as the upper layer, and the lower layer is a bottomless bottle container. Plant the spider plant in the upper plastic sieve so that the roots hang down into the bottle.
2. Taking plantlets: Take a potted or ground-planted spider plant out of its pot or dig it up from the ground, remove the soil from the roots, wash the roots with clean water, cut off old roots and rotten roots, keep the fibrous roots, cut off some leaves (old leaves, diseased and pest-damaged leaves), and keep healthy leaves, generally leaving 6 to 10 leaves.
3. Potting: For the single-layer bottle potting method, insert the prepared spider plant into the bottle, tie the bottle mouth tightly with sponge and insert a plastic straw, which is used for supplying water. Let the spider plant stand upright, put clean water and flower nutrient solution into the bottle, and let the spider plant roots grow submerged in the water. For the double-layer bottle cultivation method, plant the spider plant on the plastic sieve, with the roots passing through the small holes of the plastic sieve into the lower bottle. Put ceramic granules or stone grains (large particles) in the sieve to keep the spider plant upright, and put clean water and flower nutrient solution in the lower bottle. After potting is complete, place the spider plant indoors or in a cool place for management.
4. Management: ① Water: For single-layer container bottle cultivation, add water and flower nutrient solution once every 4 days, feeding water through the straw until full. For double-layer bottles, change the water once a week; when changing, pour out the bottle water, wash the container bottle clean, fill it with clean water and flower nutrient solution, and then place the plastic sieve on the water bottle. ② Fertilizer: Nutrient solution is added to the roots through adding and changing water, and for foliar feeding, spray the branches and leaves once every 3 days with diluted flower nutrient solution. ③ Pest and disease control: If pests or diseases are found, spray the leaves with all-purpose powder mixed with water. ④ Promoting flowering: The spider plant flowers half a year after potting. When flowering, do not spray water on the flowers, to prevent premature flower drop. After the flowers fade, cut them off from the branch tips to promote reblooming.
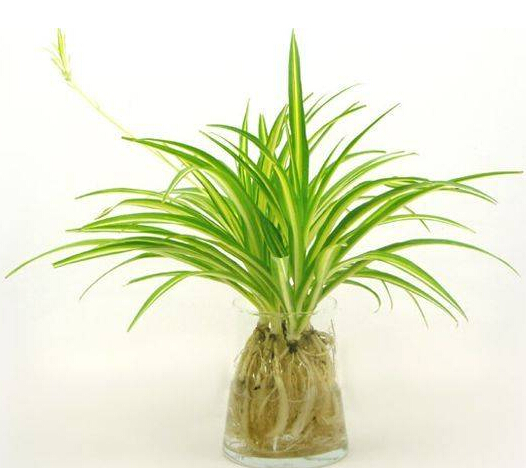 Water Culture Method Three for Spider Plant:
1. Cultivating plantlets: This process requires choosing shade-tolerant and hardy plants;
2. Water culture vessel: In the early stage of water culture, only a small container is needed; after the roots grow longer, switch to a larger glass container;
3. Nutrient solution: Add liquid fertilizer with nitrogen, phosphorus and potassium at 3:1:1 about every 10 days;
4. Ornamental fish: Small koi can be placed in the water culture vessel for spider plant, and the nutrient solution will not have adverse effects on such ornamental fish;
5. Feeding fish: Put a few grains of fish food into the water culture vessel for spider plant every day or every other day.
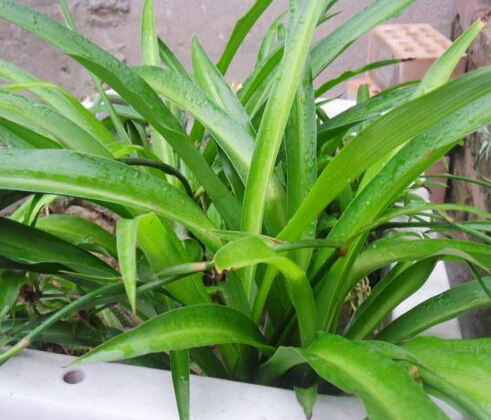 Daily Care of Water-Cultured Spider Plant
1. Spider plant likes a warm, humid and semi-shady environment. The optimum temperature for growth is 155 to 25 degrees, and the wintering temperature is 5 degrees. If the air is too dry and ventilation is poor, dry tips are likely to occur; if sunlight is too strong, it is likely to scorch the leaves. Spider plant cannot tolerate dry air, so the leaves must be sprayed with water frequently. Avoid direct sun in summer; when light is too strong, the leaf color turns pale yellow, so it should be placed in a semi-shady place.
2. Do not spray water in the afternoon or evening, as this will make the leaves rot more severely. Watering should not follow a strict interval; it should be managed flexibly, following the principle of "do not water if not dry, water thoroughly when watering." This can not only prevent the spider plant from getting sick, but also keep it growing compact and sturdy, increasing its ornamental value.
3. For single-layer container bottle cultivation, add water and flower nutrient solution once every 4 days, feeding water through the straw until full. For double-layer bottles, change the water once a week; when changing, pour out the bottle water, wash the container bottle clean, fill it with clean water and flower nutrient solution, and then place the plastic sieve on the water bottle.
4. The water level should be such that 1/3 of the root system is submerged, or the water level should be about 0.2 cm above the bottom layer of the planting basket. In summer, change the water once every 55 to 7 days; in spring and autumn, once every 75 to 10 days; in winter, once every 105 to 15 days. It is best to use tap water that has been left standing for 25 to 3 days, and the temperature difference when changing water should preferably not exceed 2 degrees.
 5. When growing spider plant in water by the root-washing method or division method, the original thick fleshy roots will rot, so you must change the water every day, clean the roots, and remove rotten roots. After about 25 to 30 days, new roots can grow from the rhizome area, and the old roots gradually adapt to the water culture environment and no longer rot. At this point, nutrient solution can be used for cultivation.
6. Nutrient solution is added during the water-changing process. The nutrient solution should be stored in a dry, light-protected environment, in a place not easily accessible to children, and the temperature should preferably not exceed 35 degrees.
7. For pest and disease control, if pests or diseases are found, spray the leaves with all-purpose powder mixed with water.
8. The spider plant flowers half a year after potting. When flowering, do not spray water on the flowers, to prevent premature flower drop. After the flowers fade, cut them off from the branch tips to promote reblooming.
Daily Care of Water-Cultured Spider Plant
1. Spider plant likes a warm, humid and semi-shady environment. The optimum temperature for growth is 155 to 25 degrees, and the wintering temperature is 5 degrees. If the air is too dry and ventilation is poor, dry tips are likely to occur; if sunlight is too strong, it is likely to scorch the leaves. Spider plant cannot tolerate dry air, so the leaves must be sprayed with water frequently. Avoid direct sun in summer; when light is too strong, the leaf color turns pale yellow, so it should be placed in a semi-shady place.
2. Do not spray water in the afternoon or evening, as this will make the leaves rot more severely. Watering should not follow a strict interval; it should be managed flexibly, following the principle of "do not water if not dry, water thoroughly when watering." This can not only prevent the spider plant from getting sick, but also keep it growing compact and sturdy, increasing its ornamental value.
3. For single-layer container bottle cultivation, add water and flower nutrient solution once every 4 days, feeding water through the straw until full. For double-layer bottles, change the water once a week; when changing, pour out the bottle water, wash the container bottle clean, fill it with clean water and flower nutrient solution, and then place the plastic sieve on the water bottle.
4. The water level should be such that 1/3 of the root system is submerged, or the water level should be about 0.2 cm above the bottom layer of the planting basket. In summer, change the water once every 55 to 7 days; in spring and autumn, once every 75 to 10 days; in winter, once every 105 to 15 days. It is best to use tap water that has been left standing for 25 to 3 days, and the temperature difference when changing water should preferably not exceed 2 degrees.
5. When growing spider plant in water by the root-washing method or division method, the original thick fleshy roots will rot, so you must change the water every day, clean the roots, and remove rotten roots. After about 25 to 30 days, new roots can grow from the rhizome area, and the old roots gradually adapt to the water culture environment and no longer rot. At this point, nutrient solution can be used for cultivation.
6. Nutrient solution is added during the water-changing process. The nutrient solution should be stored in a dry, light-protected environment, in a place not easily accessible to children, and the temperature should preferably not exceed 35 degrees.
7. For pest and disease control, if pests or diseases are found, spray the leaves with all-purpose powder mixed with water.
8. The spider plant flowers half a year after potting. When flowering, do not spray water on the flowers, to prevent premature flower drop. After the flowers fade, cut them off from the branch tips to promote reblooming.