A Detailed Guide to Amaryllis (Hippeastrum) Cultivation Methods and Key Points
The amaryllis (Hippeastrum) has huge blooms and brilliant colors. Today I will introduce the cultivation methods for amaryllis!
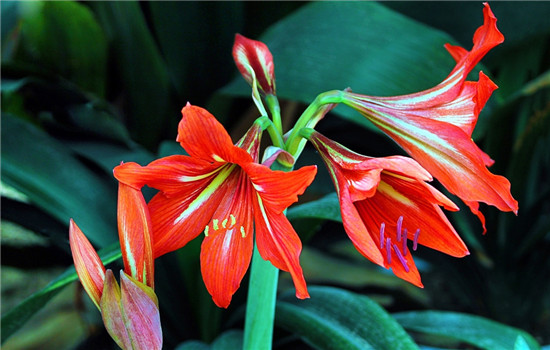
Amaryllis belongs to the Amaryllidaceae family, and the bulbs of Amaryllidaceae plants all contain lycorine and narcissine. It is best to keep them in a high place where children cannot reach them. The amaryllis has brilliant flowers and graceful leaves, making it a flower with very high ornamental value. You should not give up growing it just because it is mildly toxic. In fact, many flowers are toxic, such as narcissus, jasmine, croton, and crown of thorns, among others. We should not give up eating for fear of choking; as long as you are careful not to touch its sap and wash your hands promptly after contact, there is no problem.
Do not place amaryllis in the room where you sleep, because in sunlight the plant carries out photosynthesis, taking in carbon dioxide and releasing oxygen, while without sunlight the plant also needs oxygen. You can place the amaryllis in the living room.
The suitable growing temperature for amaryllis is around 20-25°C, and this can be used to decide when to plant. When growing it as a potted plant at home, you can follow the steps below:
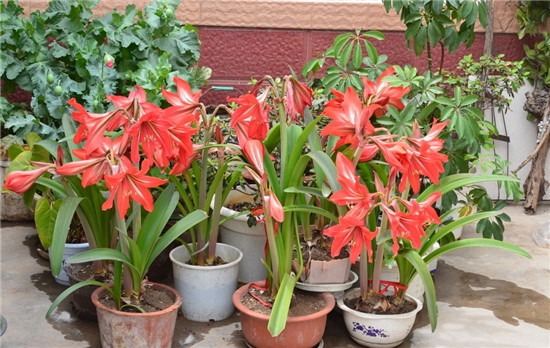
(1) Clean the bulb. Cut off the roots that have already rotted or dried out, and keep the remaining healthy roots. If the outside of the bulb has multiple layers of brown, dried skin, you can peel off part of it to eliminate the hidden risk of rot as much as possible.
(2) Rehydrate the bulb. If the bulb has lost a lot of water due to a long storage period, it is best to rehydrate it, that is, soak the middle and lower part of the bulb in clean water slightly warmer than the ambient temperature for 1 to 2 hours. Those with experience can add some plant hormones such as gibberellin to the water, which helps rooting and later bulb swelling, but attention should be paid to the concentration and soaking time, otherwise it will backfire.
(3) Disinfection. This is a key step in planting. Generally, common disinfectants such as carbendazim, chlorothalonil, and thiophanate-methyl can be used according to the instructions. After planting, the leftover disinfectant solution can be used for watering to disinfect the soil.
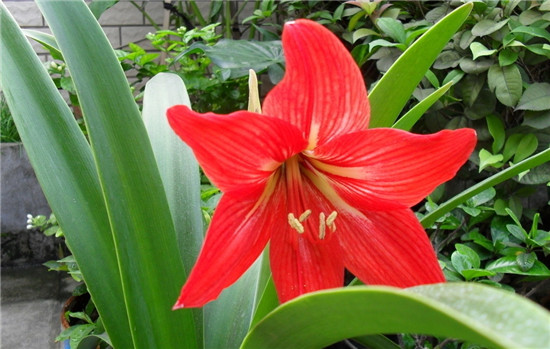
(4) Medium selection. In a limited planting space, the choice of medium is very important. Amaryllis is best planted in a loose, well-draining, slightly acidic medium. The recommended medium is peat : vermiculite : perlite = 2:1:1, or peat : perlite = 1:1. If these are not convenient, ordinary humus soil can replace peat, and river sand can replace perlite. It is best to mix 10% bone meal, superphosphate, or other base fertilizer into the medium.
(5) Planting depth. When the bulb is first planted, at least more than half of the bulb should be exposed, and the condition of the bulb should be checked frequently, because during this period the bulb is very prone to rotting. After this period has passed and the roots and leaves of the bulb have grown out, then cover with soil up to 1/2 or 2/3 of the bulb.
(6) Watering. Water thoroughly once after planting, then wait until the potting soil is basically dry before watering again. Before the bulb produces leaves, do not apply any fertilizer other than base fertilizer.
(7) Placement environment. After planting, first place it in a cool place at 10-15°C to encourage rooting, then after two weeks move it to a warmer place at 20-25°C so the flower scape can emerge.
Precautions for Amaryllis
Amaryllis grows quickly and its leaves are long and dense. When repotting and changing the soil, you should also cut off the damaged leaves, rotten roots, and roots and leaves affected by pests and diseases, leaving the vigorous leaves. After the amaryllis finishes blooming, the flower stalk should be cut off in time. This is because after flowering, this stage is mainly about nourishing the bulb, allowing it to fully absorb nutrients, enlarge the bulb, and produce new bulbs. Cutting off the flower stalk lets the nutrients concentrate on nourishing the bulb. In post-flowering care, in addition to appropriately reducing the amount of watering, you should also make sure the potting soil does not become waterlogged, so as to avoid rotting the bulb. After flowering, it is still necessary to apply cake fertilizer water once about every 20 days to promote the enlargement of the bulb and the sprouting of new bulbs, until after November when it is moved into a greenhouse; only then can you stop fertilizing and control watering, keeping the bulb from drying out.
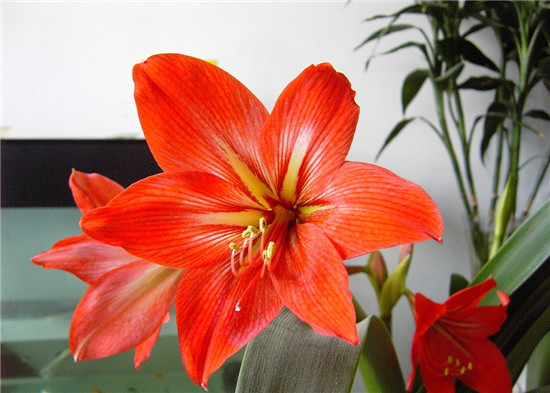
Special attention should also be paid when the amaryllis is dormant. Watering must be strictly controlled, and the amount of water should be kept to just enough to keep the bulb from withering. The temperature can be maintained at 10-15°C. At the end of December or in early January, you can water a thin, thorough soaking into the pot to awaken the dormant amaryllis. After about a week, apply a diluted calcium phosphate fertilizer solution once, and keep the temperature at around 16°C to promote sprouting and earlier flowering.
Attention should also be paid after flowering. After the amaryllis blooms, the above-ground part will partially set fruit, while the underground part will grow bulbs. At this time, you should fertilize 1-2 times after flowering, and do not water frequently; let the medium be on the drier side. After the amaryllis flowers, it should be moved to a semi-shaded, well-ventilated place for potted care.
The above is the complete content of the amaryllis cultivation methods and key points for growing amaryllis that I have summarized for everyone. I hope this article can help you. Please also continue to follow us.
while the underground part will grow bulbs. At this time, you should fertilize 1-2 times after flowering, and do not water frequently; let the medium be on the drier side. After the amaryllis flowers, it should be moved to a semi-shaded, well-ventilated place for potted care.The above is the complete content of the amaryllis cultivation methods and key points for growing amaryllis that I have summarized for everyone. I hope this article can help you. Please also continue to follow us.