How to easily fix yellowing bromeliad leaves in just a few steps: handy tips
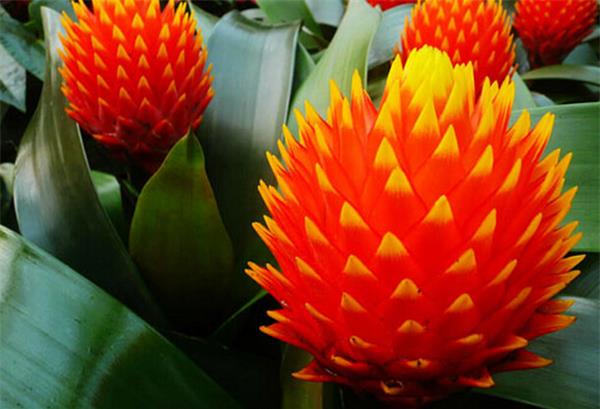
The bromeliad, or pineapple, is a perennial herbaceous plant of the Bromeliaceae family. Among bromeliad varieties, some produce flowers that are not beautiful but bear edible fruit, and people call these edible bromeliads, or pineapples; others have flowers and leaves that are both strange and novel but bear no fruit, and people call these ornamental bromeliads or bromeliad flowers. That is where the name bromeliad flower comes from. So when growing bromeliads, what should you do if the leaves turn yellow, and how do you grow them well?
Causes of yellowing bromeliad leaves:
Yellowing and withering of leaf tips may be caused by irrigation water that is too alkaline or high in calcium and sodium;
Air humidity that is too low;
Over-fertilising or liquid fertiliser that is too concentrated, causing salts to accumulate at the leaf tips, resulting in salt damage, plasmolysis and dehydration;
Poor drainage of the growing medium, leading to root rot, so water cannot be fully supplied to the leaf tips, and so on.
Because bromeliads in their native state grow as epiphytes under trees in tropical rainforests, they are accustomed to partial shade and should be protected from scorching sun, so they are best placed in partial shade or in a bright indoor spot or window. That is why bromeliads do not need a particularly large amount of sunlight. So when they are exposed to sunlight for too long, some of the leaves turn yellow, and then the flower tips begin to dry out and turn yellow.
So what should you do when bromeliad leaves turn yellow?
When bromeliad leaves turn yellow, pay attention to these points:
Apply a top dressing 1-2 times a month; the potting soil may be kept moist; do not let the water in the leaf rosette run out, and increase the frequency of misting the leaves to raise the ambient humidity. After winter begins, move it indoors for warmth, keeping the room temperature at 5°C, and if it gets especially cold, you can slip a plastic bag over the whole pot to keep it warm.
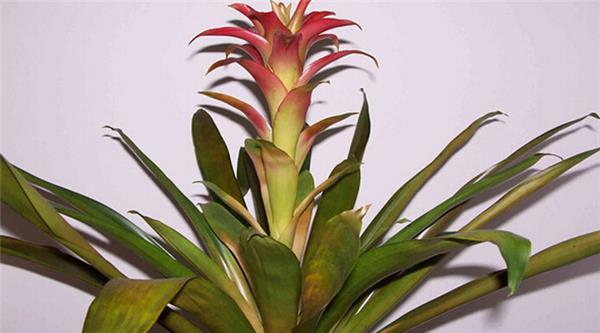
Repot and change the soil once every 1-2 years. For the potting soil, mix 5 parts mountain soil, 4 parts sand, and 1 part rice-hull ash or decomposed sawdust before use. Adding a small amount of bone meal to the soil is even better. Use deionised water or mineral water. Tap water has a higher pH.
The day before watering, it is best to store the water in the greenhouse for a day; you can also use a thermometer to check its water temperature, making sure it is above 20°C.
When mixing fertiliser, mix it directly with deionised water; generally the nitrogen-phosphorus-potassium ratio in it is about 20:10:20, because bromeliads do not like too much phosphorus fertiliser, and if there is too much phosphorus fertiliser it affects the growth of their root system.
They rather like nitrogen and potassium, but if there is too much nitrogen fertiliser it will also cause the leaves to grow leggy. Generally the ratio of nitrogen fertiliser to potassium fertiliser is about the same, with an NPK of 20:10:20. The usual fertilising cycle is about half a month. You can also, during its growth, take it out of the pot to observe the colour of its root system. If the root colour is rather dark, it proves that the fertiliser concentration is suitable for its growth; if the roots are a little whitish, you can appropriately increase the concentration a bit more, or shorten the interval a little. When fertilising, take care to apply more potassium and magnesium fertiliser, reduce the amount of phosphorus fertiliser, and strictly control the amounts of copper and boron.
Tips for rescuing bromeliads with yellowing leaves
The biggest weakness of bromeliads is not fear of cold, but fear of waterlogging, so there is a lot to know about watering. When watering bromeliads, the potting soil surface should be slightly dry, that is, water a second time only after the top 1-2 cm of soil has dried; it must not be too wet, as too much moisture easily rots the roots.
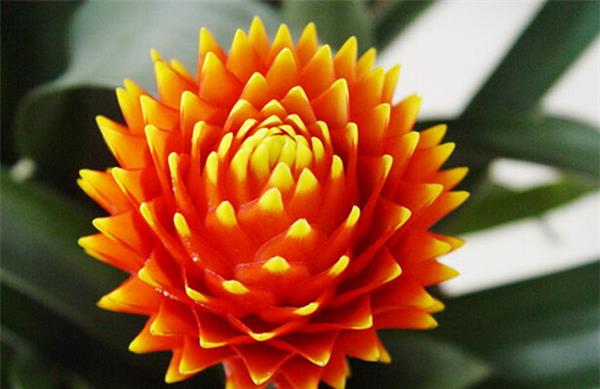
After reading the above introduction to the relevant knowledge about yellowing bromeliad leaves, the editor hopes you now know the cause of your own bromeliad's yellowing leaves and also know how to treat it.
Bromeliads originate from tropical regions and are sensitive to cold, so when growing them in winter the temperature must be kept above 5°C, which is the only way to avoid disease. Because bromeliads in their native state grow as epiphytes under tropical rainforest canopy, their need for sunlight is not especially high; on the contrary, too much sunlight can also cause yellowing leaves, dry flower tips and so on. So the best place to keep a bromeliad is somewhere in partial shade and well ventilated, protected from blazing sun. So what are the methods for growing bromeliads?
[Methods for growing bromeliads]
Soil: to plant bromeliads it is best to use river sand mixed with tree-fern fibre, or ordinary commercially sold potting mix will do.
Water: bromeliads do not need special care, and in autumn and winter you can water them once every 7-10 days. When adding water, let the water collect in the central leaf cup, then watch how the water is absorbed; if the standing water has been there for more than a week, you should pour it out and replace it with fresh water to avoid breeding pathogens.
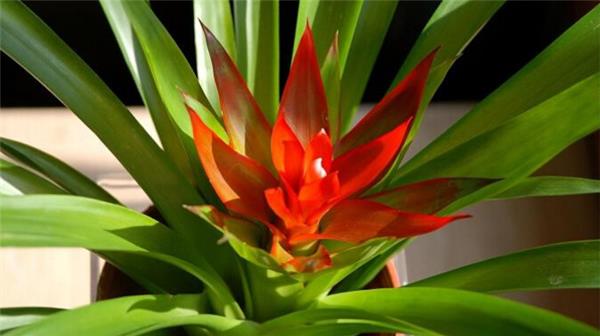
Fertiliser: since the growth rate is not fast, you can simply mix a slow-release fertiliser into the medium after transplanting or planting out. Or spray the leaves or pour into the leaf cup a very dilute liquid fertiliser once a month.
Climate: under dry, hot and stuffy conditions with low humidity, the leaf margins and leaf tips of bromeliads very easily scorch, so we need to keep the potting soil moist and can spray the leaves with clean water 1-2 times a day; the cup-shaped part in the centre of the leaf rosette can be filled with clean water. Bromeliads were originally epiphytic plants, and their root system is not well developed, with only small, short roots, so by all means avoid applying too much fertiliser, to prevent root rot and yellowing leaves; use dilute fertiliser solution instead.
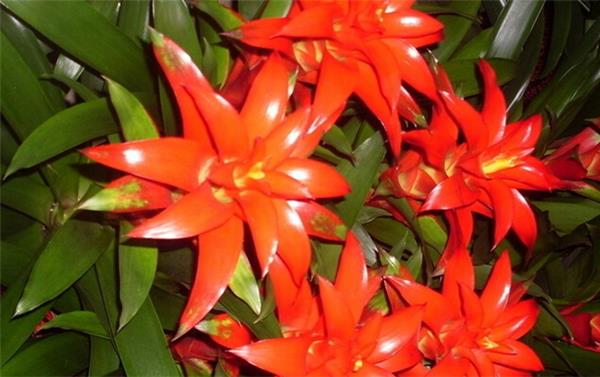
That is where the editor's sharing of tips on how to grow bromeliads well comes to an end. I believe that after reading about the causes of yellowing bromeliad leaves, you will certainly also know how to grow bromeliads well. I am sure friends will be able to do it!
Fertiliser: since the growth rate is not fast, you can simply mix a slow-release fertiliser into the medium after transplanting or planting out. Or spray the leaves or pour into the leaf cup a very dilute liquid fertiliser once a month.
Climate: under dry, hot and stuffy conditions with low humidity, the leaf margins and leaf tips of bromeliads very easily scorch, so we need to keep the potting soil moist and can spray the leaves with clean water 1-2 times a day; the cup-shaped part in the centre of the leaf rosette can be filled with clean water. Bromeliads were originally epiphytic plants, and their root system is not well developed, with only small, short roots, so by all means avoid applying too much fertiliser, to prevent root rot and yellowing leaves; use dilute fertiliser solution instead.
That is where the editor's sharing of tips on how to grow bromeliads well comes to an end. I believe that after reading about the causes of yellowing bromeliad leaves, you will certainly also know how to grow bromeliads well. I am sure friends will be able to do it!