Detailed Explanation of Geranium Cutting Propagation Methods and Techniques
Geranium propagation is mainly done by cuttings, but how to carry out the cuttings is the question most commonly asked by people growing geraniums. Next, let us take a look at the geranium cutting propagation methods!
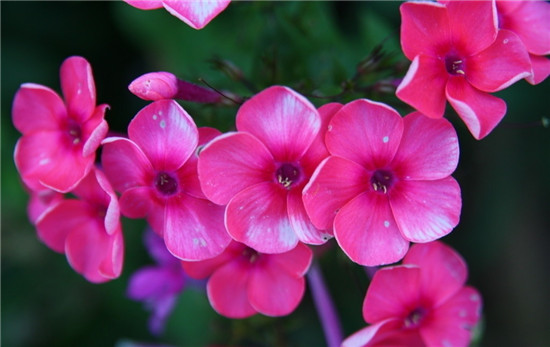
As is well known, geranium is a plant with relatively strong vitality and can perform tenaciously under both low and high temperatures, but in the cutting stage many flower enthusiasts find it somewhat difficult, with black rot and gray mold easily occurring. Especially when cutting in summer, the survival rate is extremely low. Here I will introduce to everyone a relatively simple cutting method with a relatively high survival rate! My cutting survival rate in July was nearly 80%.
Indicators for geranium cuttings:
1. The time is November, indoor temperature 19-21 degrees.
2. The cutting substrate is perlite plus peat plus river sand. After mixing, the substrate is scalded and washed with boiling water.
3. The branch uses the top shoot cut off from the geranium when pinching. The cutting point is chosen at the leaf node.
4. Cut a few small ventilation holes in the bottom and around the sides of the cutting cup. After the substrate is scalded, washed and cooled, use chopsticks to poke a hole in the middle and insert the branch.
5. After cutting, place it into a foam box. Pour cool boiled water about 1 cm deep into the foam box, place it in a sunny spot indoors, and add water when you see there is less water in the box.
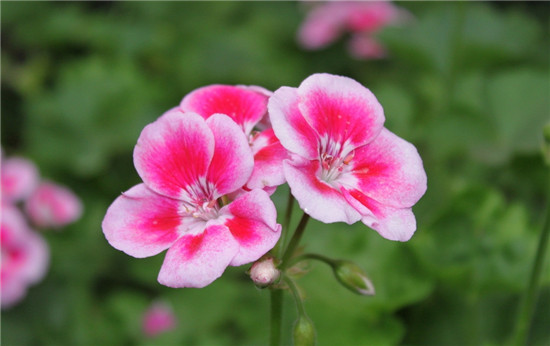
Geranium cutting propagation methods
First, choose the container. Choose different containers for different seasons, and be sure not to make them too large. For my batch cuttings, I take plug trays as an example. In summer, 50-cell trays are more suitable; in spring and autumn, use 72-cell trays; in winter, use 128-cell trays (see the picture). The most critical point is that disinfection must be done. The best disinfection method is very simple: rinse the container with clean water, then place it in the sun to bake for three days. Be sure not to let it get rained on during this period. Flower enthusiasts at home can also choose other containers and soak them with disinfectant.
Second, the cutting substrate. There are many kinds of cutting substrates. I use the simplest and cheapest one, peat soil. I personally suggest everyone use imported peat. To save costs, I use domestic peat. Put the peat soil into the container and press it firm. Remember that pressing firm must squeeze the air out of the soil! In this way, the roots produced by the little geraniums will be very strong and the survival rate will also be very high. Next is the disinfection of the substrate. Generally, carbendazim is dissolved in water for treatment. In summer, use thiophanate-methyl and treat with a somewhat larger amount according to the instructions.
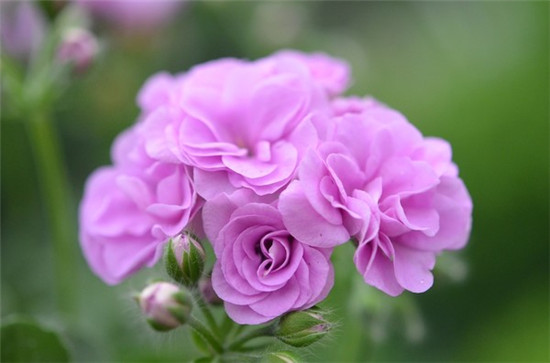
Third, the cuttings. I have seen many people use some old branches for cuttings. Maybe everyone thinks this kind of branch is relatively thick and has a relatively high survival rate, but I personally do not think it is very ideal. Old branches also have almost no advantage. I generally use tender branches for cuttings. Tender branches have several advantages: 1. Strong vitality, good apical dominance, and relatively rich nutrients. The seedling recovery period is short, while old branches not only root slowly but also carry miscellaneous bacteria and are prone to rot. 2. Fast rooting, and the cutting cycle can be shortened by about one week. 3. Saves space. When cutting many, they can be managed in batches. Small branches can reduce the number of waterings, and ventilation is relatively ideal, reducing disease caused by poor ventilation. 3. After survival, growth is rapid, and the plant shape can also be easily controlled!
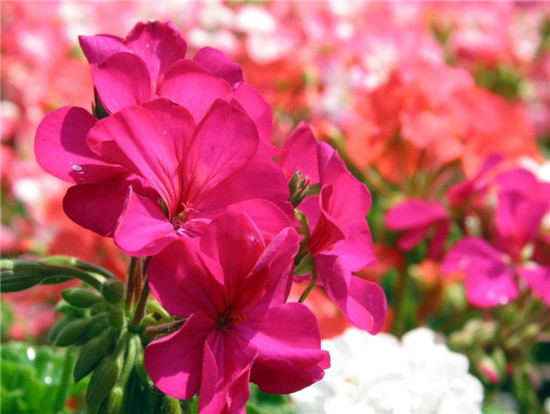
Fourth, cutting management. Do not treat little geranium branches with rooting powder, as they rot very easily, especially in summer. In fact, geranium roots easily. Pay attention to substrate moisture, alternating between dry and wet (the substrate surface is dry and the geranium has not wilted). Never keep it always wet; it is better to keep it a bit drier. Use fungicide once a week. It is better to water in the morning. The light issue is relatively important. Except in summer, after cutting, place it in a semi-shaded place for 3 days, then place it in sunlight for a long time. Just pay attention to whether the substrate is dry or wet. In summer, it needs to be placed in semi-shade, with some sunlight in the morning and evening, and roots will appear in about 15 to 20 days.
The above is all the content I have summarized for everyone on geranium cutting propagation methods and geranium cutting propagation techniques. I hope this article can help everyone. Please also continue to follow us.