How to Grow Phalaenopsis Orchids? A Detailed Guide to Cultivation Methods
Phalaenopsis belongs to the genus Phalaenopsis in the orchid family (Orchidaceae). It originates from subtropical rainforest regions and is an epiphytic orchid. Next, let us take a look at the cultivation methods for Phalaenopsis.
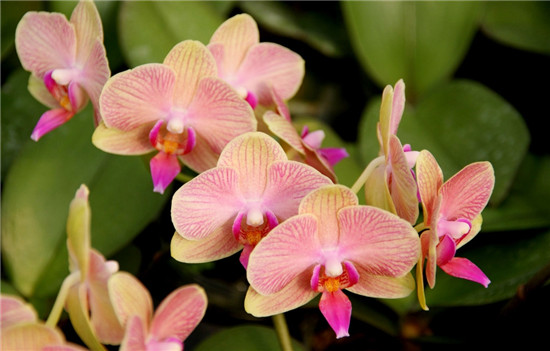
Phalaenopsis is a very beautiful flower, and its appearance leaves nothing to be desired. Phalaenopsis has graceful flowers and a wide range of elegant colors, and it gets its name because its flower shape resembles a butterfly. It is widely cultivated in countries around the world. Although it is an air plant (epiphyte), it has no pseudobulbs, only a very short stem at the base. The leaves are wide and thick, oblong, and can reach more than 50 cm.
There are about 100 species of Phalaenopsis, native to Europe and Asia, North Africa, North America and Central America. There are two very famous species: Platanthera chlorantha, which bears white flowers and is relatively small; and Platanthera hologlottis (green-flowered Platanthera), which has large, green-white flowers and a relatively larger plant form.
The colors are vivid, the flowering period is long, and it has great ornamental value. The scientific name of Phalaenopsis means, according to its original Greek meaning, "an orchid that looks like a butterfly." It can absorb nutrients from the air to survive and is classified as an air plant (epiphyte); it can be said to be a large group among tropical orchids. Its plant form is very peculiar: it has neither creeping stems nor pseudobulbs.
Its emergence and development have a history. Phalaenopsis was discovered in 1750. To date, more than 70 native species have been discovered, most of which are produced in humid Asian regions, naturally distributed in low-latitude tropical islands such as Assam, Myanmar, the islands of the Indian Ocean, the Malay Peninsula, the South Seas Islands, the Philippines and even Taiwan, China.
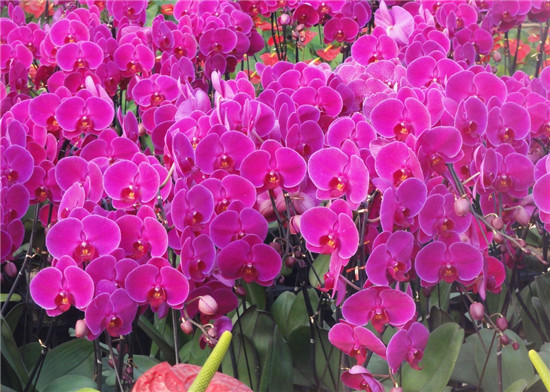
Phalaenopsis Planting and Care
Light Intensity
For newly purchased flask plantlets, the light intensity should slowly rise to 5000Lx; after being removed from the flask, 3000-5000Lx; upon entering normal management, 5000-7000Lx. Medium plantlets with a diameter of 8.4cm require a light intensity of 10000-3000Lx; large plantlets with a diameter of 10.6cm require 15000-18000Lx; when forcing flowers, the light intensity requirement is 7000-8000Lx; when flower buds germinate and the flower stalk reaches 10-15cm, the light should slowly rise from 10000Lx to 14000Lx, with gradual transitions in management during each summer period. According to the light requirements at different seedling stages, combined with weather conditions, control the light intensity by retracting the inner and outer shade nets.
Temperature
The daytime temperature requirements for large, medium and small Phalaenopsis are basically the same, preferably not exceeding 30°C; at night, medium and small plantlets require 23°C, and large plantlets require 20°C. When forcing flowers, the daytime requirement is 20-24°C, and at night 17-20°C. After the first flower, the daytime temperature is 25-28°C, and the night temperature is 20-22°C. When the temperature is low, use a heater to warm it; when the temperature is high, use a fan-water curtain to cool it.
Humidity
During the vegetative growth stage, the optimal humidity requirement is above 90%; during the flower-forcing treatment stage, the humidity requirement is 70-80%; after flowering, a humidity of 50% is sufficient. Humidity can be regulated by measures such as water curtain ventilation and spraying the floor space with water.
Watering
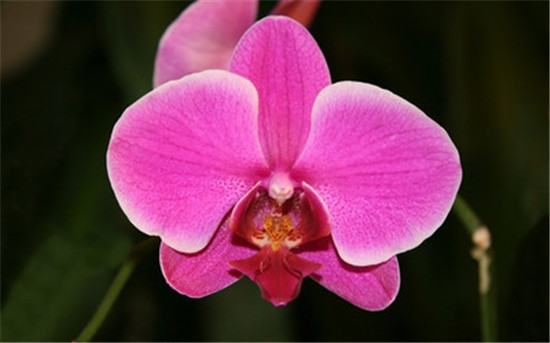
The aerial roots of Phalaenopsis have a strong absorption capacity and can absorb oxygen, nutrients, water, etc. Excessive water will cause suffocation and root death. Therefore, when watering Phalaenopsis, use a fine stream to drench it when the medium is dry. During operation, try not to let water remain in leaf depressions or at the growth point, to prevent mildew or infection. Water until water overflows from the bottom hole of the soft pot. Phalaenopsis has very important requirements for water quality, especially the two indicators of total hardness and iron content: total hardness below 50mg/L and iron content below 0.1mg/L. Tap water can be left to stand for 1-2 days before use. When watering, pay attention to alternating dry and wet conditions; water again after the plant has dried, and never keep it in a constantly moist state. The water temperature should remain consistent with the temperature of the seedling's growing environment. In summer, the earlier in the morning you water, the better; in winter, watering after 10 a.m. is most suitable. Before, after and during watering, check whether the orchid plant is dry or wet. If after normal watering some orchid plants are still dry and short of water, with soft, drooping leaves, you must find a way to increase air humidity, and absolutely do not aggressively water every day.
Notes on Growing Phalaenopsis
1. Flower pot: If you are careful enough, you will notice that the Phalaenopsis sold on the market are all planted in white transparent plastic pots. It should be noted that this is not because merchants want to reduce costs and are unwilling to use good pots; rather, the roots of Phalaenopsis need to carry out photosynthesis. That is why the roots of the Phalaenopsis you see growing well are green, which is the result of photosynthesis. If you care for them at home, you can choose a colorless transparent plastic container, as long as the size is suitable.
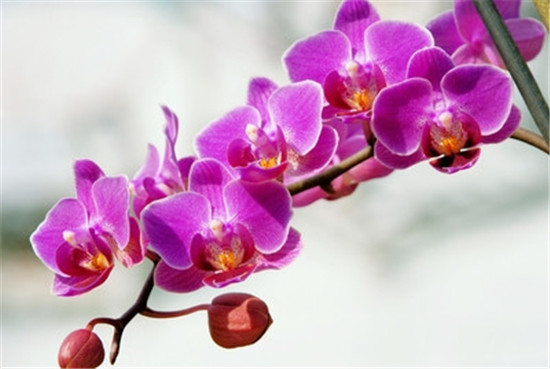
2. Potting medium: Generally, sphagnum moss is used for growing Phalaenopsis. The quality of the sphagnum moss is also very important. Do not choose overly broken, powdery moss, because sphagnum moss has a very strong water-holding capacity, and moss that is too broken will cause excessive moisture at the roots and lead to rot. Because sphagnum moss has good water absorption, when growing Phalaenopsis you can lay some ceramsite or orchid-growing substrate at the bottom of the pot, and then use sphagnum moss for cultivation.
3. Treatment after flowering: Most people receive Phalaenopsis as a gift from friends during the Spring Festival or buy Phalaenopsis themselves. With normal watering, seeing wet and seeing dry, it can generally bloom until March or April; if it is a Phalaenopsis you grow yourself, it may still be blooming brightly in mid-May.
4. Phalaenopsis likes a high-temperature, high-humidity, ventilated and semi-shaded environment. It is not tolerant of waterlogging, cannot be exposed to direct sunlight, cannot have standing water, and is afraid of cold. Wild Phalaenopsis mostly grows in humid tropical regions, so the most suitable growing temperature for Phalaenopsis is 22-28°C. Once the temperature is below 15°C, it will stop growing and will die. Place Phalaenopsis in a cool, ventilated place and avoid direct sunlight. Phalaenopsis has quite a lot of aerial roots, and their root tips are emerald green and quite sensitive. When growing them, protect them carefully and never touch or damage the root tips, otherwise that root will stop growing.
5. To promote the growth of Phalaenopsis, fertilizer is indispensable. The principle for fertilizing Phalaenopsis is light fertilizer applied frequently; do not use overly concentrated chemical fertilizer. During the growth period of Phalaenopsis, apply nitrogen-potassium fertilizer, and during the flower-forcing period apply phosphorus-potassium fertilizer, generally fertilizing once every 1-2 weeks. In addition, Phalaenopsis does not need fertilizer during the flowering and dormant periods, but before flowering and after flowering, fertilizer must be supplemented appropriately.
The above is the full content of my summary for everyone on how to grow Phalaenopsis and the cultivation methods for Phalaenopsis. I hope this article can help everyone. Please also continue to follow us.
With normal watering, seeing wet and seeing dry, it can generally bloom until March or April; if it is a Phalaenopsis you grow yourself, it may still be blooming brightly in mid-May.4. Phalaenopsis likes a high-temperature, high-humidity, ventilated and semi-shaded environment. It is not tolerant of waterlogging, cannot be exposed to direct sunlight, cannot have standing water, and is afraid of cold. Wild Phalaenopsis mostly grows in humid tropical regions, so the most suitable growing temperature for Phalaenopsis is 22-28°C. Once the temperature is below 15°C, it will stop growing and will die. Place Phalaenopsis in a cool, ventilated place and avoid direct sunlight. Phalaenopsis has quite a lot of aerial roots, and their root tips are emerald green and quite sensitive. When growing them, protect them carefully and never touch or damage the root tips, otherwise that root will stop growing.
5. To promote the growth of Phalaenopsis, fertilizer is indispensable. The principle for fertilizing Phalaenopsis is light fertilizer applied frequently; do not use overly concentrated chemical fertilizer. During the growth period of Phalaenopsis, apply nitrogen-potassium fertilizer, and during the flower-forcing period apply phosphorus-potassium fertilizer, generally fertilizing once every 1-2 weeks. In addition, Phalaenopsis does not need fertilizer during the flowering and dormant periods, but before flowering and after flowering, fertilizer must be supplemented appropriately.
The above is the full content of my summary for everyone on how to grow Phalaenopsis and the cultivation methods for Phalaenopsis. I hope this article can help everyone. Please also continue to follow us.