A detailed guide to the cultivation and care of Clivia miniata, so your home is filled with the fragrance of flowers
Some friends say that Clivia miniata is not as delicate as it is made out to be online, but there are still some habits of Clivia miniata that you must understand clearly. Clivia miniata is extremely tolerant of shade; it likes a moist, cool environment and tolerates neither cold nor heat. In summer, when growing Clivia miniata, you must prevent exposure to scorching sun. In winter, when growing Clivia miniata, you must prevent it from freezing; when the temperature is below 10 degrees, the growth rate of Clivia miniata slows down. Last winter, the temperature was not controlled well, and it was obvious that Clivia miniata almost stopped growing. When the temperature is 15-25°C, it is the most suitable growing temperature for Clivia miniata.
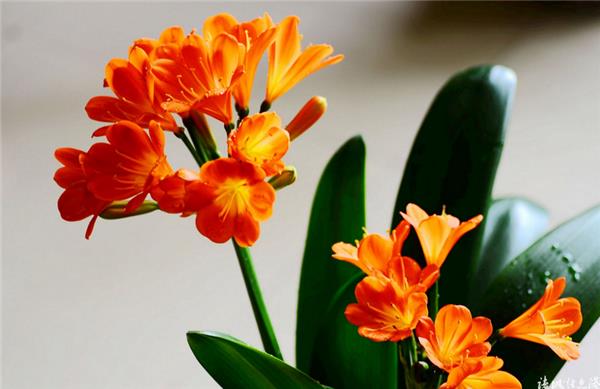
1. Soil:
Fertile, loose, neutral or slightly acidic humus soil is the most suitable hotbed for Clivia miniata. The choice of soil is the number one key factor for Clivia miniata, and it is also one of the reasons many people fail to grow it well.
a. After sifting the soil, sterilize it.
b. Fry hemp seeds until fragrant and mix them evenly with the soil.
c. Add a layer of charcoal at the bottom of the pot to increase air permeability at the bottom of the pot and prevent water accumulation.
d. Add a small handful of hemp seeds at the bottom of the pot as base fertilizer.
2. Light:
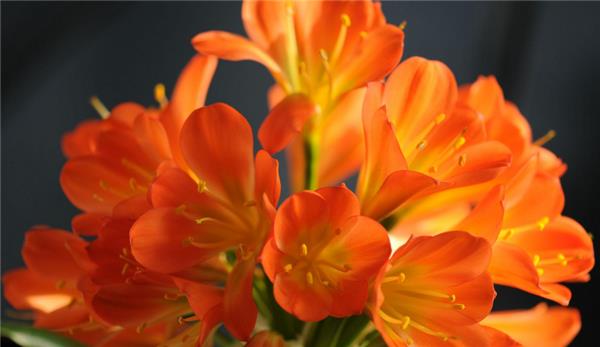
Clivia miniata likes partial shade. When growing Clivia miniata indoors, you need to manually adjust the effect of light on it. The leaves of Clivia miniata are phototropic; if it is kept in one place indoors for a long time, the leaves will definitely turn toward the direction of the sun, and as far as its plant shape is concerned, it will be difficult to achieve the ornamental effect of forming a straight line when viewed from the side and looking like an open fan when viewed head-on. Usually, during the day, place the pot in a sunny spot so that Clivia miniata grows attractively and has ornamental value. Do not be lazy; every week you should turn the sunny side of the leaves to a different direction, so that Clivia miniata can grow in a well-arranged way. Because the leaves of Clivia miniata grow oppositely, if the light is too one-sided for a long time, it will cause uneven growth. When Clivia miniata is in bud, place it under sunlight at night to supplement light.
3. Watering:
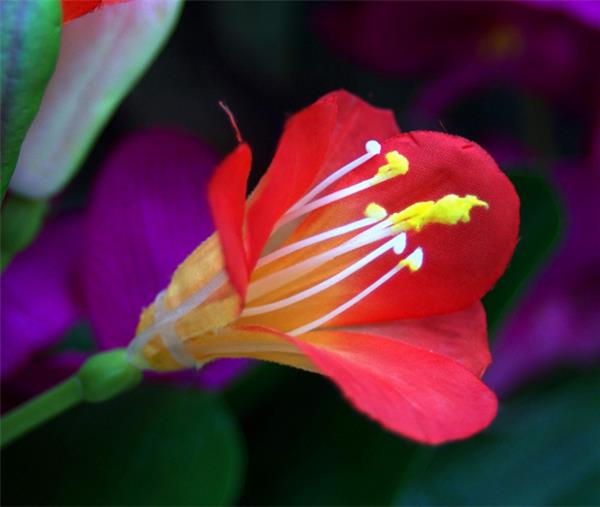
Clivia miniata has fleshy roots and likes air but fears waterlogging. In addition, the leaves of Clivia miniata have a waxy layer, and in winter when the temperature is low, transpiration and evaporation of water are low. Therefore, watering should not be excessive; simply water together with fertilizing and keep the potting soil moist. The soil should not be too dry or too wet. Each watering must soak through, and after budding it should be watered a bit more. About every 20 days, combine watering with applying fermented soybean cake water, diluted fishy water, and water from soaking water chestnuts, etc., combining watering and fertilizing. When room temperature is low, watering should be controlled to prevent the potting soil from being too wet; overly wet potting soil can cause root rot and plant death, but the potting soil must not be allowed to become too dry either.
4. Fertilizing:
When Clivia miniata lacks nutrients, various problems appear, such as new leaves being narrow and very pale in color. In terms of nutrients, you should add the nutrients it needs according to the season. Clivia miniata is generally fertilized in winter. Phosphorus fertilizer and potassium fertilizer are more beneficial for growing Clivia miniata; when topdressing, apply less nitrogen fertilizer. You must control the amount of fertilizer well, otherwise it is very easy to cause symptoms like scorched leaf tips on Clivia miniata, especially in winter. If spots appear on the leaves and the root system turns yellow, it is due to excessive fertilizing. You can choose eggshell powder and rotted fishy water; these two are very good organic phosphorus fertilizers. Bran ash and tobacco ash can be used as potassium fertilizer when fertilizing Clivia miniata. Three months before flowering, apply a liquid fertilizer mainly of phosphorus and potassium fertilizer to promote bolting and flowering.
5. Heat preservation:
The suitable growing temperature for Clivia miniata in winter is 15-20°C, and it is best not to go below 10°C. After bolting, the temperature should be kept at around 18°C, and the day-night temperature difference is best around 10°C; otherwise, the flower scape will bloom before reaching the proper height, easily forming "stuck scape." When the outdoor temperature at night is below 10°C, move Clivia miniata indoors. When the indoor temperature is below 10°C, in addition to covering the surface of the potting soil with a 1 cm thick layer of charcoal powder for insulation, also place the flowerpot in a sunny, warm spot indoors. When the indoor temperature is especially low, you can cover the flowerpot with plastic film to raise the temperature, but the temperature inside the cover must not exceed 25°C; if it exceeds that, ventilate promptly to cool it down.
6. Extending the flowering period:
The flowering period of Clivia miniata is mostly from December to March of the following year. The way to extend the flowering period is to place it in a dark place when the flowers are about to open, appropriately control watering, and keep the temperature at 8-12°C. In this way, the flowering period can be extended by 10-20 days.
7. Leaf care:
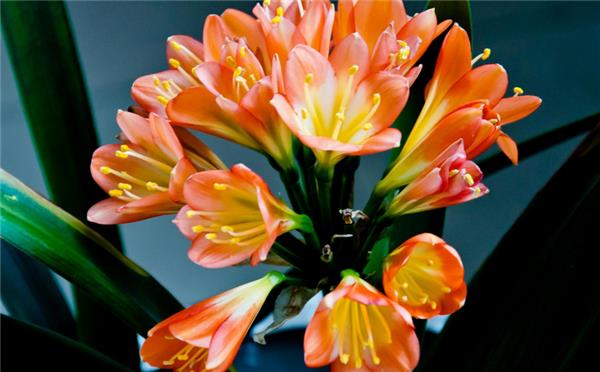
Short, broad, thick, green, shiny, and upright leaves are the characteristics of a healthy Clivia miniata. In addition to providing reasonable fertilizer and water, you must keep the leaf surface clean to improve photosynthetic efficiency. Wash the leaves regularly, using clean water at the same temperature as the room to spray and rinse or wipe away dust on the leaves.
8. Repotting time:
The time and frequency of repotting and changing soil for Clivia miniata depend on the size of the seedling and the season. Mature Clivia miniata like these need to have their soil changed once a year. The best time to change the soil is in spring and autumn, because at this time Clivia miniata grows vigorously and changing the soil will not affect the plant's growth. Take Clivia miniata out of the pot, cut off rotten roots and old roots with no absorbing ability, and remove spent soil. Spray "Hushu Jiangjun" inside and outside the leaves to disinfect, sterilize, preserve warmth, and protect against cold. After that, fill in 2-5 cm of nutrient soil, grab a handful of soil to fill the inside of the roots firmly, then place the plant in the pot, and when the nutrient soil filled into the pot reaches half the height of the pot, gently press downward with your hand along the edge of the pot, so that the roots all stand in the pot and are not easy to bend. The key point in changing soil is to pack the root area firmly with soil. Otherwise, if there is no soil around the roots, water and nutrients cannot reach the roots, which can easily cause root rot and stuck scape. After changing to nutrient soil, water thoroughly.
The above are the cultivation methods for Clivia miniata. I hope they can help you.
You must keep the leaf surface clean to improve photosynthetic efficiency. Wash the leaves regularly, using clean water at the same temperature as the room to spray and rinse or wipe away dust on the leaves.
8. Repotting time:
The time and frequency of repotting and changing soil for Clivia miniata depend on the size of the seedling and the season. Mature Clivia miniata like these need to have their soil changed once a year. The best time to change the soil is in spring and autumn, because at this time Clivia miniata grows vigorously and changing the soil will not affect the plant's growth. Take Clivia miniata out of the pot, cut off rotten roots and old roots with no absorbing ability, and remove spent soil. Spray "Hushu Jiangjun" inside and outside the leaves to disinfect, sterilize, preserve warmth, and protect against cold. After that, fill in 2-5 cm of nutrient soil, grab a handful of soil to fill the inside of the roots firmly, then place the plant in the pot, and when the nutrient soil filled into the pot reaches half the height of the pot, gently press downward with your hand along the edge of the pot, so that the roots all stand in the pot and are not easy to bend. The key point in changing soil is to pack the root area firmly with soil. Otherwise, if there is no soil around the roots, water and nutrients cannot reach the roots, which can easily cause root rot and stuck scape. After changing to nutrient soil, water thoroughly.
The above are the cultivation methods for Clivia miniata. I hope they can help you.