How to plant Dutch tulips and points to note
Tulips, also known as "foreign lotus", are bulb plants. What are the methods and points to note for growing tulips? Let's take a look together!
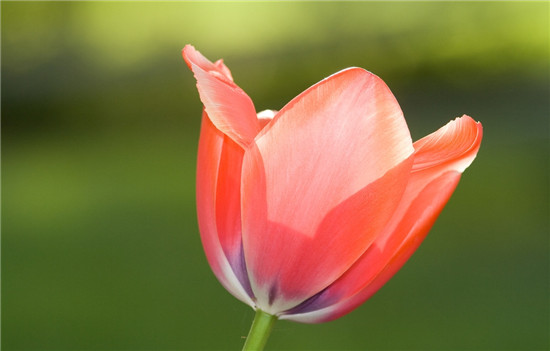
How to grow tulips
1. Soil: Tulips require planting soil that both retains water and drains well, with salinity that is not too high and soil that is not too acidic; the pH value should be no less than 6. Using peat, decomposed soil and sand mixed at 1:1:1 as the growing medium gives better results.
2. Sunlight: Adequate sunlight is essential for the growth of tulips. Insufficient light will cause poor plant growth, lead to bud drop, weaken the plant, lighten the leaf color and shorten the flowering period. However, within the first half month or so after potting, tulips should be properly shaded to help the bulbs develop new roots. In addition, during germination, the elongation of flower buds is inhibited by light; shading can promote the elongation of flower buds and prevent excessively fast vegetative growth and spindling in the early stage. After the seedlings emerge, light should be increased to promote stem elongation, flower bud formation and coloring. In the later stage, after the flower buds are fully colored, direct sunlight should be avoided to prolong the flowering time.
3. Temperature: Tulips prefer a climate with warm winters and cool summers, and the suitable growing temperature is 9-13°C. They are highly cold-tolerant and can withstand low temperatures of -35°C in winter.

4. Watering: After planting, water thoroughly so that the soil and bulbs can fully bind together, which helps rooting. After sprouting, watering should be properly controlled. When the leaves gradually extend, water can be sprayed on the leaf surface to increase air humidity. During the flower stalk stage and bud stage, a sufficient water supply must be ensured to promote full flower development. After flowering, watering should be properly controlled.
5. Fertilizing: Tulips do not have high fertilizer requirements. If growth is weak, some nitrogen fertilizer can be applied. After the root system develops well, apply 2 kg of calcium nitrate per 100 sq m, spread in three applications with an interval of more than one week between each.
6. Pests and diseases: The pathogens of tulip pests and diseases can be carried by bulbs, or the bulbs can be infected by pathogens carried in the soil. They mostly occur in high-temperature and high-humidity environments. The main diseases include stem rot, soft rot, color breaking, damping-off and blind buds, while the main pest is aphids. Carry out thorough soil disinfection before planting, use virus-free bulbs for cultivation as much as possible, and promptly dig out and destroy diseased plants when found. During greenhouse growth, applying fungicide 1-2 times gives better results; good ventilation should be maintained to prevent high temperature and high humidity. When aphids occur, they can be killed by spraying 3% natural pyrethrin at 800 times dilution.
Points to note when growing tulips
In mid-to-late April, most early-flowering varieties are nearing the end of flowering and their petals begin to fall, while mid-flowering varieties enter full bloom. When the temperature exceeds 28°C, the cut flower quality of the vast majority of tulip varieties will be affected, so the ambient temperature should be controlled at 10-20°C. Only in this way can normal flowering of the plants be ensured; excessively high temperatures will cause the plants to develop "blind buds". In early May, the temperature is 20-25°C, and the plants begin to set a large amount of seed. In late May, as the temperature rises, the leaves begin to wither and yellow, and the renewal bulbs gradually mature. In early June, the temperature sometimes reaches as high as 25-30°C, the root system gradually dies, the fruit turns from green to yellow, the capsule splits, the seeds mature, and the bulbs enter the dormant stage.
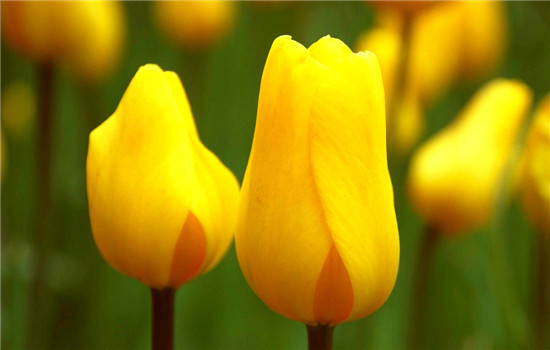
Tulip seeds prefer low temperatures for germination. Generally, seeds begin to germinate at around 5°C, with 7-9°C being best and giving a high germination rate. Above 16°C, germination is delayed, and above 25°C, they do not germinate. Under suitable conditions, the germination rate is above 90%. If the seeds are refrigerated at 8-10°C for 30 days before sowing, germination is even better. The suitable temperature for seedling growth is 13°C, and afterward it should be kept within 25°C.
When tulips are forced in greenhouse rooms in winter, the temperature and humidity in the greenhouse room are mainly regulated through ventilation, so as to maintain the optimal temperature indoors for stem and leaf growth and for bud formation and flowering. At the same time, during the bulb storage period, room temperature is likewise regulated through ventilation to reduce the chance of pest and disease infection.
Turn the tulip pots. Because plants have phototropism, the pots should be turned frequently so that the stems can grow upright without leaning, and the whole plant grows evenly and looks beautiful.
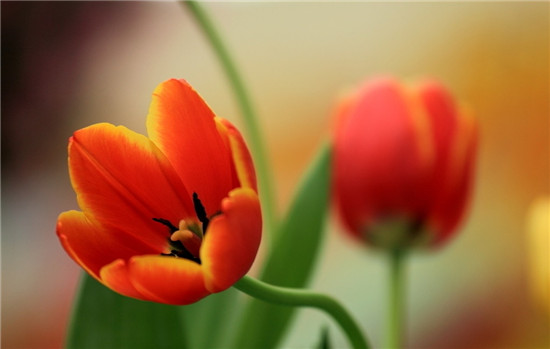
Tulips prefer sandy soil or sandy loam rich in humus and with good drainage, so when planting tulips, choose a plot with high terrain and smooth drainage. Based on experience, 125 kg of fully decomposed barnyard manure or 225 kg of cake fertilizer is usually used per 100 sq m plot as base fertilizer. In the first year of planting, the soil clods in the plot should reach 20 cm deep, and the land should be finely and evenly prepared for use. When the temperature is stably below 14°C (for more than 3 consecutive days), choose clear weather, drench with 40% formalin at 100 times dilution (to a depth of more than 10 cm), then cover with plastic film for soil disinfection. On the day before planting (after covering with film and sealing for more than 7 days), uncover the film, rake the soil finely, and make the terrain slightly higher in the middle and slightly lower around the edges. This is favorable for drainage.
The above is the full content of the methods and points to note for growing Dutch tulips that I have summarized for everyone. I hope this article can help you. Please also continue to follow us.
On the day before planting (after covering with film and sealing for more than 7 days), uncover the film, rake the soil finely, and make the terrain slightly higher in the middle and slightly lower around the edges. This is favorable for drainage.The above is the full content of the methods and points to note for growing Dutch tulips that I have summarized for everyone. I hope this article can help you. Please also continue to follow us.