A Detailed Guide to Phalaenopsis (Moth Orchid) Cultivation Methods and Precautions
Phalaenopsis (moth orchid) is a plant suitable for indoor cultivation, and its flowers are the most ornamental part of the plant. Before growing Phalaenopsis, beginners need to understand its growth habits clearly. Next, let us take a look at the cultivation methods for Phalaenopsis.
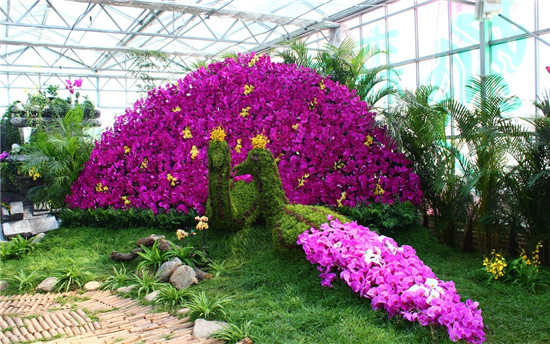
Phalaenopsis prefers a high-temperature, high-humidity, well-ventilated environment; it is not tolerant of waterlogging, tolerates semi-shade, and dislikes direct sunlight, water accumulation, and cold. The optimum growing temperature is 22-28°C, and the overwintering temperature should not be lower than 15°C. Phalaenopsis is a tropical plant, and the cultivation temperature should be maintained between 15-34°C. The required temperature also differs at different growth stages.
The growth stage is 26-27°C, and the flowering stage is 19-21°C. To obtain more flower spikes, the temperature can be maintained at 18-20°C for a total of 4-8 weeks. When light is insufficient or the daytime temperature is too high, maintain 18°C to strengthen flower induction (stimulate flower bud formation). Because the leaves also need to keep growing during the flowering period, the low-temperature period should not be too long. When light is insufficient, if the temperature is above 23°C for more than 24 hours, it will lead to excessive vegetative growth and loss of flower buds.
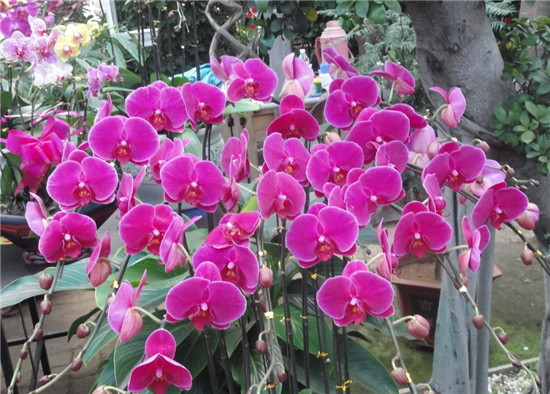
Soilless Cultivation of Phalaenopsis
1. Prepare the nutrient solution. Dilute the commercially available soilless cultivation nutrient solution with water according to the specified ratio.
2. Remove from the pot. Use your fingers to push the root system together with the soil out through the hole at the bottom of the pot.
3. Wash the roots. Soak the soil-covered root system in water close to the ambient temperature, and wash the soil off the roots.
4. Soak in solution. Place the washed roots in the prepared nutrient solution and soak for 10 minutes so they fully absorb nutrients.
5. Pot the plant and pour in the solution. Wash the flower pot, place a piece of tile over the hole at the bottom, then put a small amount of perlite and vermiculite into the pot. Next, place the plant into the pot and hold it upright, filling the area around the roots with cultivation media such as perlite and vermiculite.
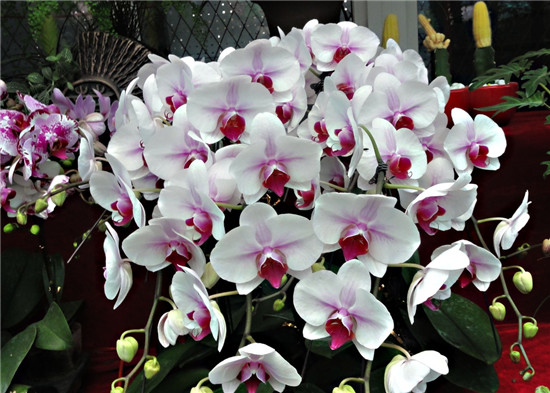
Shake the pot gently so the medium makes full contact with the roots. Then pour in the prepared nutrient solution until liquid flows out from the hole at the bottom of the pot. If no medium is used, the prepared nutrient solution can also be mixed with water and the plant grown directly in water, which is what people commonly call hydroponics.
6. Secure the root system. Place fragments such as stalactite and axestone on top of the root system to secure the roots and prevent lodging, and at the same time spray some clean water on the leaves.
7. Daily management. For soilless-cultivated flower bonsai, the requirements for light, temperature and other conditions are not very different from soil cultivation. During the plant's growing period, apply nutrient solution once a week, with the amount depending on the size of the plant; for flowers whose leaves grow slowly, reduce the amount as appropriate; in winter or during the dormant period, apply once every half month to one month.
Precautions for Growing Phalaenopsis at Home
1. To avoid root rot in Phalaenopsis, watering must be done in moderation. Never water too much. Before watering, it is best to check whether the cultivation medium is dry. Only then can root rot be avoided.
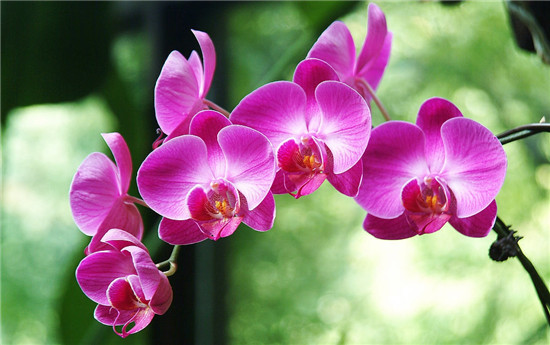
2. Temperature affects the flowering of Phalaenopsis. Most Phalaenopsis bloom in early spring. Many people like to place Phalaenopsis in the living room. The temperature at night is relatively lower and cannot be well controlled. Compared with professional orchid growing rooms, the temperature and humidity in the living room are not very ideal, which will indirectly affect the growth of the orchid. So sometimes this is also the reason why it does not bloom.
3. When growing Phalaenopsis at home, the amount of fertilizer must be especially well controlled to avoid over-fertilizing. Fertilize the orchid plant in small amounts and multiple times.
4. Be sure to choose a breathable, multi-holed pot for planting. Some people say that growing it in a large pot would be better. That is wrong. Because orchids use materials such as sphagnum moss as the base layer, if the moss does not dry out, it will cause poor ventilation and lead to poor growth of the orchid plant.
The above is the full content of the Phalaenopsis cultivation methods and Phalaenopsis cultivation precautions that I have summarized for everyone. I hope this article can help you. Please also continue to follow us.