How to Grow Phalaenopsis Orchids? A Detailed Guide to Phalaenopsis Orchid Cultivation
Phalaenopsis is one of the plants suitable for indoor growing, and most Phalaenopsis orchids come from humid Asia. Below I will explain in detail how to grow Phalaenopsis orchids.
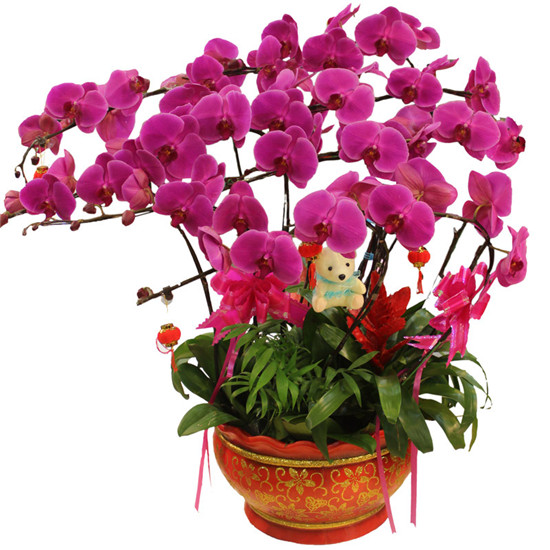
About the Cultivation Methods for Phalaenopsis Orchids
1. Pot: If you look carefully enough, you will notice that the Phalaenopsis orchids sold on the market are all planted in white transparent plastic pots. Note that this is not because sellers want to cut costs and are unwilling to use good pots, but because the roots of Phalaenopsis orchids need to carry out photosynthesis. That is why the Phalaenopsis orchids you see growing well have green roots, which is the result of photosynthesis. If you are caring for them at home, you can choose a colorless transparent plastic container, as long as the size is appropriate.
2. Potting medium: Generally, sphagnum moss is used to grow Phalaenopsis orchids. The quality of the sphagnum moss is also very important. Do not choose one that is too broken up and powdery, because sphagnum moss has very strong water retention, and moss that is too broken will cause excessive moisture around the roots and lead to rot. Because sphagnum moss absorbs water well, when growing Phalaenopsis orchids you can lay some ceramic pellets or orchid-growing substrate at the bottom of the pot, and then use sphagnum moss for cultivation.
3. Treatment after flowering: Most people receive Phalaenopsis orchids as gifts from friends during the Spring Festival or buy them themselves. With normal watering, letting the medium dry slightly between waterings, they generally bloom until March or April; if it is a Phalaenopsis orchid you grow yourself, it is still blooming brightly by mid-May.
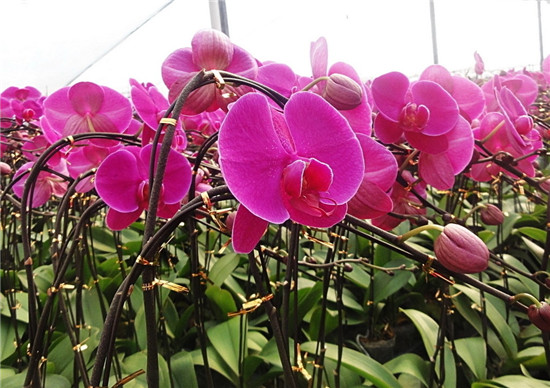
4. Phalaenopsis orchids like a high-temperature, high-humidity, ventilated, semi-shaded environment. They are not tolerant of waterlogging, cannot be exposed to direct sunlight, cannot sit in standing water, and are afraid of cold. Wild Phalaenopsis orchids mostly grow in humid tropical regions, so the most suitable growing temperature for Phalaenopsis orchids is 22-28°C. Once the temperature drops below 15°C, they will stop growing and will die. Place Phalaenopsis orchids in a cool, ventilated spot and avoid direct sunlight. Phalaenopsis orchids have many aerial roots, and their root tips are emerald green and quite sensitive. During cultivation, they must be carefully protected, and the root tips must never be disturbed or damaged, otherwise that root will stop growing.
5. To promote the growth of Phalaenopsis orchids, fertilizer is essential. The principle for fertilizing Phalaenopsis orchids is to apply light fertilizer frequently, and do not use chemical fertilizer that is too concentrated. During the growing period of Phalaenopsis orchids, apply nitrogen and potassium fertilizer, while during the flowering-forcing period, apply phosphorus and potassium fertilizer, generally once every 1-2 weeks. In addition, during the flowering and dormant periods, Phalaenopsis orchids do not need fertilizer, but before and after flowering, fertilizer must be supplemented appropriately.
Four reasons for failure in home cultivation:
1. Watering too frequently: Friends who grow Phalaenopsis orchids always worry that the orchids lack water and water them every day regardless of whether the growing medium is dry, causing severe root rot.
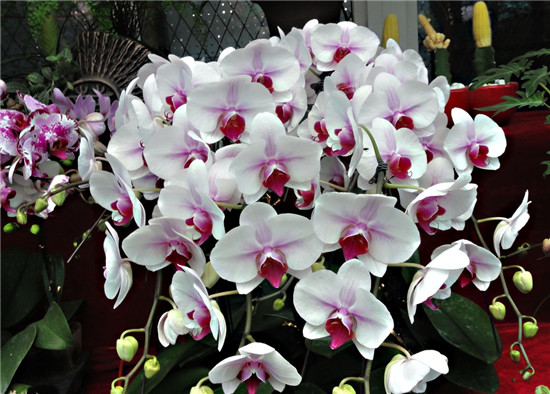
2. Temperature too low: Usually, flowering Phalaenopsis orchids are mostly brought to market in early spring, and after being bought and taken home they are generally placed in places such as the living room for viewing. Although the daytime temperature in these places is sufficient, the nighttime temperature is somewhat on the low side. On the other hand, professionally cultivated orchids are mostly kept in well-equipped greenhouses. By comparison, the temperature and humidity at home are somewhat insufficient, so the plants tend to weaken day by day. Therefore, sometimes no matter how well they are cared for, the orchids still fail to bloom.
3. Over-fertilizing: Applying fertilizer whenever there is some, and not paying attention to concentration, thinking that fertilizing will make them grow faster. You should know that Phalaenopsis orchids are suited to light fertilizer, and it should be applied in small amounts many times. Remember that "tonic feeding" must not be excessive, otherwise it will backfire.
4. Planting a small plant in a large pot: Thinking that using a large pot can give the Phalaenopsis orchid a roomier environment and plenty of material. In fact, after using a large pot, the sphagnum moss does not dry easily. You should know that Phalaenopsis orchids like ventilation, and when air flows freely they thrive.
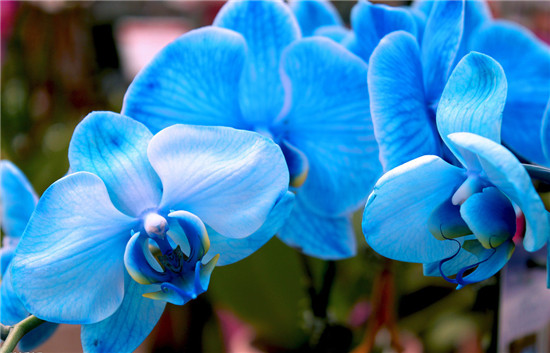
What to Do After Phalaenopsis Orchid Flowers Fade
If your Phalaenopsis orchid was bought by yourself or given by a friend around the Spring Festival and was already in bloom when purchased, it will basically have no flowers left by now (around the end of March). If you want it to continue blooming, you can choose to keep the flower stalk, take it out of the pot to check the root condition, promptly prune away any rotten or dry roots, check whether the sphagnum moss has rotted, become moldy, or developed other adverse conditions, and consider whether it needs to be replaced; still repot it in a transparent pot and water normally, letting it dry slightly between waterings. If the humidity at home is a bit higher, that is naturally even better (it does not matter if it is not), and if you have a special liquid fertilizer at home, giving some is naturally better (it does not matter if you do not). If the plant is very strong, it will soon continue to grow new flower buds at the front end of the original flower stalk; if the plant is relatively weak after flowering and has consumed a lot, with normal care until around May, it will grow side stalks on the original flower stalk and produce flower buds, continuing to bloom until around the end of June (this flowering period will be shorter because the climate gradually becomes hotter). After the flowers fade, cut off the flower stalk and just continue normal care.
If it is one you grow at home, it generally begins to grow flower stalks and flower buds around December of the previous year (in a room with heating), generally opening gradually in late February to early March, with the flowering period lasting until around the end of May. Then the method is the same: if you want to see the flowers again, keep the flower stalk and continue normal care, and it will soon grow side stalks on the flower stalk, produce buds, and bloom.
The above is the complete content I have summarized for you on how to grow Phalaenopsis orchids and the methods for growing Phalaenopsis orchids. I hope this article can help everyone. Please also continue to follow us.
If the consumption is relatively large, with normal care until around May, it will grow side stalks on the original flower stalk and produce flower buds, continuing to bloom until around the end of June (this flowering period will be shorter because the climate gradually becomes hotter). After the flowers fade, cut off the flower stalk and just continue normal care.If it is one you grow at home, it generally begins to grow flower stalks and flower buds around December of the previous year (in a room with heating), generally opening gradually in late February to early March, with the flowering period lasting until around the end of May. Then the method is the same: if you want to see the flowers again, keep the flower stalk and continue normal care, and it will soon grow side stalks on the flower stalk, produce buds, and bloom.
The above is the complete content I have summarized for you on how to grow Phalaenopsis orchids and the methods for growing Phalaenopsis orchids. I hope this article can help everyone. Please also continue to follow us.