How to Grow Cherry Blossoms? An Introduction to Cherry Blossoms and a Detailed Guide to Cultivation Methods
Cherry blossoms have a delicate fragrance and gorgeous colors, and are often used for garden viewing. Cherry blossoms are regarded as a symbol of spring and are deeply welcomed and loved by people in many countries. Now let's take a look at some knowledge about cherry blossoms.
I. Introduction to Cherry Blossoms
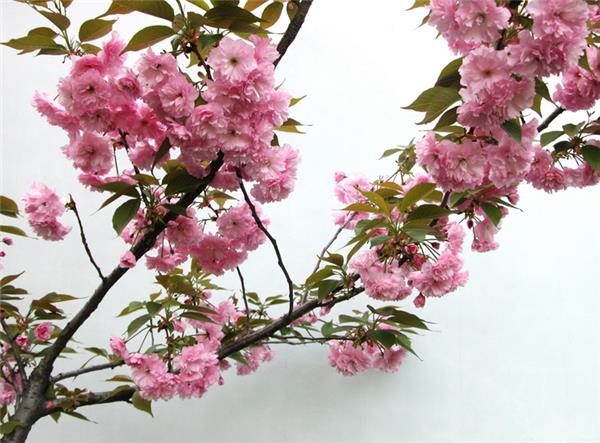
Cherry blossom (sakura) is a plant of the genus Cerasus, subgenus Cerasus, in the family Rosaceae. It originated in the temperate regions around the Himalayas in the Northern Hemisphere and is cultivated all over the world. The cherry blossom is a deciduous tree with purplish-brown bark. Its leaves are alternate, with serrated margins bearing awn-like teeth, and the surface is dark green and glossy. The flowers grow in clusters of three to five per stem in umbel-like inflorescences, with notched petal tips, and the flower color is mostly white or pink. The flowers open together with the leaves in March or bloom after the leaves. Cherry blossoms can be used to make sushi, and the leaves can also be processed into pickles.
II. Cultivation Techniques for Cherry Blossoms
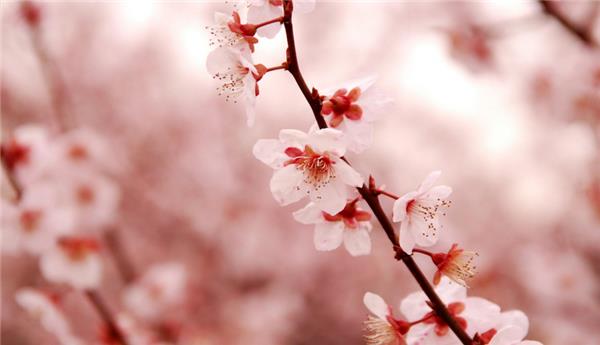
Propagation is mainly by sowing, cuttings, and grafting. When propagating cherry blossoms by sowing, be careful not to let the seed embryo dry out; sow immediately after collecting the seeds, or stratify them in wet sand and sow in the following spring. For grafting propagation, seedlings of cherry or mountain cherry can be used as rootstock. Do cleft grafting in late March or bud grafting in late August. After the graft takes, cultivate for 3 to 4 years before the plants can be lifted from the nursery for planting. When planting, apply 15-25 kg of decomposed compost per pit or trench, and in July apply 1-2 kg of ammonium sulfate per plant. After flowering and before budding in early spring, prune out dead branches, diseased and weak branches, and excessive water-sprout branches. Try to avoid pruning thick branches so as to keep the crown full and rounded.
1. Soil Selection
Cherry blossoms grow well in sandy loam and clay loam rich in humus (pH 5.5-6.5). In southern areas where the soil is heavy and sticky, generally mix in homemade leaf mold (soil made by composting collected leaves, acidic soil, chicken manure, and charcoal powder). Note that before mixing, all existing clay clods must be broken up completely, otherwise the soil improvement will not work. In places where the groundwater level is less than 1 m below the surface, use the raised planting method, that is, level the entire planting hole first, then pile soil on top and plant the seedling. For alkaline soil in the north, apply sulfur powder or ferrous sulfate, etc., to adjust the pH to about 6. Apply 2 grams of sulfur powder per sq m, with an effective period of 1-2 years, and test the soil every year at the same time so that the pH does not exceed 7. Varieties such as Oshima cherry and Somei Yoshino have straight trunks and larger tree bodies; they are strongly sun-loving tree species and require a wind-sheltered, sunny site with good ventilation and light. When planting in groups, make sure every tree can receive sunlight.
2. Softwood Cuttings
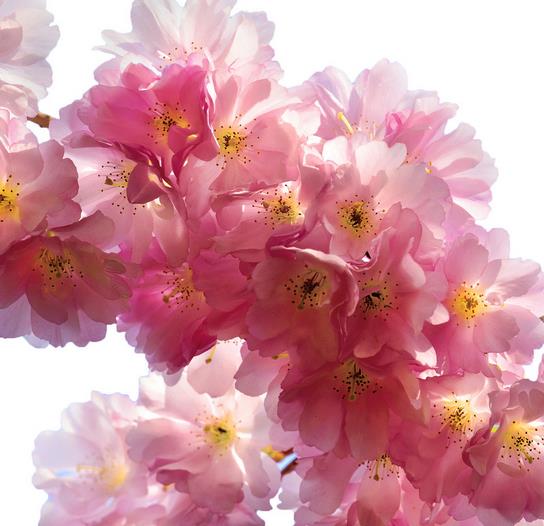
Cherry blossoms are usually propagated mainly by grafting, mostly using single-petal cherry blossoms or cherry as rootstock, with cleft grafting or split grafting carried out before flowering in early spring. There are very few reports on the use of cutting propagation. In recent years, the results of our experiments on softwood cutting propagation of cherry blossoms showed that within 25 d after cutting, the average rooting rate was above 95%, with a maximum of 20 roots per plant, and most were cortex-type roots, with some callus-type roots as well. The transplant survival rate was above 90%. The technique is introduced below.
3. Planting
The planting time is immediately after the soil thaws in early spring, generally February or March. Prepare the ground carefully before planting. For planting on flat ground, dig a hole 1 m in diameter and 0.8 m deep. First fill the hole about half full with improved soil, place the seedling in the center of the hole, and spread the roots out in all directions. After adding a small amount of soil, lift the seedling slightly upward so the root system spreads fully, then press down lightly. Plant at a depth that leaves the uppermost roots 5 cm below the ground surface. After planting, make a water-holding basin and water thoroughly, and finally support the tree with a bamboo stake about as tall as the seedling to prevent it from being blown over by wind.
4. Drought Prevention
After planting, seedlings are prone to drought damage. In addition to thorough watering at planting, water once every 8-10 days thereafter, keeping the soil moist but not waterlogged. Loosen the soil promptly after watering, and preferably cover the ground surface with a thin layer of grass to reduce water evaporation. Within 2-3 years after planting, straw can be used to wrap the trunk to prevent it from drying out. However, after 2 to 3 years, when the sapling has grown new roots and gradually become more adaptable to the environment, there is no need to wrap it in straw anymore.
5. Management During the Growing Season
Cherry blossoms are fertilized twice a year, and acidic fertilizers are preferable. One is winter fertilizer, applied in winter or early spring using organic fertilizers such as soybean cake, chicken manure, and decomposed manure; the other is applied after the flowers fall, using quick-acting fertilizers such as ammonium sulfate, ferrous sulfate, and superphosphate. For fertilizing large cherry blossom trees in general, the hole application method can be used, that is, dig a ring-shaped trench about 10 cm deep at the edge of the vertical projection line of the crown and apply the fertilizer into it. This method is both simple and good for root absorption; as the tree grows, the diameter and depth of the fertilizing ring trench should also increase accordingly. The root system of cherry blossoms is shallow and requires good drainage and aeration, so around the tree, especially within the root distribution area, never let people, livestock, or vehicles compact the soil. Trampling by pedestrians will weaken the tree, shorten its lifespan, and even cause root rot and death.
6. Pruning and Maintenance
Pruning mainly involves cutting out withered branches, excessive water-sprout branches, overlapping branches, and pest- and disease-damaged branches. In addition, when many branches grow from the trunk of a large cherry blossom tree in general, several vigorous branches should be retained and the rest all cut off from the base to improve ventilation and light penetration. After pruning, disinfect the wounds on the branches promptly with a chemical agent to prevent pathogens from invading after rain and causing rot. After long periods of exposure to the sun, the bark of cherry blossoms is prone to aging and damage, causing rot; it should be removed promptly and disinfected. After that, wrap the rotted area with leaf mold and charcoal powder to help it restore normal physiological function.
7. Soil Requirements
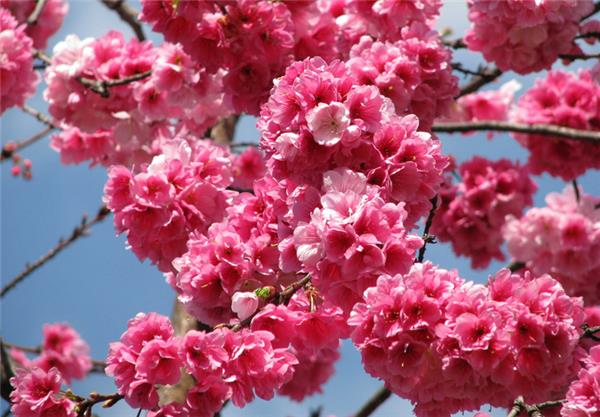
Cherry blossoms can grow in sandy soil and clay soil. In places where the water level is less than 1 m below the surface, plant on raised mounds; rather than anything else, level the planting hole first, then pile soil on top and plant the seedling. Cherry blossom trees are large, like sunlight, and fear wind. The planting time for cherry blossoms is in early spring, generally February to March.
8. Planting Method
Before planting, level the ground, and dig a hole 0.8 m in diameter by 0.6 m deep. First put 10 cm of organic fertilizer into the hole, place the seedling into the hole, and spread the roots out in all directions. After filling in soil around the cherry blossom, lift the seedling upward a little so the roots spread deeply, then firm the soil. The planting depth should be about 5 cm above the uppermost roots of the seedling. After planting, water thoroughly, and set up a support with a stick to prevent it from being blown over by strong wind.
The above is some knowledge about cherry blossoms. I hope it can help you.
After long periods of exposure to the sun, the bark of cherry blossoms is prone to aging and damage, causing rot; it should be removed promptly and disinfected. After that, wrap the rotted area with leaf mold and charcoal powder to help it restore normal physiological function.
7. Soil Requirements
Cherry blossoms can grow in sandy soil and clay soil. In places where the water level is less than 1 m below the surface, plant on raised mounds; rather than anything else, level the planting hole first, then pile soil on top and plant the seedling. Cherry blossom trees are large, like sunlight, and fear wind. The planting time for cherry blossoms is in early spring, generally February to March.
8. Planting Method
Before planting, level the ground, and dig a hole 0.8 m in diameter by 0.6 m deep. First put 10 cm of organic fertilizer into the hole, place the seedling into the hole, and spread the roots out in all directions. After filling in soil around the cherry blossom, lift the seedling upward a little so the roots spread deeply, then firm the soil. The planting depth should be about 5 cm above the uppermost roots of the seedling. After planting, water thoroughly, and set up a support with a stick to prevent it from being blown over by strong wind.
The above is some knowledge about cherry blossoms. I hope it can help you.