Podocarpus Seed Propagation Methods and Sowing and Seedling Techniques Explained in Detail
We probably all know roughly what the cultivation methods for Podocarpus look like, but are you clear on the propagation methods for Podocarpus seeds? Below, the editor will share with you from several different aspects what the propagation methods for Podocarpus seeds are!
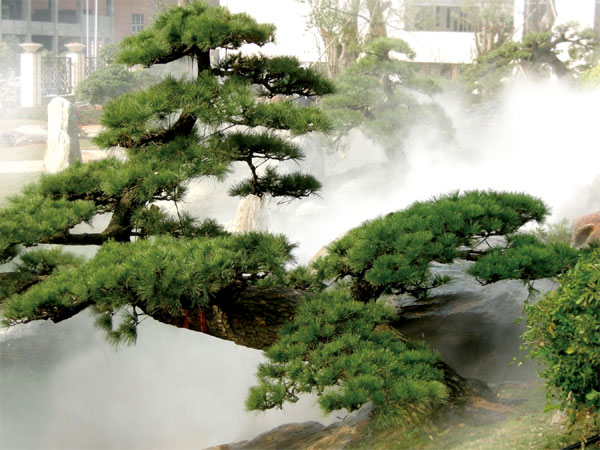
Cultivation Methods for Podocarpus Seeds
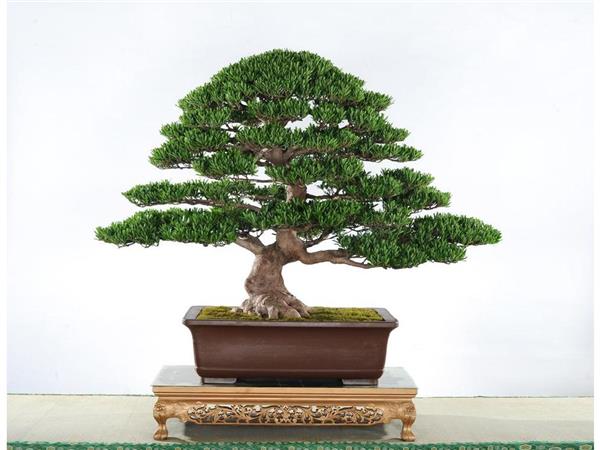
Podocarpus bonsai styles include curved-trunk, slanted-trunk, lying-trunk, cascade, and exposed-root styles. By pruning and wiring the branches and leaves, they can be shaped into cloud-layer or steamed-bun forms, with a lush, elegant posture, rugged yet vigorous, and foliage that stays fresh green in all four seasons, giving a sense of strength and purity. If Podocarpus is combined with rocks, bamboo, and stones in a landscape, it is even more elegant and wild in charm; with proper care, it can remain evergreen and thriving for even decades or a hundred years. Pot and soil selection: Podocarpus bonsai commonly uses purple clay pottery pots or glazed pottery pots, with the pot shape determined by the tree form. For example, cascade style can use a tall, deep cylindrical pot; slanted-trunk and lying-trunk styles use medium-deep rectangular or oval pots; exposed-root and rock-clinging styles use relatively shallow pots. The pot soil is best chosen as fertile, moist, loose in texture, well-draining, slightly acidic sandy loam. When repotting, a layer of coarse sandy soil can be spread at the bottom of the pot to aid drainage. Watering and fertilizing: Podocarpus prefers a warm, humid environment and fears waterlogging and direct strong light. During its growing period, it should be watered frequently, but no standing water should form. In summer, place Podocarpus in a semi-shaded spot for care, and you can also frequently mist the leaf surface, which will make the leaf color even fresher green. Established Podocarpus bonsai should not be fertilized too much; fertilize once every 2 months. In spring, appropriately apply 1-2 times of dilute cake fertilizer water. In autumn, to avoid sprouting autumn buds, stop fertilizing. In winter, potted plants also need attention to cold protection, and watering should be reduced. Pest and disease control: Podocarpus mainly suffers from leaf spot disease and anthracnose. A 0.5%-1% Bordeaux mixture can be used; one month before the plum rain season, spray once every 10 days for 3 consecutive times, which can achieve control effects. Pests include scale insects, red spiders, and bagworms, which can be killed by spraying 1200-1500 times dilution of dichlorvos, or 1500 times dilution of 40% dimethoate. When growing Podocarpus, you can prune it year-round, mainly cutting off leggy branches and diseased or dead branches to maintain a beautiful tree shape. During the flowering period of Podocarpus from April to May, it is best to remove the flower buds to avoid fruit production consuming nutrients and affecting the growth of the potted plant.
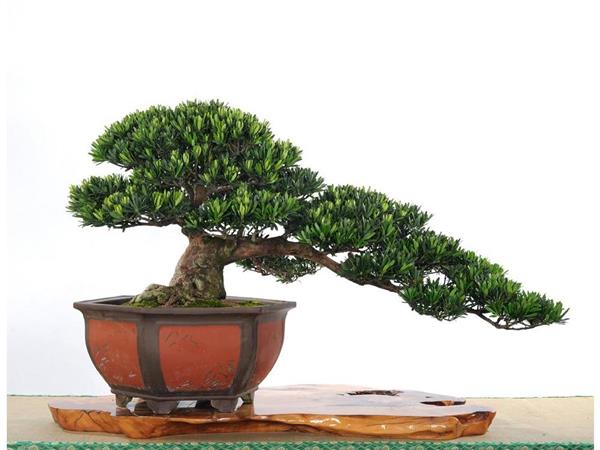
Propagation Methods for Podocarpus Seeds
Podocarpus is mainly propagated by cuttings, which are divided into two types: softwood cuttings and hardwood cuttings. Different cutting methods are suited to different periods and differ in method. When propagating Podocarpus, we should carry out corresponding operations according to the cutting method used, so as to ensure the survival rate of the cuttings.
Softwood cuttings are done in the first half of the year from mid-to-late May to early July, and in the second half of the year from mid-to-late August to mid-to-late September. Cuttings made in the first half of the year should be protected against high-temperature scorching and disease occurrence. Cuttings made in the second half of the year should be protected against cold and freezing in the middle and later stages. The time to remove the shade net is late November; in drought years, the time to remove the shade net can be extended to late December.
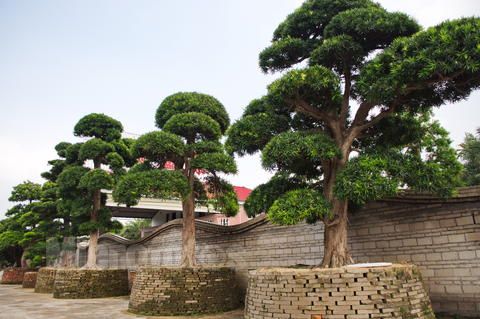
Hardwood cuttings. Hardwood cuttings refer to the method of cutting fully lignified, robust branches from the previous year during the dormant stage in early spring from February to March, before the sap begins to flow. This method is mainly suitable for deciduous trees such as crape myrtle, hibiscus, grape, poplar, and willow; a few evergreen trees can also use hardwood cuttings, such as oleander. For early spring hardwood cuttings, attention should be paid to raising soil temperature and controlling the air temperature inside the shed.
In short, whether softwood cuttings or hardwood cuttings, both the cuttings and the soil must be disinfected, and the seedbed temperature, humidity, and light must also be well regulated. In addition, to improve the survival rate of cuttings, some measures to promote rooting should also be appropriately taken.
After cutting is completed, the seedbed must also be frequently inspected and cared for, checking whether the plastic film and shade net covering the seedbed have been bitten through by insects or rats or blown open by wind. About every 15 days, uncover the plastic film and shade net to inspect once, and spray pesticide to sterilize and kill insects, then cover the plastic film and shade net again. If the seedbed soil is found to be dry, sprinkle some water before spraying pesticide, and spray the pesticide after the water on the leaf surface has dried. Generally, after uncovering the film and spraying pesticide 2 to 3 times, the cuttings have already rooted and survived, after which pesticide can be applied once every 1 to 2 months. After the cuttings survive, removing the film can be considered. Before formally removing the film, choose an overcast and rainy day, first uncover the film at one or both ends of the seedbed for ventilation and hardening off the seedlings for several days, then remove all the film. After removing the film, the shade net should still remain covered. For seedlings cut in the first half of the year, the shade net must remain covered until late autumn before it can be removed, because young seedlings cannot withstand strong sunlight exposure. It is particularly worth mentioning that golden leaf privet and golden privet are seedlings prone to disease, so the film should be removed in a timely manner. Generally, about 20 days after cutting, when about 90% have rooted, hardening off and film removal can begin. Immediately after removing the film, spray a fungicide once to prevent disease, spraying once every 7 to 10 days, for 3 to 4 consecutive sprays.
That is all for now on Podocarpus seeds. I hope the above content can help you better understand this issue. Please look forward to more exciting content!
Before formally removing the film, choose an overcast and rainy day, first uncover the film at one or both ends of the seedbed for ventilation and hardening off the seedlings for several days, then remove all the film. After removing the film, the shade net should still remain covered. For seedlings cut in the first half of the year, the shade net must remain covered until late autumn before it can be removed, because young seedlings cannot withstand strong sunlight exposure. It is particularly worth mentioning that golden leaf privet and golden privet are seedlings prone to disease, so the film should be removed in a timely manner. Generally, about 20 days after cutting, when about 90% have rooted, hardening off and film removal can begin. Immediately after removing the film, spray a fungicide once to prevent disease, spraying once every 7 to 10 days, for 3 to 4 consecutive sprays.That is all for now on Podocarpus seeds. I hope the above content can help you better understand this issue. Please look forward to more exciting content!