What to Do If a Clivia Miniata Has Root Rot? An Expert Teaches You How to Handle It
Clivia miniata is a favorite of many literati, and of course, many other people like it too. So how should you grow Clivia miniata for the best results, and what should you do when root rot occurs?
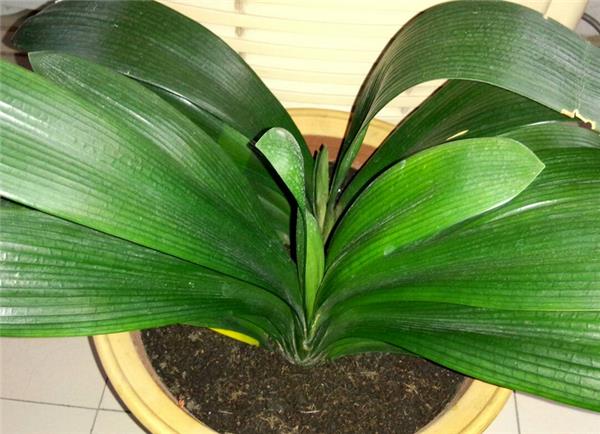
I. What to Do If a Clivia Miniata Has Root Rot
When dividing Clivia miniata, the wounds are not disinfected and become infected by bacteria; or during cultivation, watering too much, poor soil permeability, fertilizing too heavily, or applying unrotted raw fertilizer are all common causes of root rot in Clivia miniata. In a large mature Clivia miniata, if individual roots rot, it will show as dry tips on a certain leaf, blackened leaves, or scorched, withered and fallen leaves. Find the cause, correct it, and stop the root rot from continuing.
When many roots have rotted, most of the leaves fall off, leaving only the small central tongue leaf. In severe cases, the plant becomes unstable and sways and wobbles at the slightest touch of the hand. At this point, take it out of the pot, and you can see that some of its fleshy roots have rotted completely along their entire length, while others are half rotted. The rotted roots are left with only a shriveled, membranous outer skin, and over more time the outer skin becomes soft and rotten too. When you find this situation, shake off all the soil and rinse the roots clean with clear water. Carefully remove the rotted roots and use clean scissors to cut off the rotten parts. Then soak the roots in a 0.1% concentration potassium permanganate solution for disinfection. After 5 minutes, lift out the roots, rinse with clear water to remove the disinfectant solution, dip in a small amount of sulfur powder or plant ash, leave indoors to dry the surface, and then replant in a pot. When potting, plant shallowly, just covering the stem disc, and the pseudobulb should be exposed above the soil surface, which helps rooting. After watering once thoroughly, place it in half shade for care. Afterwards, mist more often or cover with a plastic film, keep the air humidity as high as possible, and water less. Maintain the temperature at around 20°C until the small tongue leaf grows. By then new roots have emerged, and you can switch to normal water and fertilizer management.
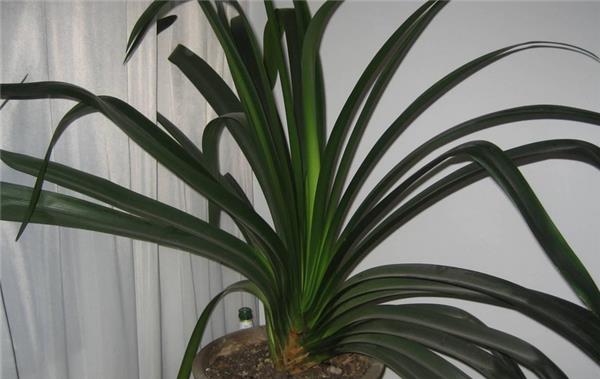
Young plants have very few roots and are extremely delicate. If root rot occurs, the roots will quickly rot away completely, and the leaves will droop. When these situations appear, promptly take the plant out of the pot, clean off the residual debris from the not-yet-rotted stem disc, rinse, disinfect, and after the surface dries, insert it shallowly into plain sand following the cutting method. Under environmental conditions of 20--25°C, provide shade, maintain relatively high air humidity and keep the cutting soil moist, let it produce new roots, and once the leaves regain vitality, promptly repot it in leaf mold soil.
II. Notes on Growing Clivia Miniata
1. Prevent direct sunlight; do not expose to blazing sun
In summer, Clivia miniata should be shaded from strong light all day. Using the slanted morning sun to shine on it for a while each day is enough to satisfy photosynthesis.
2. Prevent high temperatures; do not let it dry out
The suitable summer temperature for Clivia miniata is 18°C--25°C. It is best placed in an air-conditioned room, and a shaded, ventilated spot on a balcony is also fine. When watering, it is best to use tap water that has been left in the sun for two or three days, water once a day after 6 p.m., and do not let the potting soil become too dry or too wet.
3. Prevent spindly growth; do not fertilize
Summer is the dormant period for Clivia miniata, so stop fertilizing, water moderately, and controlling humidity is an effective measure. If the potting soil has been fertilized too heavily or the fertilizer effect is too strong, pour out the upper layer of soil from the pot, mix in 1/3-2/3 sand, mix well and put it back in the pot. This not only reduces the fertilizer effect but also helps lower the temperature.
4. Prevent dust pollution; do not water with dirty water
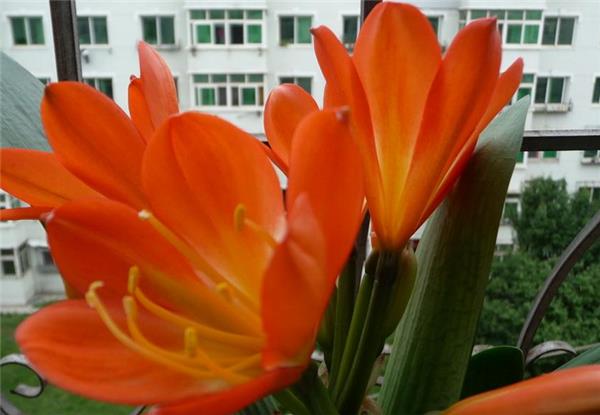
The leaf surface of Clivia miniata should be kept clean. Once a week, dip a fine gauze cloth in clear water, wring it dry and gently wipe once. Watering with dirty water will cause roots and leaves to rot and turn yellow.
5. Prevent soil compaction; do not use clay (loess) in the pot
Clivia miniata adapts to being grown in loose, breathable, water-permeable, fertile humus soil with a pH of around 7.0.
6. Prevent disease; do not let it become infected
When changing soil or wiping leaves, move gently to prevent roots and leaves from being injured and oozing sap, which can trigger infection and cause rot.
III. How to Judge When to Water Clivia Miniata
1. Tap. Lightly tap the pot at the 1/2 to 1/3 point. A crisp sound means the potting soil no longer has enough moisture and it is time to water. A dull sound means there is plenty of moisture and no watering is needed.
2. Weigh by hand. Before watering, lift the pot to feel its weight. Water it. After watering, lift the pot again to feel the weight. Over time, with some experience, you will know whether it is time to water just by lifting the pot.
3. Probe. This is the most direct method. Put a finger about 1/3 of the way into the potting soil to feel the moisture. If it is moist, no watering is needed. If it is damp, get ready to water. If there is only a slight trace of moisture, it is time to water.
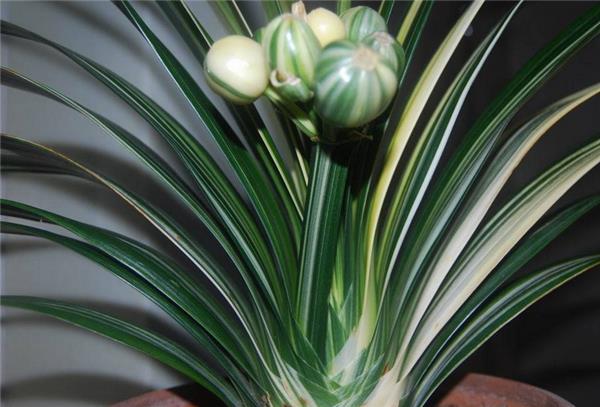
The above has covered the solutions for root rot in Clivia miniata. We hope this gives you more confidence in growing Clivia miniata, and that these experiences can help you grow Clivia miniata better, so it blooms more brilliantly indoors.
These experiences can help you grow Clivia miniata better, so it blooms more brilliantly indoors.