Winter jasmine bonsai making methods: a step-by-step guide to creating a beautiful bonsai
The winter jasmine (Jasminum nudiflorum), just like its name, is a messenger of spring's arrival. Among the many flowering plants, winter jasmine is one of the earliest to bloom each year, and it is very suitable for growing both at home and in the courtyard. Many people like to use them for bonsai, so what are the methods for making a winter jasmine bonsai? How do we care for them in daily life?
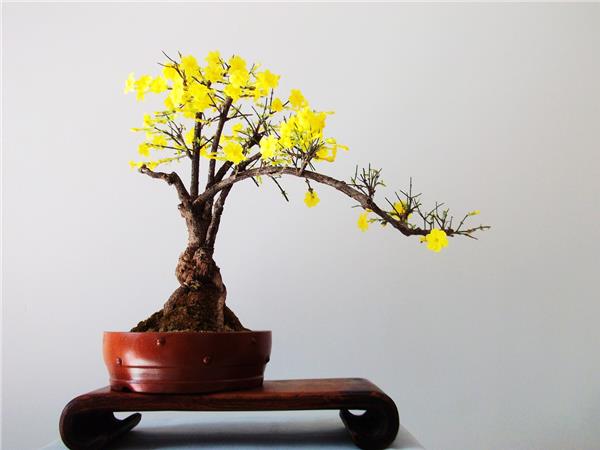
Winter jasmine bonsai making methods
Winter jasmine pot selection: For winter jasmine bonsai, it is generally best to use a purple clay ceramic pot or glazed ceramic pot in a medium-dark color, and the pot shape should be decided according to the bonsai style. For a cascade-style winter jasmine bonsai, a tall cylindrical pot can be used; sometimes, to highlight the beauty of the roots, a shallow pot is also used. The pot color should be one that sets off the beauty of the winter jasmine's small yellow flowers, such as deep blue, light blue, jet black or purple-red.
Winter jasmine bonsai styling: The branches of winter jasmine droop naturally like willow branches, and the roots have distinctive features, so it is very suitable for training into a weeping style and a raised-root style. In daily bonsai making, the two bonsai styles above are often combined: the winter jasmine's roots are exposed and raised, while the trunk is trained into a horizontal-trunk style or a curved-trunk style, with the small branches drooping and brushing, giving it a unique charm.
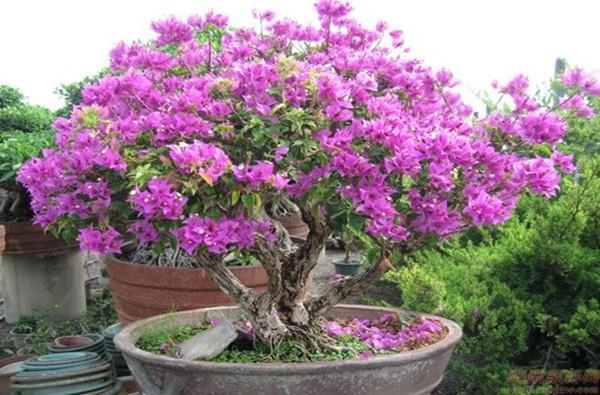
Select a thick, sturdy old winter jasmine stump, plant it in a cylindrical pot, raise the roots and expose the claws, tie it moderately, and let the trunk droop; within just a few years, a free and elegant cascade-style bonsai can be formed. You can also select a small stump about the thickness of a thumb, wrap the side roots around a stone, and bury it in the soil so that it forms a suspended-root, exposed-claw posture; within one or two years, a delicate and small palm-sized bonsai can be made, appearing graceful and elegant, and placing it indoors or on a desk is quite delightful. Winter jasmine can be propagated by cuttings or division, both preferably in spring. Select fully grown branches about 10 cm long, remove the leaves, insert them into sand, and keep them moist; within 1 month they will take root and become seedlings, and in the same year a graceful and striking miniature bonsai can be made.
When making a medium-sized bonsai, the division method is often used, as it is both simple and fast. To make the winter jasmine herald the spring dawn with abundant flowers covering the branches, it must be pruned every year. After flowering, remove the old branches at the base to encourage new shoots, and pinch the tips several times between May and July to encourage autumn shoots and increase flowering branches. If forcing measures are used, the flowers can be enjoyed in winter. The method is to control water after autumn, move it into a greenhouse half a month in advance, and keep the room temperature at 18-20°C.
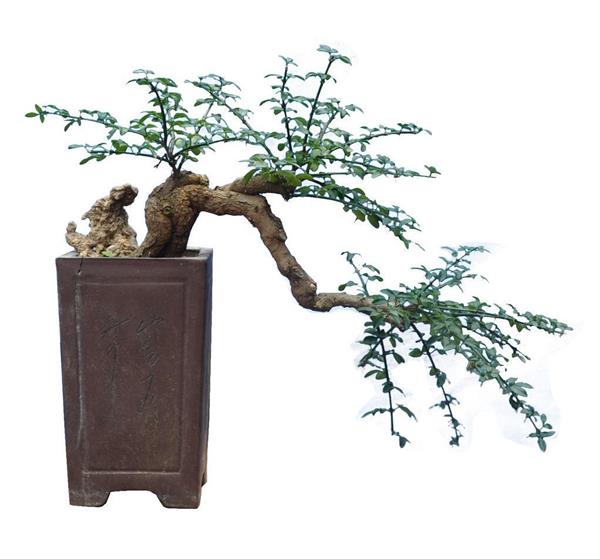
Winter jasmine cultivation and care
1. Soil: Winter jasmine cultivation has certain soil requirements; it requires loose, fertile, well-drained sandy soil. It grows vigorously in acidic soil, but grows poorly in alkaline soil.
2. Temperature: In summer, when the sun is scorching and high temperatures occur, the winter jasmine should be moved to a semi-shaded place, which is more favorable for its growth. Around the Spring Festival, move it together with its pot into a greenhouse or plastic shed, keep the room temperature at about 15°C, and flowers can be seen in about 15 days.
3. Watering: Winter jasmine likes moisture. From before flowering to the flowering period, water 1-3 times depending on how dry or moist the soil is. Before the rainy season arrives, water frequently. During the growing season, do not apply additional fertilizer; after the Beginning of Autumn, do not water, to prevent the branches from growing too long and too tender and thus being unable to overwinter safely.
4. Fertilizing: When planting winter jasmine, place a few pieces of animal hoof at the bottom of the pot as base fertilizer. During the winter jasmine growing period, apply 1-2 times a month a fully decomposed, dilute liquid fertilizer. July to August is the flower bud differentiation period for winter jasmine, so a liquid fertilizer with a higher phosphorus content should be applied to facilitate flower bud formation. If, before the flowering period, a fully decomposed, dilute organic liquid fertilizer is applied once, it can make the flower color more brilliant and prolong the flowering period.
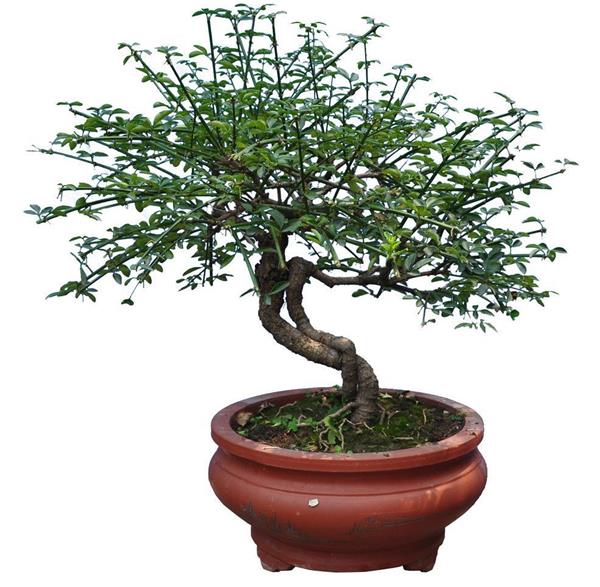
5. Pruning: Winter jasmine has strong sprouting ability, so during the growing period it should be pinched frequently, and some branches should be cut off or shortened to maintain the tree shape. After the flowers fade, the branches should be shortened, generally leaving only 2-3 buds; the main branches may appropriately retain a few more buds. After new branches grow, with proper care, flower buds will cluster.
6. Pests: Winter jasmine has relatively few common pests and diseases; the main one is aphid damage. The control method is to spray 40% omethoate emulsifiable concentrate, 1500-1800 times dilution of dichlorvos, or use tobacco liquid for control.
I believe that after reading the above article, everyone has gained some understanding of the relevant content on winter jasmine bonsai making methods. I hope the above content can help everyone; for more wonderful content, please continue to follow our website~