How to Grow Bromeliads? A Detailed Guide to Bromeliad Cultivation Methods
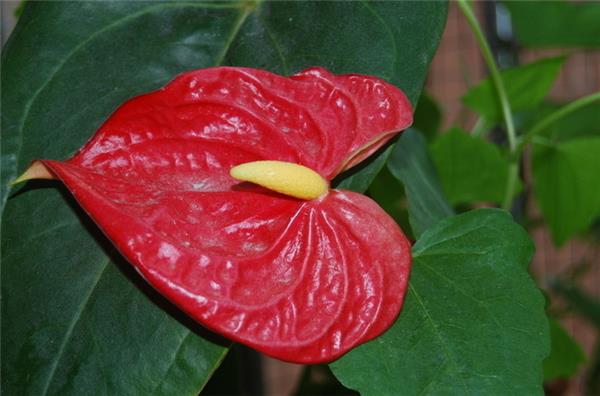
If you have ever seen a bromeliad, you certainly know how it got its name. As you can see, its petals and leaves are very similar to those of a pineapple, and its flowers are gorgeous with dazzling patterns that fascinate people. Beyond its appearance, it can also purify indoor air, filling the home with green vitality while fulfilling its flower meaning - perfection. Such a wonderful flower is, of course, also easy to grow. Below we introduce the cultivation methods for bromeliads.
I. Bromeliad Cultivation Methods
Key Point for Bromeliad Cultivation - Water
Water is the source of life and the key to development. The water bromeliads prefer should ideally have a pH of 5.5-6.5, which is most favorable for nutrient absorption and can also reduce the stress the roots bear from the outside environment. So the ideal choice is to water with rainwater; if that is not available, watering with lake water and surface water is also quite good. If conditions allow, you can buy a spray bottle, which not only helps prevent water from accumulating at the bottom of the pot but also lowers the indoor temperature.
Key Point for Bromeliad Cultivation - Light
Bromeliads are indoor plants that prefer shade and are not suited to direct sunlight, but they still need sunlight exposure. According to traditional cultivation experience, 3 hours per day is best. In spring and autumn this goes without saying, but it is worth noting that in summer there must be no direct sunlight, and in winter the temperature must be above 10°C and below 20°C, which helps the plant rest and will not affect the next year's growth.
Key Point for Bromeliad Cultivation - Fertilizing
Bromeliads were originally epiphytic plants. Their root system is not very developed, with no main root, only slender roots, so do not add too much fertilizer to the pot. This is also the main reason many people report yellowing leaves and rotting roots during cultivation. It is recommended to plant them in small, shallow pots so that some of the roots are exposed to the air. As for the soil, use leaf mold plus a little garden soil, or mix peat and perlite in a half-and-half ratio.
II. Precautions for Bromeliad Cultivation
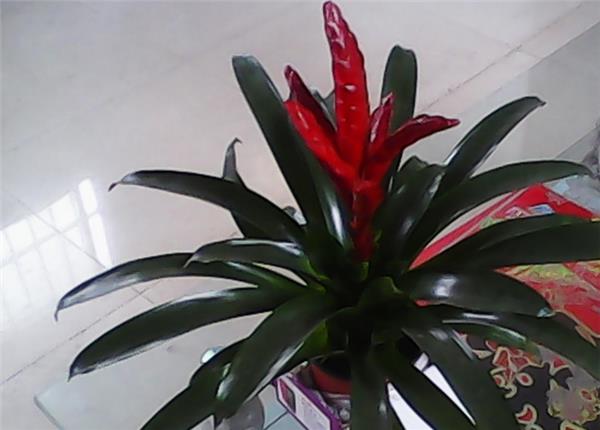
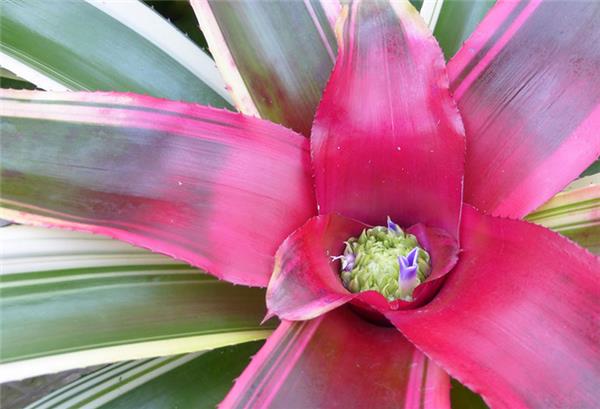
Bromeliad plants reproduce by sending out pups, or offsets. A mature plant, in its natural growth cycle, will send up a flower spike, including small, sometimes even insignificant flowers, surrounded by showy bracts (this is true - people love the bracts of bromeliads). The floral bracts are often long-lasting, sometimes for several months. After flowering the plant dies, and the plant also begins to die and will decline over the following months. However, the mother plant will send out one or several smaller pups at the base of the plant. These pups can be carefully cut off with sterile snippers and potted separately. The pups should only be potted after they have developed several roots and begun to form the central cup characteristic of bromeliads.
Bromeliads are native to tropical regions and are sensitive to cold, so when growing them in winter the temperature must reach above 5°C to avoid disease. Because bromeliads in their native state grow as epiphytes under the tropical rainforest canopy, their need for sunlight is not too high either; on the contrary, too much sunlight can cause yellowing leaves, dry flower tips and so on. So the best place to keep a bromeliad is a semi-shaded, well-ventilated spot, protected from the scorching sun.
Water is also needed to grow bromeliads well. Generally we grow bromeliads at home in pots, so the potting soil should be kept slightly dry on the surface and must not be too wet; if it is too moist, the roots will easily rot. How do you maintain this moisture level? The leaf base of a bromeliad has a leaf tank, and inside the leaf tank there is a water reservoir; you just need to keep water in the reservoir. However, the water inside is best changed once every half month to prevent it from smelling bad. Usually you should also sprinkle some water on the leaves.
III. Causes of Yellowing Bromeliad Leaves
1. Improper fertilizing
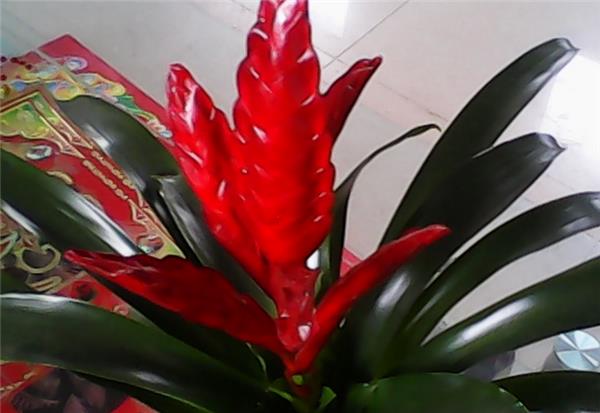
The flowering period of Guzmania (Vriesea 'Flaming Sword') is in winter. During the flowering period it requires sufficient fertilizer; usually apply a dilute organic liquid fertilizer once every two weeks, for example soaked liquid of bean cake or sesame paste residue (a concentration of 20% is suitable), or you can use soybean soak liquid or fermented rice washing water.
When fertilizing is insufficient, the pot will lack nutrients such as nitrogen, causing weak branches and leaves, with thin and yellow leaves. You need to promptly repot, replacing with fresh loose fertile potting soil and gradually increasing applications of dilute decomposed liquid fertilizer or compound flower fertilizer. If too much fertilizer is applied, on the other hand, new leaves will become thick and fleshy with many bumps, and old leaves will dry at the tips, turn scorched yellow and drop off. At this point, stop fertilizing immediately, increase the amount of watering so the fertilizer flows out through the drainage holes at the bottom of the pot, or immediately repot, rinse the root ball with water and then replant it in the pot.
2. Insufficient light
To keep Guzmania leaves bright in color and flowering regularly, light is very important. In winter there must be at least 4 to 5 hours of direct sunlight per day. On cloudy and rainy days, you can use artificial light to increase lighting. In summer, the seedling pots should be placed in the shade of trees; for indoor cultivation you can also set up shade netting as needed.
3. Soil texture
Guzmania grows best in loose, fertile, humus-rich soil. For home cultivation, you can choose 2 parts peat soil mixed with 1 part fine sand to make a potting soil. Generally the soil bought from flower markets is suitable for plant growth; when you add more soil yourself later, pay attention to the soil texture.
4. Pests and diseases or improper control
In environments with excessively high temperature or humidity and poor ventilation, Guzmania is prone to pest and disease damage, and at such times the leaves are also likely to show signs of yellowing or curling. However, if the pesticide concentration used to control pests and diseases is too high, or the plant is polluted by toxic gases in the air, or cold water is suddenly poured on it when the temperature is high, all of these can easily cause the leaf tips or parts of the leaf surface to turn yellow and scorch, or even cause the whole plant to die. Therefore, pay attention to using pesticides reasonably and try to eliminate sources of air pollution.
In fact, bromeliad cultivation is just this simple. As long as you do these few things, you can grow lovely flowers with your own hands, which are not only beautiful but also purify indoor air. Give it a try.
3. Soil texture
Guzmania grows best in loose, fertile, humus-rich soil. For home cultivation, you can choose 2 parts peat soil mixed with 1 part fine sand to make a potting soil. Generally the soil bought from flower markets is suitable for plant growth; when you add more soil yourself later, pay attention to the soil texture.
4. Pests and diseases or improper control
In environments with excessively high temperature or humidity and poor ventilation, Guzmania is prone to pest and disease damage, and at such times the leaves are also likely to show signs of yellowing or curling. However, if the pesticide concentration used to control pests and diseases is too high, or the plant is polluted by toxic gases in the air, or cold water is suddenly poured on it when the temperature is high, all of these can easily cause the leaf tips or parts of the leaf surface to turn yellow and scorch, or even cause the whole plant to die. Therefore, pay attention to using pesticides reasonably and try to eliminate sources of air pollution.
In fact, bromeliad cultivation is just this simple. As long as you do these few things, you can grow lovely flowers with your own hands, which are not only beautiful but also purify indoor air. Give it a try.