Planting Methods and Pest and Disease Control Techniques for Paulownia catalpifolia
To grow a healthy Paulownia catalpifolia, you need to understand its morphological characteristics and habits, then pay extra attention to both planting and care; otherwise, Paulownia catalpifolia will easily fall prey to pests and diseases.
I. Morphological Characteristics of Paulownia catalpifolia
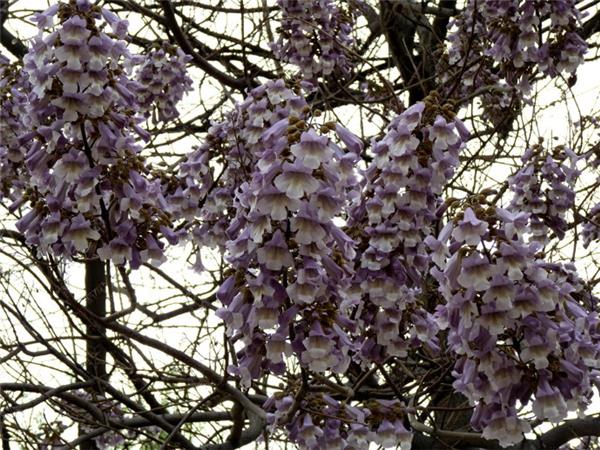
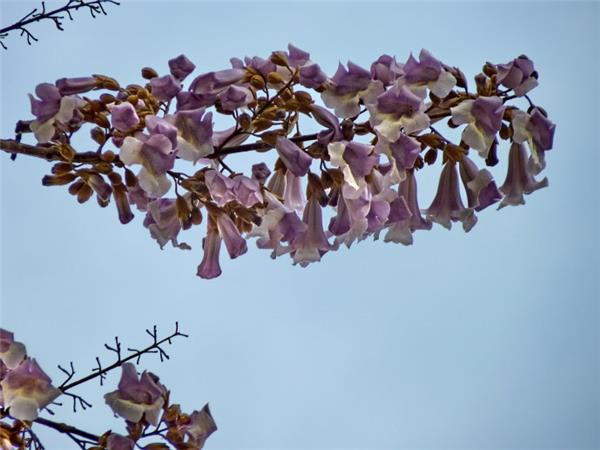
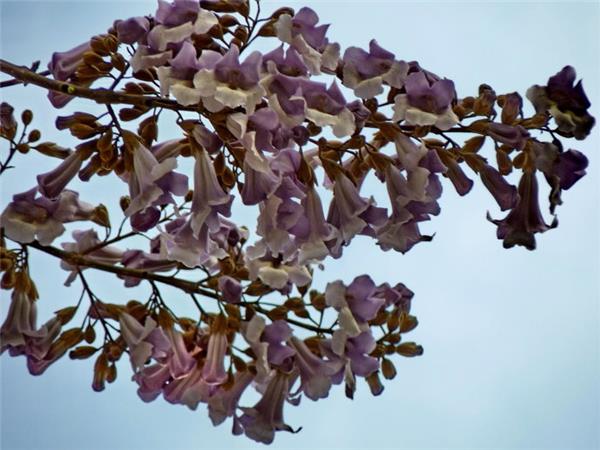
Deciduous tree, up to 20 m tall; trunk bark light grayish-brown, smooth when young and shallowly fissured when old; lateral branches growing obliquely upward; crown broadly ovate; young branchlets greenish-brown and slightly hairy, later turning reddish-brown and smooth; internodes short; pith small and solid; yellowish-brown raised lenticels present; leaves simple, alternate, large, triangular-narrowly ovate, 12-28 cm long, leaf length 2-3 times the leaf width, leaf margin entire, upper surface dark green and glossy, underside densely covered with stellate hairs, with long petioles; flowers bisexual, in terminal narrow paniculate cymes, tubular-funnel-shaped, light purple, 5-lobed, externally short-hairy, internally white and smooth, densely marked with purple lines and purple spots. Capsule rhombic-ovate, slender, with a beaked tip at the apex, pericarp woody, externally fine-hairy, dehiscing into 2 valves when mature; seeds minute, flat, with a membranous wing
II. Growth Habits of Paulownia catalpifolia:
Light-demanding and intolerant of shade; highly cold-resistant; relatively drought-tolerant; not demanding about soil type, but very sensitive to fertility; intolerant of waterlogging and low-lying wet ground. Strongly heliophilous, prefers warmth, fairly cold-tolerant, fast-growing.
III. Plastic Film Mulch Seedling-Raising Technique for Paulownia catalpifolia
1. Fine land preparation: Paulownia is light-demanding, so choose a sandy loam soil that is loose, highly fertile, has irrigation conditions, is level, with a pH of 6.5-7.5 and a water table below 1.5 m. Do not choose continuous-cropping land for seedling raising; choose a site without severe soil-borne insect pests. In autumn and winter, deep-plow 40 cm and do not harrow after plowing; in early spring, harrow and roll to conserve soil moisture, achieving a level surface and full soil moisture.
2. Fertilizing and ridging: Apply sufficient basal fertilizer in conjunction with the autumn plowing; if no basal fertilizer was applied before winter, apply it promptly in early spring, applying 500 kg of farmyard manure, 35 kg of superphosphate, and 1.5 kg of 50% phoxim granules per mu to disinfect the soil. Ridge construction takes place at the end of February: first mark lines with a row-width marker of 50 cm, then open furrows with a plow along the odd-numbered lines, apply the basal fertilizer, then break the even-numbered row lines, and use the topsoil to build up large ridges to the left and right sides. The ridges are 15 cm high, with a ridge surface 60 wide in a fish-back shape; the entire ridge surface should be uniform in height, loose on top and firm below, with furrows 35 cm wide; the ridges and rows must be straight, which benefits film mulching.
3. Planting: Along roadsides, canalsides and riversides, they can be planted in rows with a spacing of 3-5 m; in areas with better conditions, purple false indigo (Amorpha fruticosa) and the like can also be planted between the trees. Near homes and villages, they can be planted in belts or blocks, with an initial afforestation density of 4 x 4 m. Afforestation is generally carried out from after leaf fall in autumn to before bud break the following spring. In some areas, autumn planting with leaves still on the trees can also achieve good results.
4. Releasing seedlings and weeding: After burying the roots and applying the film, promptly observe the emergence of the seedlings, patrol frequently, and release each seedling as it emerges. Release them as they come up; when half of the seedlings have emerged, you can cut open the unemerged portions in one go according to the root-burial positions. This saves labor and prevents seedling scorching. After the seedlings emerge from the film, seal the seedling holes with soil to prevent ventilation and moisture loss, which would cause weed overgrowth and reduce the effect of the film mulch; at the same time, prevent weeds from growing under the film, and achieve weeding while small, completely, and early.
IV. Pest and Disease Control Measures for Paulownia catalpifolia
1. Cultivate disease-free seedlings. Strictly select disease-free mother trees for seed and root collection. Be careful to collect roots from the root systems of seedling-grown plants. After collecting the roots, soak them in warm water at 40°C-50°C for 30 minutes, or soak them in 50°C warm water plus oxytetracycline (at a concentration of 1000 x 10-6) for 20 minutes, which gives a good disease-control effect. Do not use retained-root seedlings or stumped seedlings for afforestation; in places where the disease is severe, it is best to raise seedlings from seed.
2. Prune out diseased branches or girdle them. Since the pathogen travels within the host along with the host's assimilates, you can, before Paulownia leafs out in spring, remove the phloem in a ring at the base of the diseased branch. The girdling width depends on the thickness of the branch at the girdling site, generally 5-10 cm, and should be enough that it cannot heal, so as to prevent the pathogen from flowing back from the roots to the upper part of the tree.
3. Drug treatment. Pith injection: 1-2 year old seedlings or young trees have soft pith, so the solution can be injected directly into the pith with a syringe; for large trees, drill two holes at the base of the trunk on the side of the diseased branch, one above the other, deep to the pith, then slowly inject the solution into them. Root absorption treatment: dig away the soil 50 cm from the base of the trunk, find a root about 1 cm thick among the exposed roots and cut it off, put the solution into a bottle and insert the root into it, seal the bottle mouth tightly with plastic film, and after a certain time the solution is absorbed by the tree.
4. From May to June, promptly carry out chemical control of the insect vectors that transmit the disease.
As long as you strictly follow the above measures for protection and treatment, the probability that pests and diseases stay away from the Paulownia catalpifolia you plant will be greatly increased. Of course, in addition to the above points, you should also, according to the habits of Paulownia catalpifolia, give it extra care in terms of light, water and other aspects.
The probability that pests and diseases stay away from the Paulownia catalpifolia you plant will be greatly increased. Of course, in addition to the above points, you should also, according to the habits of Paulownia catalpifolia, give it extra care in terms of light, water and other aspects.