How to Plant Irises? A Detailed Guide to Iris Planting Methods
Irises are plants of the genus Iris in the family Iridaceae, and they are a group of flowers with high ornamental value. Irises symbolize freedom and light, and they can also be processed into essence for making perfume, so many people grow irises at home. So how do you plant irises?
How to Plant Irises
Botanical characteristics of irises:
Perennial herbaceous plants. The rhizome is elongated or tuberous, creeping horizontally or slanting, slender or thick. The leaves are mostly basal, overlapping one another and arranged in 2 ranks; the leaves are sword-shaped, linear or thread-like, with parallel veins, the midvein obvious or absent, the base sheath-like, and the apex acuminate. Most species have only a flowering stem and no obvious aboveground stem; the flowering stem emerges from the leaf cluster, and in most species it extends above the ground, while in a few it is shortened and does not extend out, branching or unbranched at the tip; the inflorescence is borne at the tip of the branches, or only 1 flower is borne at the tip of the flowering stem; several bracts are borne at the base of the flower and inflorescence, membranous or herbaceous; the flowers are relatively large, blue-purple, purple, red-purple, yellow, or white; the perianth tube is trumpet-shaped, thread-like, or very short and inconspicuous, and the perianth limbs are 6 in number, arranged in 2 whorls. The outer whorl has 3 perianth limbs, usually larger than the inner whorl, often reflexed and drooping in the upper part, claw-like at the base, mostly grooved, smooth, without appendages or with crest-like and bearded appendages; the inner whorl has 3 perianth limbs, upright or tilted outward.
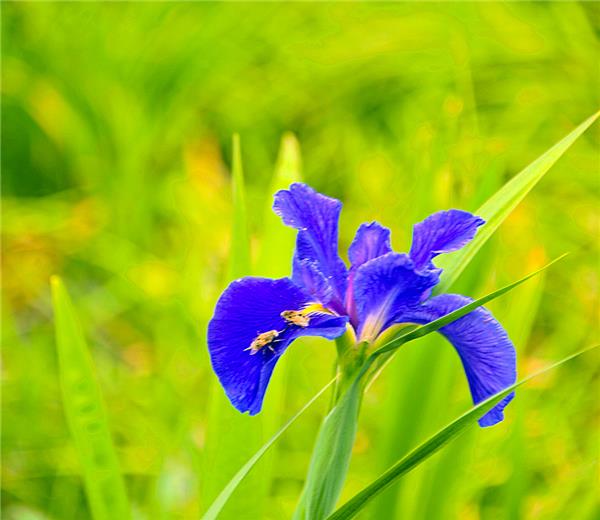
When to Plant Irises
Autumn-spring planting (newly harvested bulbs)
Regarding bulb size, the largest bulbs (circumference above 10 cm) are of relatively higher quality. Bulbs with a circumference of 9-10 cm are generally planted on December 1. Because they are slightly smaller than the former, their quality is a little poorer.
Before May 15, all bulbs can be used. In temperate regions, all bulbs (large or small grade) can be planted in a heated greenhouse on January 1.
Summer planting
Planting irises in summer carries a certain risk. This is because iris yield depends directly on the temperature during the growing period. If the average temperature is expected to be higher than 25°C, then the planting plan will have to be cancelled. In that case, planting can only be moved earlier or delayed.
Autumn planting (bulbs for delayed planting)
Depending on soil temperature (preferably below 20°C), cultivation can begin on September 1, or in temperate regions the varieties "BlueMagic", "Ideal", and "Prof. Blaauw" can be planted earlier.
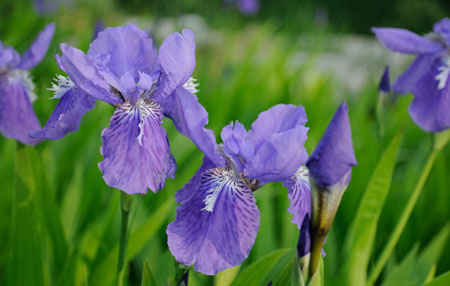
How to Grow Irises
1. Soil: It requires moderately moist, well-drained, humus-rich, slightly alkaline clay soil.
2. Watering: Watering depends on the situation. For open-field cultivation, water once a week during the growing period, and gradually reduce the amount of watering as the temperature drops. Generally, it is best to keep the soil slightly on the dry side. Do not let the soil become waterlogged or remain wet for a long time, so as to avoid root rot or disease.
3. Sunlight: Irises like ample sunlight and are also slightly tolerant of shade. They can be grown in the open field. They are highly adaptable, and generally vigorous growth can be achieved with normal care.
4. Fertilizing: Base fertilizer can be applied before planting the plants, fertilize once every autumn, and chemical fertilizer can be applied as a top dressing during the growing period.
Soil Conditions Irises Need
Irises can be planted not only in glass greenhouses or plastic-film greenhouses, but also in the open field. Outdoor planting combined with temporary coverings, or the use of mobile homes, is feasible, especially in spring and autumn.
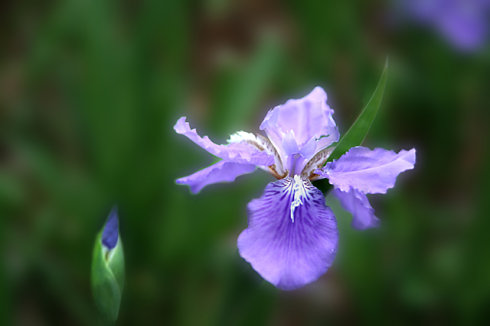
For the production of cut irises, planting can actually be carried out in any type of soil, as long as it drains well, has strong moisture retention, and is not compacted (otherwise it will restrict plant growth). Good soil structure is a basic requirement, because this is very necessary for the frequent large-scale planting of irises with a short growing period.
In heavy loam, it is recommended to add materials such as peat, vermiculite, or coarse sand and mix them into soil about 25 cm deep to improve the soil.
For soil that easily compacts, after planting you can cover the soil surface with a layer of materials such as rice hulls, straw, pine needles, black peat, or similar materials to prevent the soil from compacting. This method can also be used to prevent the soil from drying out too quickly.
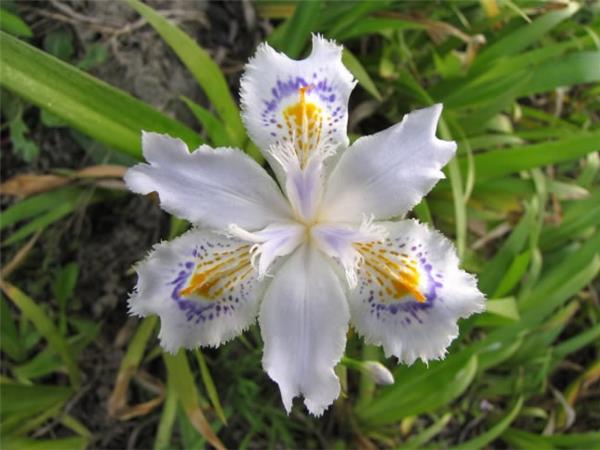
Iris Leaves Turning Yellow
Iris leaves turning yellow: 1. Excessive light
Irises prefer a semi-shaded growing environment, so irises are often cultivated in greenhouses. If they are cultivated outdoors, attention must also be paid to the light conditions for irises; if the sunlight is too strong, the iris leaves will turn yellow. Solution: When cultivating irises outdoors, the main issue to address is shading. When the sunlight is too strong, it is best to move them to a place that can provide ample sunlight but where it will not be too intense.
Iris leaves turning yellow: 2. Overwatering
Irises are not tolerant of waterlogging, so do not water too frequently or too much. Waterlogged soil or soil that remains wet for a long time can cause iris leaves to turn yellow or lead to disease. Solution: During the growing period, water irises once a week, and gradually reduce the amount of watering as the temperature drops. Generally, it is best to keep the soil slightly on the dry side.
Iris leaves turning yellow: 2. Overwatering
Irises are not tolerant of waterlogging, so do not water too frequently or too much. Waterlogged soil or soil that remains wet for a long time can cause iris leaves to turn yellow or lead to disease. Solution: During the growing period, water irises once a week, and gradually reduce the amount of watering as the temperature drops. Generally, it is best to keep the soil slightly on the dry side.