How to grow Camellia japonica? Potted cultivation techniques for Camellia japonica
Camellia, also known as camellia flower, is a plant of the Theaceae family and Camellia genus, belonging to evergreen shrubs and small trees. Its ancient name is sea pomegranate. It has aliases such as Yuming flower, Camellia japonica, or mandala, and is further divided into East China camellia, Sichuan camellia, and late camellia. Camellia always blooms in defiance of snow to welcome spring, and can be used to decorate and beautify your bedroom.
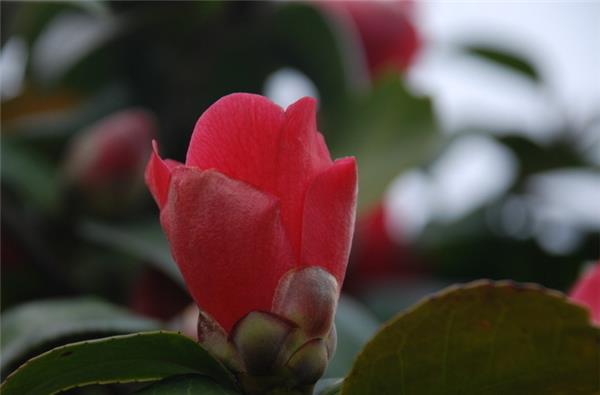
I. Potted techniques for Camellia japonica
For potted camellia, 15-20cm pots are commonly used. Camellia has fragile roots, so care must be taken not to damage the root system when transplanting. For potted camellia, repot every year after flowering in spring or in September-October, prune off leggy branches or dead branches, and replace with fertile leaf mold soil. Camellia likes moisture, but the soil should not be too wet, especially in pots; excessively wet potting soil easily causes root rot. Conversely, if irrigation is not thorough and the soil is too dry, the leaves will curl, which will also affect flower bud development.
In the cultivation methods of camellia, attention should be paid to post-potting care. After repotting camellia in spring, there is no need to fertilize immediately. After summer begins, during the vigorous growth period of stems and leaves, fertilize once every half month. From bud appearance in September to the flowering period, apply 1-2 additional doses of phosphorus-potassium fertilizer, together with spraying Duohua Zhuangdiling to promote strong flower buds.
In late summer and early autumn, camellia begins to form flower buds. Each branch tip should keep 1-2 flower buds, not too many, so as to avoid consuming nutrients and affecting the blooming of the main flower bud. When removing buds, pay attention to the position of leaf buds to maintain a beautiful plant shape. At the same time, remove dried and useless buds by hand. During the growth period, sufficient water should be maintained, and leaves should be sprayed with water once a day to maintain relatively high air humidity. In summer, provide 50% shade.
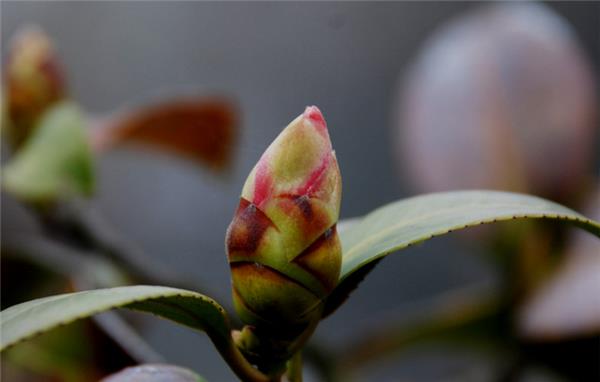
II. Winter care for Camellia japonica
Light. Camellia is a semi-shade flower and needs shade from a shed in summer. After the start of autumn, as temperatures drop, camellia enters the flower bud differentiation stage, and the whole plant should gradually receive sufficient light. In winter, it should be placed indoors in a sunny place. If indoor light is too weak, camellia will grow poorly and is prone to pests and diseases.
Temperature. Camellia likes warmth and fears cold. Indoor temperature must not be lower than 5°C. In a room with a temperature of 10°C to 15°C, with other measures proper, it can bloom during the Spring Festival, and the flowering period can last until March. Humidity. Generally, indoor air is relatively dry in winter, so water should often be sprayed on camellia leaves to form a humid microclimate. However, do not spray water on cloudy and rainy days.
Watering. Watering in winter should depend on indoor temperature, generally about once every 3 days, keeping the potting soil moist. Avoid water accumulation or half-watering. Tap water should first be stored in a bucket for one or two days to let chlorine volatilize. It is best to add one percent ferrous sulfate to the water to help improve water quality.
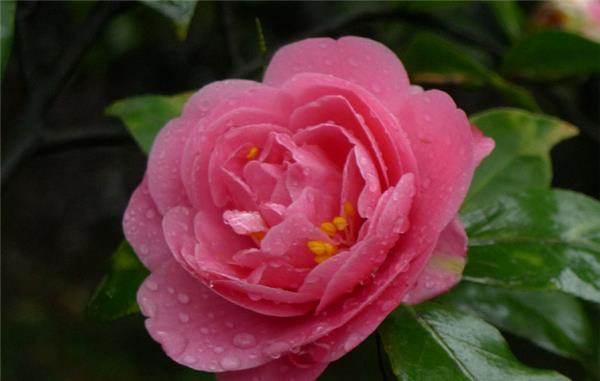
III. Fertilization techniques for potted Camellia japonica
(1) Nitrogen fertilizer to promote spring shoots
Organic camellia generally begins to sprout spring shoots at around 18°C. At this time, apply bud-promoting fertilizer mainly based on nitrogen fertilizer, once every 10 days, until the spring shoots begin to lignify. If conditions permit, salt solution can also be sprayed on the leaves at the same time. After multiple root and foliar sprays, the spring shoots will grow very luxuriantly, the leaves can extend to the maximum, and the branches can accumulate rich nutrients, creating good conditions for flower bud differentiation.
(2) Increase organic fertilizer and potassium fertilizer to promote flower bud differentiation and form flower buds
After organic camellia spring shoots have fully emerged and entered lignification, there will be a relatively short semi-dormant period. At this time, camellia shifts from the vegetative growth stage to reproductive growth, and flower buds begin to differentiate. If you want camellia to form more buds, apply more phosphorus and potassium fertilizer, and do not apply or only slightly apply nitrogen fertilizer. If a small organic camellia plant is mainly being grown to develop its overall size, then still mainly use nitrogen fertilizer, and do not apply or only slightly apply phosphorus fertilizer.
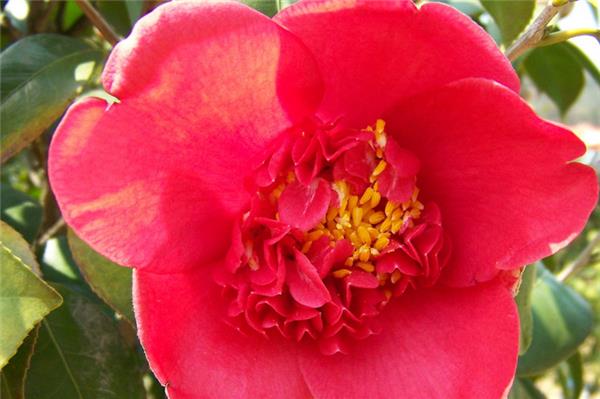
Placing one or two potted camellias in your home living room can make your home more lush and green. Camellia always blooms in winter when almost all other flowers have withered, making people feel very warm. Today's introduction to camellia cultivation methods ends here. Thank you all for reading.