A Detailed Guide to Eating Methods and Harvesting and Processing Techniques for Daylily
Daylily not only has ornamental value, but what it is better known for should be its edible value. It has a crisp texture and a delicious taste, making it a very good ingredient.
I. How to Select Daylily
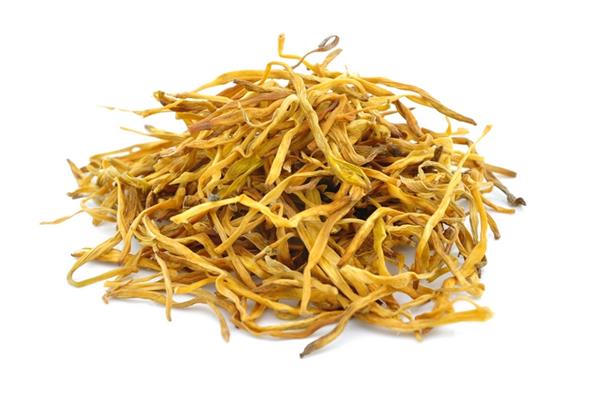
Since daylily is so rich in nutritional value, are there any points to note when we buy daylily? Of course there are. When selecting daylily, you should start from three aspects - looking at the appearance, feeling with your hands, and smelling the aroma.
1. For high-quality daylily, its color is light yellow or golden yellow, while inferior daylily has uneven color shades, mixed colors, and uneven length and thickness, and some may even have already turned black, showing a tendency to become moldy and spoiled.
2. High-quality daylily, when rolled into a ball and then released, can immediately stretch out and return to its original shape, because it has good elasticity. Inferior daylily, on the other hand, feels relatively hard and breaks easily.
3. High-quality daylily has a fragrant aroma, while inferior daylily has a smoky or moldy smell.
II. Daylily Harvesting, Processing and Storage Techniques
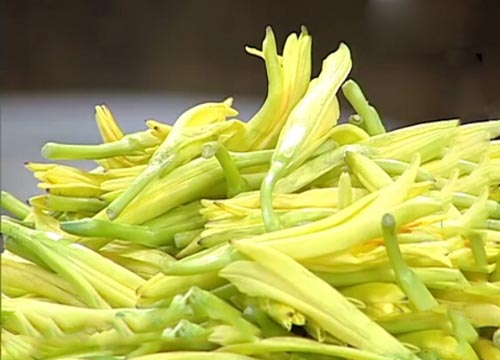
Timely harvesting: The harvesting period for daylily is generally about 30 days. It is also best to pick when the flower buds are plump, still unopened, golden yellow in the middle, green at both ends, and the purple at the tip has faded. Harvesting should be done gently and carefully, and each plant should be harvested one by one from top to bottom and from the outside inward.
Timely steaming: Promptly place the selected flower buds in layers into a steamer and keep them even and loose, then place the steaming rack over a pot of boiling water and cover tightly. Generally, when the color changes from the original fresh yellow-green to yellow, when pinched by hand it feels slightly soft and half-cooked, and the volume has reduced by about 1/2, remove from the pot and take it out to cool naturally.
Sun-drying on clear days: The steamed daylily cannot be exposed to direct sunlight immediately. After spreading it out to cool naturally, spread it on an outdoor drying mat for full sun exposure. Turn it once every 2 to 3 hours, and bring it back in at night. Generally, it is ready when the dried vegetable is tightly gripped by hand and still naturally spreads apart after release.
Artificial drying: When it cannot be sun-dried during cloudy and rainy days, a drying room can be used for drying. During the baking process, attention should be paid to ventilation and moisture removal so that the relative humidity in the drying room drops below 60%.
Salting to prevent mold: If there is continuous cloudy and rainy weather and no baking equipment, sprinkle a layer of salt, press it down firmly, and in this way it can be kept for 6 to 7 days without becoming moldy. However, dried products obtained after salt treatment for mold prevention must be separately marked and packaged.
Reasonable storage: Place the sun-dried or baked daylily in a large wooden box to absorb moisture, so that the water content reaches about 15%, and it is ready when it is not easy to break when gripped by hand and can recover its elasticity when released. Pack it up and place it in a dry, cool place.
III. Guide to Eating Daylily
Daylily with Vermicelli
Ingredients: daylily, vermicelli, carrot, cucumber, vinegar, light soy sauce, salt, oil.
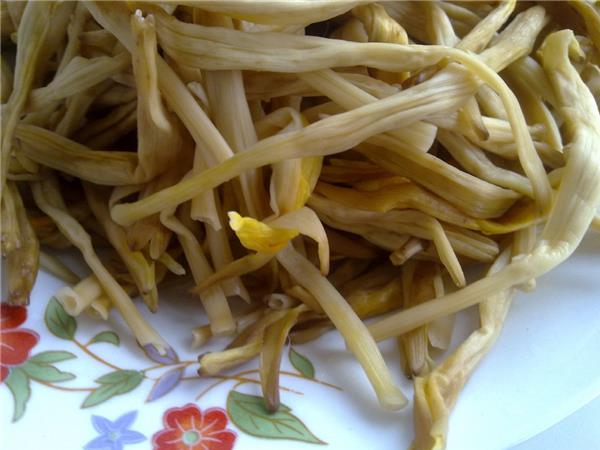
1. Soak the daylily in water in advance until rehydrated;
2. Peel the carrot, wash the cucumber, and cut into shreds;
3. Cook the vermicelli in boiling water, remove and rinse with cold water, then drain;
4. Wash the soaked daylily and tear into shreds;
5. Cook the daylily in boiling water, remove, rinse with cold water, and drain;
6. Put all the ingredients in a large bowl, add salt, oil, vinegar and light soy sauce, and mix well.
Four-Joy Braised Gluten
Ingredients: braised gluten, daylily, black fungus, shiitake mushrooms, bean curd sticks, edamame, peanuts, dark soy sauce, salt, rock sugar, scallion sections, ginger slices, garlic cloves, star anise, cassia bark.
1. Soak all ingredients in cold water for more than 2 hours until swollen; blanch the braised gluten in boiling water to remove the bean smell.
2. Squeeze the braised gluten dry, cut into small square pieces, tear the black fungus into pieces, wash the shiitake mushrooms and score a cross on them, and cut the bean curd sticks into sections.
3. Place a pan on the heat, heat an appropriate amount of oil, saute the scallion, ginger, garlic, star anise and cassia bark until fragrant, add the braised gluten and lightly pan-fry it, then pour in the remaining ingredients and stir-fry evenly.
4. Add an appropriate amount of rock sugar and 3 spoonfuls of dark soy sauce.
5. Stir-fry quickly until the rock sugar melts and the braised gluten is evenly colored.
6. Pour in warm water level with the ingredients, add a little salt, turn to low heat, cover with a lid and simmer for about 20 minutes.
7. Turn to high heat to reduce the sauce.
8. Sprinkle in the edamame and stir-fry until cooked.
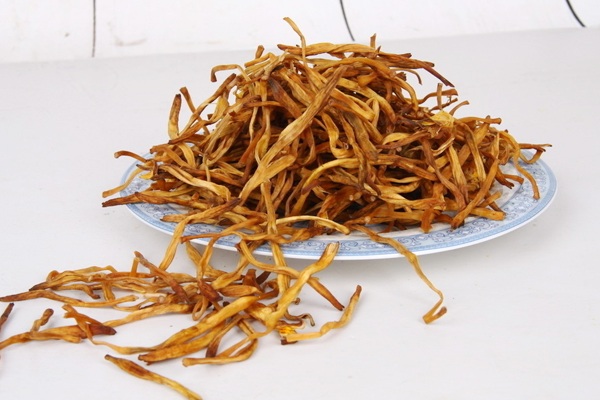
Generally, the daylily everyone sees on the market is daylily that has been sun-dried, or daylily that has been soaked, so in order to eat good daylily, everyone must be careful and thorough when selecting it, study how to eat daylily after returning home, and then start cooking it.