Autumn planting method for oxalis: a summary of growers' experience
There are some key points to pay attention to when planting oxalis in autumn. For beginner growers, reading the experience of veterans can help them avoid many detours. Below is a summary of autumn-planted oxalis growing experience shared by a grower, for reference:
1. Soil: First of all, the bulbs of autumn-planted oxalis are actually bulbous roots, different from ordinary tuberous-rooted oxalis. The bulbs are drought-tolerant but not waterlogging-tolerant. Be sure to use loose, breathable soil. The definition of loose and breathable is peat soil + perlite at 1:1, and you can mix in some loose small particles. The bottom must be lined with large, porous pot-bottom stones (pumice) or ceramsite. If you find that troublesome, you can buy pre-mixed orchid soil and likewise line the bottom with ceramsite or pot-bottom stones. Never use loess soil. Whoever says to use loess soil, I will argue with them. The bulbs will become stunted.
2. Pots: diameter 15CM or more. Oxalis has a well-developed root system but it does not go very deep, so a depth of 12 or more is enough. Use bulb pots, which are basically mesh-like at the bottom and very permeable to water. Only with pot-bottom stones can this be effective. For pot material, use plastic, terracotta, or clay pots, but definitely do not use porcelain pots. I really dislike porcelain pots. They are very heavy and do not let water through, and they can freeze and damage the roots. In the deep winter they feel ice-cold, and once the temperature rises they become scalding hot. Porcelain pots, get out!
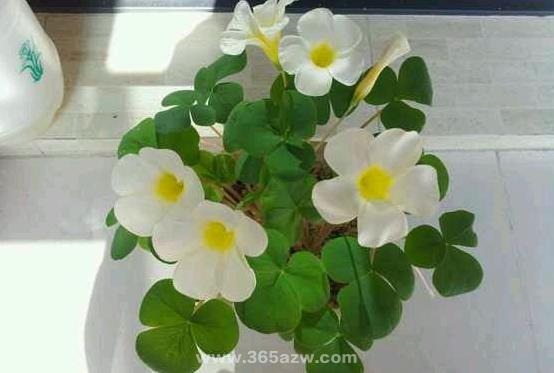
3. Watering: depending on the weather, once a week on sunny and dry days, once every half a month or three weeks on rainy and humid days. In short, do not water if not dry, and water thoroughly when you do. Autumn-planted oxalis has the same habits as the bulbs, and is even a bit tougher than the bulbs. In the coldest part of winter, too much water can freeze and damage the roots, so remember to control watering. As long as the leaves are not wilted, that is fine. At the beginning of planting, water thoroughly and place in partial shade. After the leaves grow out, place in sunlight. If the bulbs have not sprouted and are placed under strong sun, they will be steamed cooked.
4. Sunlight, temperature, and overwintering notes: apart from the bulb sprouting period, at other times it very much likes the sun. After it begins to grow leaves, a warm environment with direct sunlight is suitable. It grows normally at 5-25 degrees. If grown outdoors, please pay attention to the actual outdoor temperature and the day-night temperature difference. On low-temperature nights, control watering to prevent water damage. Below zero degrees, it cannot last many days. In northern regions with heating, it can be placed indoors on a bright windowsill, and after around March when the temperature is above zero, continue growing it outdoors.
5. Planting notes: when planting, it is best to use the soaking method for even water absorption. The planting depth is twice the length of the bulb. Generally, bulbs are pointed at both ends, with one side sprouting and the other sending out roots. If you cannot tell the sprout from the root, it is best to lay it flat. After leaves grow, if you find that the leaf-splitting point is exposed above the soil surface too much, add more soil. So at the beginning of planting, do not fill the soil to the top; 2/3 is enough.