How to grow night-blooming jasmine? A detailed guide to its growing environment and care tips
Night-blooming jasmine is a fairly common flowering ornamental plant, often grown in home courtyards and similar places. Night-blooming jasmine mainly blooms at night, and its fragrance is very strong. It is not known how it should be placed indoors, but as an ornamental arrangement in courtyards and similar places it is still quite good. Below we will look at how to grow night-blooming jasmine.
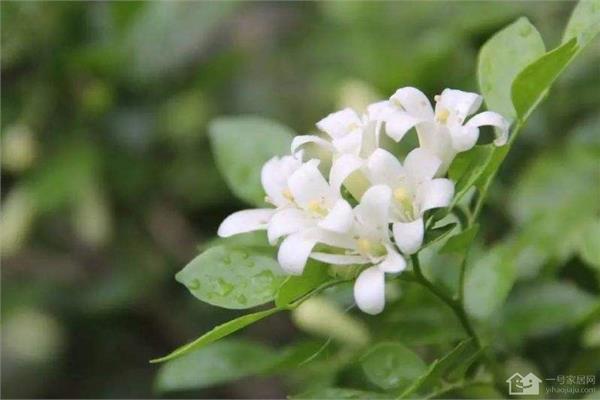
I. Night-blooming jasmine growing environment
Night-blooming jasmine mainly grows in the jungles of subtropical and warm temperate regions. It likes a warm, humid, sunny and dry climate environment. It has strong adaptability to the environment, vigorous vitality and a well-developed root system. It mainly grows in well-drained, fertile soil. It begins to bloom every spring, and the flowering period is very long. It has high temperature requirements, with the average annual temperature controlled at around 20°C. Night-blooming jasmine is a plant that likes fertilizer, so during its growth process it should be fertilized in small amounts and many times. Night-blooming jasmine also has high water requirements. In the hot summer it should be watered more, and in winter the soil should be kept moist, but be sure to avoid waterlogging.
II. Night-blooming jasmine care tips
1. Choose cuttings. Select branches that grow vigorously and are free of pests and diseases. On the same plant, choose sunny branches from the middle and upper parts of the current year's growth. The branches should have shorter internodes, thick and strong branches and leaves, and plump buds. Do not use branches that are about to bloom or leggy branches.
2. Choose the substrate. Mix peat soil, leaf mold and sand in a ratio of 3:3:4 respectively. Bed soil mixed this way has the characteristics of raising bed temperature, retaining water, providing aeration, being fertile and being slightly acidic, and is suitable for branches to take root and sprout.
3. Treat the cuttings. Before cutting, treat the cuttings with agents such as ABT rooting powder, which has the effect of promoting rooting. Cut the cuttings into sections of 8 cm to 12 cm, with 2 to 3 buds on them. The cut at the lower part of the cutting should preferably be 0.5 cm below a node, and the cut should be smooth. Remove the lower leaves, leaving only 2 to 3 leaves at the top. The insertion depth should generally be about 3 cm.
4. Create rooting conditions. The suitable rooting temperature is 20°C to 24°C. Generally, soil temperature being 3°C to 5°C higher than air temperature is favorable for rooting. The relative air humidity of the cutting bed is 80% to 90%, which is favorable for rooting, and the light requirement is about 30%. Moisture should be suitable. In the early stage of cutting, moisture should be slightly greater, and later slightly drier. The suitable period for open-field cutting locally is from early May to mid-June. At this time the climate is relatively good and can better meet the temperature and humidity conditions needed for the cuttings to take root.
5. Strengthen management after cutting. After cutting, water thoroughly, cover with plastic film, and place in a relatively shady place, or scatter straw on the film to prevent direct sunlight, and increase light at night to help the cuttings survive. Ventilate 1 to 2 times a day to replenish the needed oxygen and prevent disease. Spray water frequently to keep the cutting bed moderately moist, but do not spray too much water, otherwise the cutting bed will be too wet, which often affects the healing and rooting of the cuttings. When the new roots of the cuttings grow to 2 cm to 3 cm, they can be transplanted into pots at the appropriate time.
Finally, if summer is the peak growing season, in addition to applying sufficient fertilizer, the potting soil must be kept frequently moist, and if necessary water twice a day. If they are seedlings, spray water on the leaf surface 1 to 2 times a day. After winter arrives, they should be moved indoors. If the temperature is below 5°C, the leaves will turn yellow and fall off until the plant dies, so friends in the north should think twice before acting. During this process, also note that it is best to fertilize once every two or three months, and also pay attention to the prevention and control of pests and diseases.
The above is the relevant introduction in this article. I believe that after reading it you also have a simple understanding of this. If needed, you can continue to follow No. 1 Home Network to learn more information.