How do you grow camellias? Growing them this way can make your home environment fresher
Growing plants at home to fill your home life with vitality, energy and elegance has become a popular trend these days. Among these plants, camellias have become the first choice for many households thanks to their relative advantages, but it is unavoidable to run into all kinds of problems when growing them. Let's take a look below at an introduction to how to grow camellias.
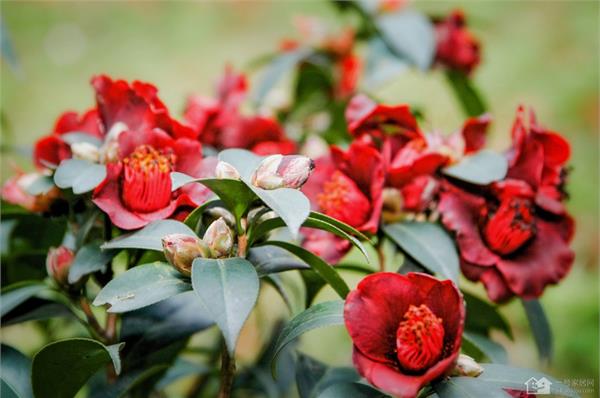
1. Placement: Camellias are best placed in a warm, humid spot with good ventilation and light. In spring they need plenty of light; in summer take care to shade them, avoiding direct sunlight and afternoon sun exposure - if they are placed on a balcony, it is all too easy for them to be scorched to death before you notice. In winter they should be moved indoors where the room temperature is above 3°C.
2. Light conditions: Camellias dislike strong light, so when planting them you must pay close attention to sunlight. In spring and autumn they need plenty of light, but in summer you must avoid direct sunlight - camellias can easily die if exposed to strong light for too long. If conditions allow, it is best to move them under a sun shelter.
3. Temperature: Camellias are neither cold-tolerant nor heat-tolerant, and their most suitable temperature is 18-25 degrees, so the ambient temperature must not be too high or too low, otherwise their growth will be affected. Pay particular attention in winter: the indoor temperature must be above 3 degrees, and if it drops below 0 degrees they will suffer frost damage.
4. Watering: Camellias like a humid environment, so you must take special care - not too dry, not too wet, and not alternating between dry and wet. Generally, in spring you can water more, which helps sprouting; in summer water twice a day, morning and evening, and ideally splash some onto the leaves. Never water when the plant is hot. In autumn, water as in spring, but in winter watering needs care: it is best to water before and after the plant, and not every day - ideally once every two or three days.
5. Pruning: Camellias grow relatively slowly and should not be pruned excessively. Generally, you only need to cut away leggy branches that spoil the plant's shape, as well as diseased, pest-infested and weak branches. If a branch has too many flower buds, thin them out and keep only 1-2, spaced a certain distance apart, removing the rest early to avoid draining nutrients. In addition, promptly remove flowers that are close to fading, which also reduces nutrient consumption, helping the plant grow vigorously and form new flower buds.
6. Fertilising: Camellias like fertiliser, so when potting them up, remember to put a base fertiliser in the potting soil, mainly phosphorus and potassium fertiliser. Fertilisers to use include decomposed bone meal, hair, chicken feathers, rice husk ash, poultry manure and superphosphate. Normally, do not fertilise too much; generally, after flowering, between April and May, apply 2-3 rounds of dilute liquid fertiliser, and in November apply one round of slightly stronger liquid fertiliser. When fertilising, note that the proportion of phosphorus fertiliser should be slightly higher to encourage abundant flowers and vivid colour.
7. Air circulation: The place where camellias grow has extremely high requirements for air circulation, and they grow best in a gentle breeze, but camellias are very afraid of northwesterly winds and strong winds, because these easily cause water to evaporate too quickly, throwing the camellia's supply and demand out of balance, which is bad for their growth.
8. Pest and disease control: The main diseases of camellias are black mould and anthracnose, which can be controlled by spraying 0.5-degree Bordeaux mixture. The main pest is the tea shoot moth; the control method is to cut off the infested shoots, preferably between April and June.
The above is the relevant introduction in this article. I believe that after reading it you now have a simple understanding of this. If you need more, you can continue to follow No.1 Home Network to learn more.