Detailed Explanation of Osmanthus Grafting Time and Methods: Teaching You How to Graft Osmanthus Correctly
Osmanthus grafting is mainly done to achieve fast seedling formation, vigorous growth, early flowering and minimal variation. There are also many grafting methods, such as approach grafting, cleft grafting, side grafting, mound layering grafting and rootless grafting techniques, and so on. So how do you graft osmanthus? What are the osmanthus grafting time and methods?
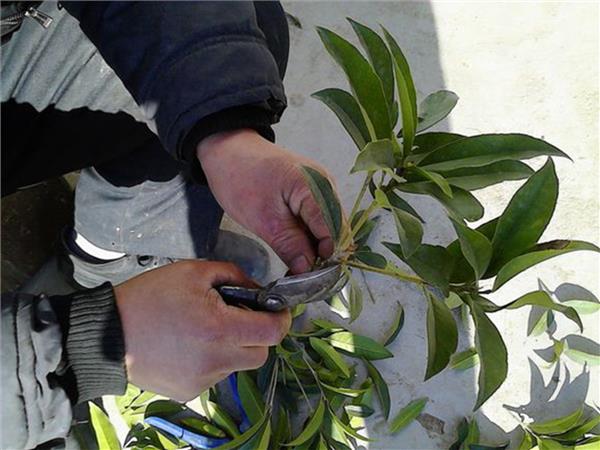
How to Graft Osmanthus - Osmanthus Grafting Time
Grafting osmanthus is better done in early spring, as you can determine whether it has survived in the same year, which is good for management. Osmanthus can also be grafted in autumn; skilled growers achieve a relatively high survival rate with grafting.
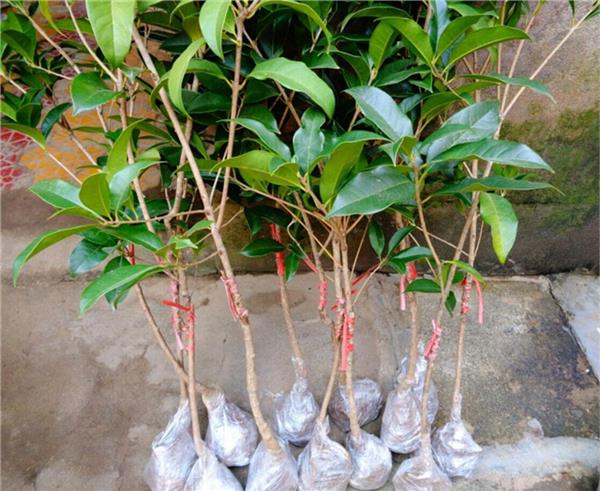
How to Graft Osmanthus - Osmanthus Grafting Methods
Side grafting and approach grafting are generally used.
①Side grafting: For side grafting, trim the rootstock before grafting. Cut off everything 6-7 cm above the soil surface, then make a slanted cut near the root crown, taking care not to damage the pith. Use a 2-3 year old branch (without leaves) as the scion, about 10 cm long, preferably with 2-3 nodes. Then cut the scion's cut surface into an unequal-sided wedge shape, insert it into the cut on the rootstock so that they fit closely together. After binding with plastic or hemp twine, mound soil up to the top of the scion.
②Approach grafting: For approach grafting, first grow the rootstock in a pot. In the plum rain season of June-July, select a two-year-old osmanthus seedling branch of similar thickness to the rootstock and approach-graft it while still in the pot, then cut it off before "White Dew" after it has survived. This gives a new plant that can bloom in the same year.
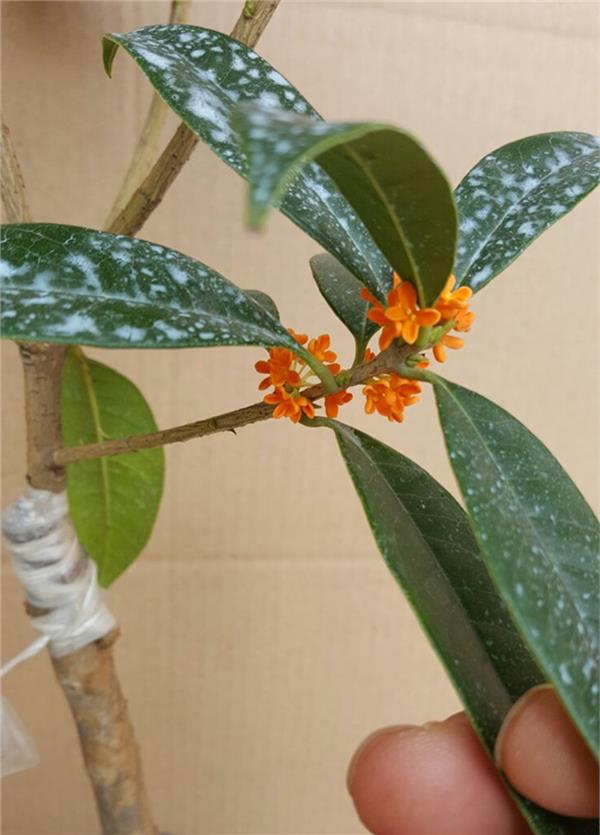
How to Graft Osmanthus - Post-Grafting Management of Osmanthus
About 20 days after grafting, osmanthus can survive and sprout. For plants that have not survived, if the suitable grafting period has not passed, they should be re-grafted promptly; if the grafting
suitable period has passed, you can select and keep 1-2 new shoots on the rootstock, ready for supplementary grafting the following spring.
After the grafted seedling survives, the mounded soil should be gently removed, and 1 vigorous new shoot should be selected and kept for cultivation, with excess new shoots removed. As for rootstock suckers growing from the rootstock, they should be removed entirely as early as possible after the graft has survived. This is because rootstock suckers and the new scion shoots compete for water and nutrients, directly affecting the normal growth of the grafted seedling. If the rootstock sucker shoots grow taller than the new scion shoots, it often causes the scion to "shoot back", and the graft will not survive.
When the new shoots of the grafted seedling have grown to 15-20 cm, supports should be set up to secure them, to prevent wind breakage or wind tilt that would cause the tree
shape to be improper in the future. Mounding soil at the base of the grafted seedling can prevent the graft union from splitting.
Throughout the entire growth period of the grafted seedling, pay attention to cultivating and weeding as well as drought resistance and drainage. When the grafted seedling has grown to more than 10 cm tall, apply 1 round of diluted livestock manure water to promote seedling growth; thereafter apply fertilizer once every 1 month. A one-year-old grafted seedling can reach 30-40 cm in height in the same year, and up to more than 70 cm at most. It can be transplanted in the following spring, and after meeting the specification requirements, it can then be lifted from the nursery for planting and use.