44 little tricks every gardening expert must know
Growing flowers
As the saying goes, "A thorough understanding of worldly matters is knowledge." Learning a few more little flower-growing tricks may help you grow your flowers even better, so let's take a look together.
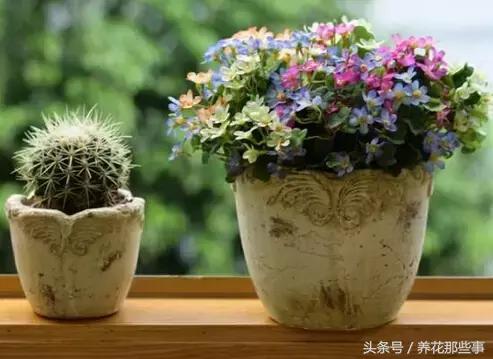
1. Choose the right plants
For growing flowers at home, potted plants are generally the main choice. Choose healthy flowers and plants, package them well, and carefully transport them home. Be careful not to plant too many; 10 to 15 pots is suitable. It is best to choose a mix of foliage plants, flowering plants, fruit-bearing plants, fragrant plants, and plants with ornamental form, so that the varieties are rich and diverse.
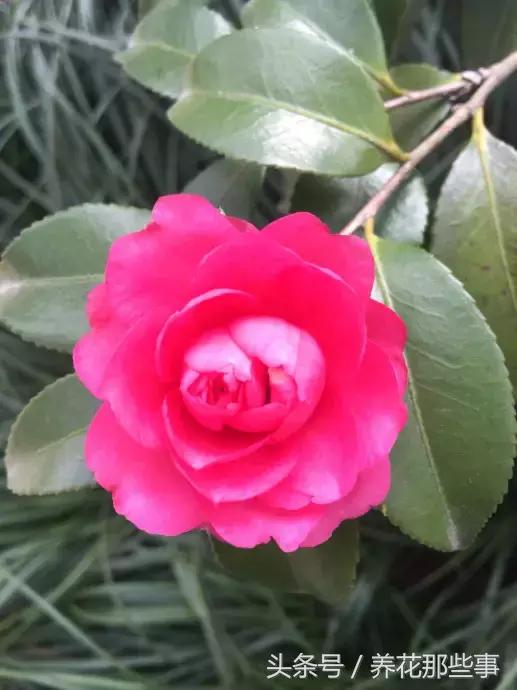
2. Check carefully
For potted plants you have bought, check whether the base of the plant (the part of the plant near the soil) is loose from the soil. If it is, you can tap the outer edge of the pot, or use your hands to adjust the soil gaps. This is because loosening at the base of the roots can cause water loss and also give diseases a chance to attack the health of the roots or the lower stems and branches.
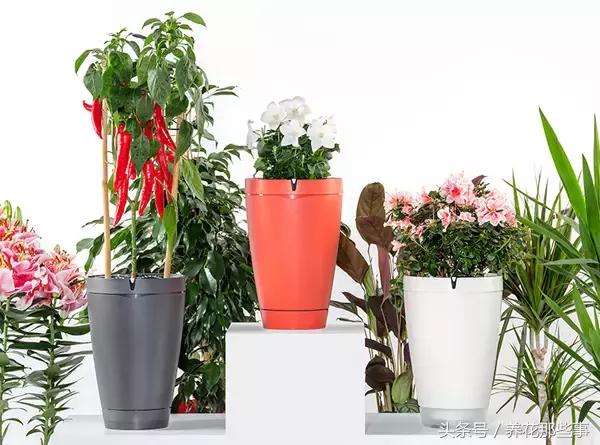
3. Choose the right location
According to the plant's characteristics and needs, choose a balcony with full sun, a windowside with partial sun, or an indoor environment with more than eight hours of light. After bringing a potted plant home, be sure to observe its growth closely for the first one or two weeks to judge whether the placement is suitable.
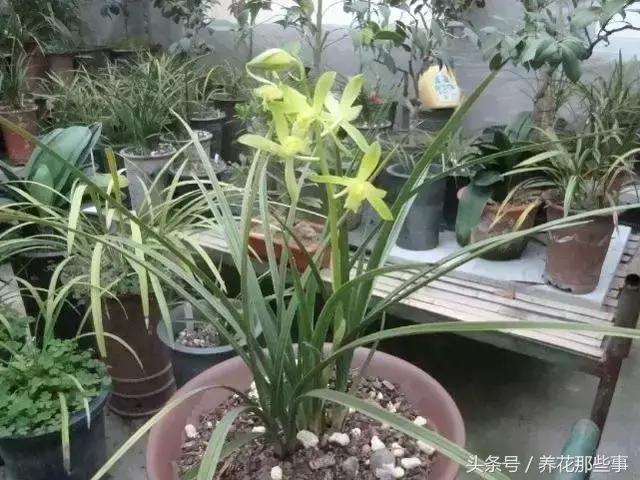
4. Fertilize according to the flowering period
Before fertilizing, first figure out the length of the plant's flowering period and where its dormancy period falls. For example: if it blooms only once a year and the flowering period is short, then after buying the potted plant home, there is no need to apply flower fertilizer; just apply a slow-release fertilizer once a season. If it is a plant that blooms all year round, has a long single flowering period, or blooms heavily all at once, it needs a liquid flower fertilizer every two weeks, along with a slow-release fertilizer once a season.
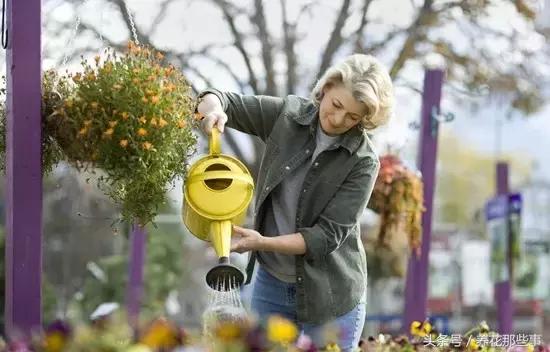
5. Avoid the flowers when watering
Before watering, first weigh the potted plant with your hand to see whether it has become lighter, then judge whether it needs water. If the plant looks collapsed, it is definitely lacking water. When caring for flowering plants, before watering, use your hand to part the leaves and avoid the flowers; just water the soil.
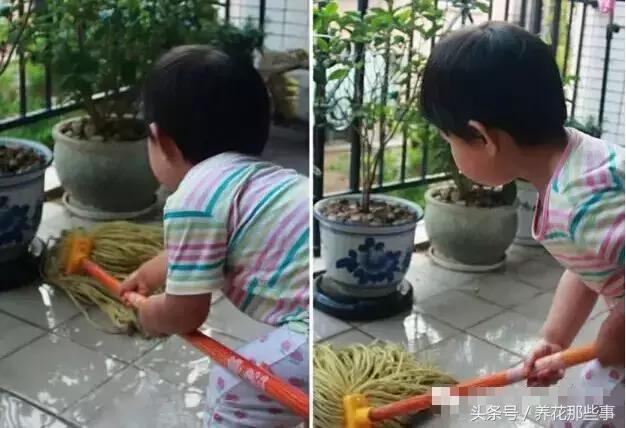
6. Propagate according to the season
Plant growth is affected by nature's temperature, and according to its native environment it can be divided into two major categories: cold-tolerant and drought-tolerant. So choosing the right time to propagate is very important. Plants usually bloom when the climate changes from hot to cold or from cold to hot; at this time the plant's growth focus is on flowering, and even if you force cuttings to propagate, the rooting speed will slow down and the success rate will decrease. It is recommended to propagate cold-tolerant plants before early summer, while drought-tolerant plants are best propagated in late winter and early spring.
7. Tidy up spent flowers
During the flowering period, by following the principle of pruning spent flowers and continuously adding flower fertilizer, the base of the plant still has a good chance of sending up new flower stems. In addition, not all spent flowers or dead leaves should be trimmed with scissors. Some plants have stems and branches with more moisture and are suited to being pulled out, removing the leaf stem or leaf stalk along with them, such as cyclamen and African violets.
8. Watch out for pests and diseases
Usually pay attention to the condition of the leaves or flowers. If black spots, white powder, and similar conditions appear, check whether pests are causing trouble on the leaves. You can use commercially available insecticides or homemade insecticidal water to eliminate them. In addition, be careful to avoid water accumulating at the roots, keep the environment ventilated, and prevent diseases from occurring.
9. Coconut shell flower pot
Saw a coconut open, scoop out the coconut flesh, poke a few drainage holes in the bottom of the coconut shell, and you can use it to plant flowers.
10. Burlap bag flower pot
If you have a burlap sack for carrying things at home, do not throw it away. Fill it with soil and it can also be used to grow flowers. This rich rustic style really has a special charm, doesn't it?
11. Sand cuttings
Do your cuttings always rot at the roots? Try using sand for cuttings; they root quickly and well!
12. Toilet paper tube
What do you do if you want to sow seeds but have no seed-starting tray? Used toilet paper tubes can solve the problem!
13. Water bucket flower pot
A mineral water bucket bought from the supermarket, once cut open, becomes a flower pot.
14. Basketball flower pot
A basketball your child has broken, cut into two halves, becomes two flower pots. Poke a hole in the bottom, and it looks even better hung up.
15. Watering flowers with beer
Are the leaves dull and lusterless? You can try diluting beer with water at a ratio of 1 to 10, then dip a soft towel in the liquid and wipe the leaves; your leaves will soon be a lush green.
16. Light bulb hydroponics
A broken light bulb at home, used as a hydroponic container, is really stylish, isn't it?
17. Rooting in plastic bottles
Fill a plastic bottle with water, then put the branch you want to root into the plastic bottle; the branch can root very quickly.
18. Red wine cork
Use a small knife to carve a hole in a red wine cork, plant a small plant in it, and a mini potted plant appears.
19. Red wine wooden box
Do not throw away red wine wooden boxes; using them to grow flowers and vegetables is convenient and practical.
20. Watering flowers with waste
Usually, the rice-washing water, fish tank water, and expired milk in the home can all be fermented and used to water flowers, so you do not even need to apply fertilizer.
21. Homemade soil
Bury rotten vegetable leaves from the kitchen in soil and let them ferment; the result works even better than bought soil.
22. Free pine needle soil
Pine needle soil commonly found in the wild is acidic and is very suitable for growing acid-loving plants such as rhododendrons and camellias.
23. Vegetable potted plants
Leftover radish roots and cabbage heads, and sweet potatoes, taro, and kohlrabi bought at the vegetable market, can be planted; they look even better than bought flowers!
24. Fruit potted plants
Seeds spit out when eating fruit can be planted in small flower pots and turn into adorable little potted plants.
25. Foam cuttings
Use foam to secure the branch you want to root, leaving the cutting exposed 2 cm above the foam, and place it on the water surface; it can root very quickly in water.
26. Liquor bottle flower pot
A liquor bottle after drinking can be simply processed and then used to grow flowers. The transparent glass gives it an even more distinctive beauty.
27. Iron pipe flower pot
Discarded small iron cans and small iron buckets at home, used as flower pots, are even trendier, aren't they?
28. Homemade insecticide
Mash garlic into garlic paste, then add water to dilute it, take the filtered liquid, and spray it on the plants; it can effectively control red spiders and aphids.
29. Newspaper seed-starting tray
If you have newspaper at home, you can simply make a seed-starting tray; after the seeds sprout, you can plant the seeds together with the newspaper into the flower pot.
30. Root pruning
When repotting a clivia, trim away the old roots and rotten roots, which can make the plant grow more robustly.
31. Bagging to retain moisture
When the air is dry, you can cover the plant with a plastic bag to form a small humid environment.
32. Plastic wrap to retain moisture
When sowing, if there is no seed-starting tray, you can also cover the flower pot with plastic wrap, which provides good moisture retention.
33. Foam box greenhouse
One foam box can make a greenhouse; a tiny flower shed is just that simple.
34. Beans as fertilizer
Rotten beans at home can be buried a few at a time at the bottom of a flower pot, which can promote strong roots and thick leaves.
35. Bone fertilizer
Bones are a very good phosphorus fertilizer. After crushing the bones, mix them with garden soil; this can provide the plant with abundant phosphorus fertilizer.
36. Nut shells as pot drainage
Peanut shells, walnut shells, and chestnut shells, crushed and placed at the bottom of a flower pot, provide very good drainage.
37. Twigs as labels
For twigs picked up outside, use a peeler to remove the bark, write the name of the sown plant on it, and a free label is made.
38. Mixing seeds with cooking oil
You can soak seeds that sprout very slowly, such as those of clivia, asparagus fern, tree peony, Chinese peony, orange jasmine, crape myrtle, and winter daphne, in warm water at about 35 degrees for 24 hours, then take out the flower seeds, drain the water, mix in some clean soybean oil or rapeseed oil, and sow them in the usual way. Vegetable oil can make slow-to-germinate seeds sprout 20 days earlier, increase the germination rate, and also ensure that the seedlings grow strong.
40. Potato cuttings
This method is suitable for cutting-propagated plants such as poinsettia, roses, and Chinese roses. The potato can create a moist environment for the cuttings and help them root and grow. The specific method: remove all the excess leaves and stems of the cutting plant, dig a hole in the middle of the potato, then insert the stem of the cutting plant to a depth of 2/3 of the potato. Then place the potato in moist outdoor soil or in a flower pot of suitable size. After the cutting plant grows new shoots, you can water it appropriately and let it grow.
41. Orange peel to remove odor
When composting organic fertilizer, an unpleasant smell often spreads. At this time, put a few pieces of orange peel (either dried or fresh) into the composting container to reduce the odor. This is because orange peel contains a large amount of essential oil, which continuously releases fragrance during the fermentation process of the fertilizer, reducing the odor and increasing the fertilizer's effectiveness.
42. Sulfur powder for root rot
Flowers are prone to root rot, and after root rot it easily causes the death of the plant. At this time, sulfur powder can be used for treatment. For example, clivia often suffers root rot due to overwatering or unclean growing medium. You can knock it out of the pot, remove the growing medium, cut off the rotten roots, rinse the roots clean with water, let them dry slightly, and while the roots are slightly moist, spray on sulfur powder, then plant with sterilized growing medium. In about 1 month, new roots can grow. If the roots have all rotted away, after spraying sulfur powder you can plant it in plain sand, frequently spray water on the leaves, and after it grows new roots, cultivate it with sterilized growing medium.
43. Shade, cool down, and ventilate
1) Use a shade net or straw mat to shade potted plants to a semi-shaded state, creating shadows on the ground, which can achieve the purpose of cooling.
2) Outside the flower pot, put another larger flower pot, and add some lightweight stones, expanded clay pellets, and similar materials at the bottom of the large pot and in the gap between the two pots, which can also have a cooling effect.
3) Bury the flower and pot together in sand, with the pot fully buried, then spray water on the sand every morning and evening. In this way, you can both keep the pot soil moist and use the heat absorption effect of the sand as its water evaporates to achieve the purpose of cooling.
4) You can also add some mulch on top of the pot soil to reduce water evaporation, avoid direct sunlight causing the soil temperature to rise, and also isolate bacteria on the surface of the pot soil. Orchid stones and expanded clay pellets are both fine; do not choose bark that easily breeds insects or stones that are not breathable.
5) In order to lower the temperature, you can spray more water toward the ground, so that when the water evaporates it takes away part of the heat.
6) When the sunlight is strong, place the flower pot in a ventilated spot with indirect light.
44. Growing flowers in an air-conditioned room
In a room with the air conditioner on, the air humidity is relatively low, which easily causes flowers and plants to develop withered leaf tips and scorched edges. When placing flowers in an air-conditioned room, they should be kept away from the air outlet; when the air conditioner is not in use, open the windows so the flowers can absorb more fresh air.