Rescued Three Flowers from the Trash, Mom Refused Them at First but Three Months Later Said They Were Worth a Fortune
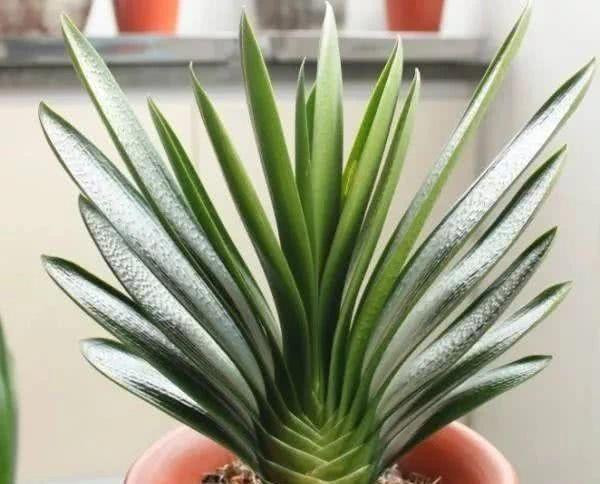
Duoduo has 3 special flowers at home: a clivia (Clivia miniata), a money tree (Pachira aquatica), and a kalanchoe (Kalanchoe blossfeldiana). They are lush and bloom every year. Mom treasures them like priceless possessions, but back when I first brought them home from the trash, she ordered me to throw them out immediately. But after 3 months of care, she completely changed her tune, saying these 3 flowers were worth a fortune and would from then on be my dowry...
So how do you take flowers that others have thrown away and raise them to be worth a fortune? Duoduo will tell you right now!
A clivia with completely rotted roots can still be brought back to life!
Clivias have fleshy roots. Sometimes compacted soil or overwatering easily causes root rot, but rotted roots do not mean the plant is beyond saving. Sometimes even if the roots are completely rotted and part of the bulb has rotted into a hollow, it can still be saved!
How do you rescue a clivia?
1. For a clivia you picked up or one at home with rotted roots, remove it from the pot and soil, and use a fairly sharp knife to cut off all the rotted roots and rotted bulb. Be sure to completely remove the decayed parts, otherwise there is a risk of root rot returning later.
2. Put the cleaned bulb portion of the clivia into a potassium permanganate or carbendazim solution and soak for 30-40 minutes. The solution ratio is: potassium permanganate (carbendazim): clean water = 1:2000.
3. After soaking and thorough disinfection, place the clivia in a cool, ventilated place to dry.
4. Prepare planting media such as sawdust, sphagnum moss, sand, or vermiculite, moisten them in advance, then wrap the clivia's bulb in sawdust or sphagnum moss, or bury it in granules such as vermiculite or sand.
5. Place the planted clivia bulb in a cool, ventilated place. Normally, when you touch the soil and feel it is dry, water it thoroughly, but do not spray water into the center of the clivia's leaves, as the core easily rots. After about 15-20 days, the clivia will grow tender white roots!
6. After the roots have grown, you can transplant the clivia into potting soil for care! Then gradually expose it to sunlight and keep to the rule of not watering until dry. It will soon grow strong and healthy!
A money tree with only a bare trunk left can also be saved
Money trees have few roots and are prone to root rot, so they are truly frequent visitors beside trash cans. Many people take one look and think it cannot survive, but one flower enthusiast miraculously succeeded in saving 2 bare-trunk money trees.
How do you rescue a money tree?
1. Money trees that have been thrown out have basically died from root rot, so for a money tree we bring home, we must clean up its root system first thing!
2. Get ready: a knife, a saw, carbendazim, a brush, rooting powder, and so on.
3. Use scissors to cut off the small, rotted, fine roots, then use a saw to cut away the rotted trunk and bark until all the root area is fresh, healthy trunk and bark.
4. Mix the carbendazim solution in advance, soak the trimmed root area of the money tree in the carbendazim solution for 20-30 minutes, then take it out and let it dry. Then soak the root area in a rooting powder solution for 5-10 minutes, or directly apply rooting powder.
5. After the money tree's root area has been treated, we can cut off the upper branches and leaves to avoid unnecessary nutrient consumption, then place it in a cool, ventilated place to dry for 1-2 days.
6. After the branches have dried, we need to pot it up. First put some drainage material such as clay pebbles or coal cinders at the bottom of the pot, then fill in soil and plant the money tree. You can mix more sand into the soil to improve drainage and reduce the chance of root rot in the future.
7. After the money tree is planted, you can use the previous carbendazim solution to water the soil thoroughly. If you have a relatively large plastic sheet at home, you can wrap them up together, trunk and pot included, and spray water inside every day to keep it humid. After 10 days, water in 1 more round of rooting water.
8. After about 15-20 days, the money tree will grow roots, and during this period no watering is needed. After roots have grown, you can water, and new tender shoots will gradually grow from the top.
9. Within a few months, the money tree will become very lush. Normally you must never overwater; only water after touching the surface of the potting soil and finding the top 2-3 cm dry.
A wilted kalanchoe: snap off a branch and it will fill a pot in no time
Kalanchoe is also a popular flower, and you can often see traces of it in trash cans. The old kalanchoe below was picked up by another flower enthusiast from the trash can in their residential compound. The roots at the bottom were severely dehydrated and the leaves were severely wilted, but it could still be saved, and it even bloomed!
How do you rescue a kalanchoe?
1. The roots at the bottom of this kalanchoe are completely rotted and it can no longer be planted as is, but many aerial roots have grown on the branches, so using them for cuttings will definitely work. Therefore, we cut off the rotted roots and stems, leaving only healthy branches!
2. Place the cut branches in a cool, ventilated place to dry for 1-2 hours, then insert them into clean soil. The soil can be leaf mold soil, or garden soil mixed with sand. It is best to sun the soil in advance to disinfect it.
3. After the kalanchoe branches are planted, water thoroughly and place in a cool, ventilated place; do not expose them to strong sunlight. After about 1-2 weeks, once the branches have rooted, gradually expose them to sunlight, keep to the rule of not watering until dry, and apply dilute liquid fertilizer 2 times a month. They will grow rapidly and bloom very soon!
Flower enthusiasts, have you ever picked up flowers from the trash?
If so, how did you bring them back to life?
You are welcome to leave a comment and share with everyone!