Turning a messy plant into an artistic bonsai: learn from the master, one picture and one step at a time
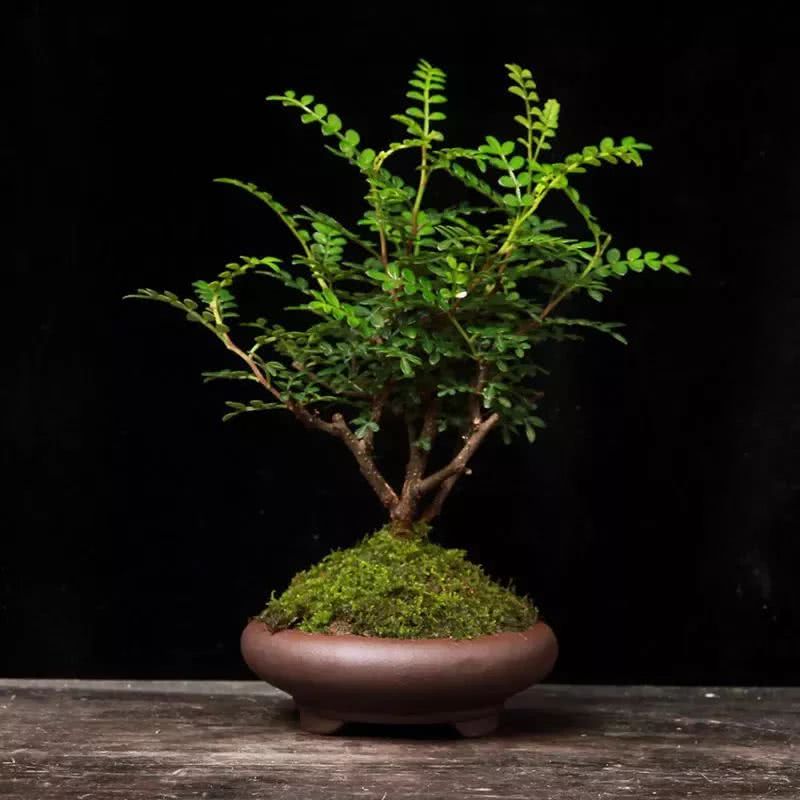
Making a bonsai
The editor has personally tried making bonsai for some time now and has picked up a few insights.
Though I dare not say I fully understand every bonsai beginner's confusion, frustration and sense of helplessness, I do know that feeling of holding pruning shears, with bonsai wire ready, and yet not knowing where to start, weighing things over and over while hesitating at every step.
The editor has been through it, or perhaps the editor is also constantly trying along the path of learning the craft, or rather, constantly learning through trial and error...
So this is not some profound, unfathomable tutorial. What is shared here at "Grown on the Balcony" are some production cases the editor has personally tried or personally seen.
Trying it yourself is the only way! Let us take a look at a case of making a Japanese holly (Ilex crenata) bonsai.
Bonsai making case
Japanese holly (Ilex crenata)
1. First, take a look at the Japanese holly before production. The tree shape is chaotic and disorderly, but after careful observation, fellow growers should be able to discover that its horizontally lying roots are highly ornamental.
2. Wire the main branch on the lower right side of the Japanese holly.
3. Wire the small branches in detail. Hold the thin branch with one hand, paying attention to how much pressure you apply so as not to break the branch with too much force. With the other hand, wrap the wire around the branch at a 45-degree angle, and when wrapping, the direction must be consistent with the wire already wrapped.
4. The effect after wiring the lower right branch.
5. Next, continue wiring and shaping the left branch.
6. Take a look at the effect after wiring the two sections on the left.
7. Prune and wire the top branches. Wrapping the wire is the same method as above, also wrapping at a 45-degree angle to the branch, and when wrapping, the direction must be consistent with the wire already wrapped.
8. Alright, take a look at the effect after the overall shaping.
9. Do not rush, the shaping is not finished yet. Let us continue by sorting out the root system of the Japanese holly, removing excess soil from the roots and exposing its lying roots.
10. Because the roots of the Japanese holly are also an important ornamental part, an oval pot is chosen to highlight its roots.
11. Done, the overall effect after shaping and repotting.
Observing carefully, the trunk lies horizontally toward the right, and the lower right branch stretches forward as far as it can, as if it has an intent of endless exploration of nature.
Reading the picture-and-text breakdown, will fellow growers feel as if they are witnessing a live bonsai-making scene?
Will you feel it was well worth the visit, feeling lucky to have the editor, lucky to be following "Grown on the Balcony", wahahaha...
Grown on the Balcony
Alright, that is all for today. If fellow growers still have any questions they hope the editor will answer, leave a message in the comment section below.