Detailed Guide to Repotting Succulents: Methods and Steps
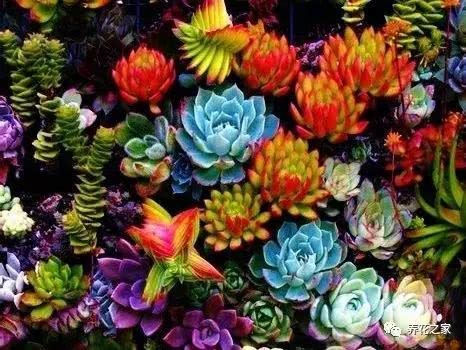
Many gardening friends have been leaving messages saying they don't know how to repot succulents, and they're afraid that doing it the wrong way will harm the plants... Don't worry, today we're going to share with you how to repot succulents. Get your stool ready:
One
Stop watering 3-5 days before repotting the succulent. When repotting, turn the pot upside down and tip the plant out of the pot, then shake the soil off the roots. Cut off all the dead roots, rotten roots, and withered roots, keeping only the healthy, well-absorbing roots.
Two
Wash the roots of the plant. Basically rinse off all the soil on the plant, because the soil it carries may well contain large numbers of insect eggs and bacteria. Be gentle when washing, and damage the roots as little as possible. You can hold the roots in a basin of water and gently shake them back and forth. If you rinse them, don't turn the tap on full and blast them with a strong stream, as this will heavily damage and break the roots. Generally, just wash until you can see the white main roots.
Three
After washing the roots, if you don't feel confident about the plant surviving, you can skip pruning and just cut off the dead roots, diseased roots, and withered roots. If you think it's necessary, then prune the roots a little. Cut off the diseased roots, withered roots, dead roots, and also any lateral roots that have grown too long or become badly tangled. This will make the whole root system look evenly and neatly distributed and will also encourage new root growth. After root pruning, the newly grown root system will become strong, making the plant grow more vigorously.
Four
Next comes sterilization. You can soak the plant in a prepared sterilizing solution for about one hour. The concentration should not be too high; you can soak several plants in one small washbasin. Both carbendazim and chlorothalonil can be used. After sterilization is done, let the plant's roots air-dry naturally. Generally, it can be moved into a pot the same day.
Five
Choose a good flowerpot and spray it once with a sterilizing agent. Put the disinfected potting medium into the pot. First place some broken tiles, small stones, charcoal chunks, etc., at the bottom of the pot. The particle size of the potting medium should gradually decrease from bottom to top. This helps with drainage.
Six
Place the plant in the center of the pot and cover with soil until the roots are completely covered, leaving it 2-3 cm from the edge of the pot. Gently press the soil surface with your fingers, then spray a thin layer of fungicide on the soil surface, just enough to make the soil slightly moist, which helps new roots sprout.
Place the plant, once all the above tasks are completed, in a spot with indirect light. It must never be exposed to harsh sun. Keep it ventilated and cool, and do not water it at this time.
Seven
After one week, you can water it, restore sunlight (but not harsh sun), and return to normal care. During the acclimation period, if you feel the potting soil is too dry, you can spray a thin mist of water on the surface of the potting soil every day, just to increase humidity! After the acclimation period, be sure to supply plenty of water, otherwise the plant will keep dropping leaves and wilting due to lack of water, and in severe cases it may face death.
By the way, repotting must avoid the plant's dormant period, otherwise... (you know how it goes)
If you also like growing plants, then follow us!