A Detailed Guide to the Propagation Techniques of the Haworthia cooperi Succulent
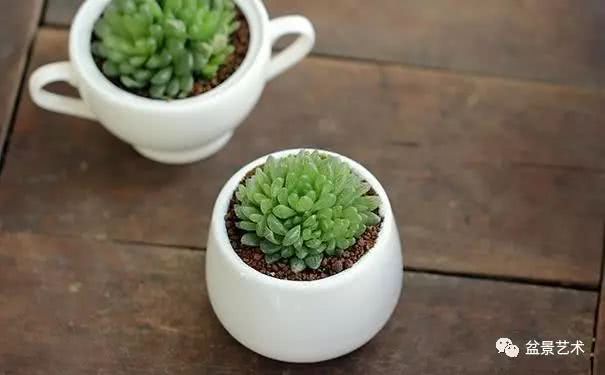
I. Division
This can be done together with repotting, or in the growing season you can dig up the young plants beside the mother plant; both rooted and unrooted ones can survive. Rooted ones can be planted directly; unrooted plantlets should be dried for 1-2 days, and planted after the wounds have dried. Newly planted plants should not be watered too much, to avoid causing rot; carry out normal care once new roots have grown.
II. Cuttings
Haworthia cooperi produces young shoots in the leaf axils on the lower part of the plant. For species that do not readily produce young shoots, you can damage the growing point at the center of the plant to encourage shoots to sprout. Once the small shoots have grown to 2-3 cm, remove them, dry them for 2-3 days, and after the wounds have dried, insert them into the growing medium. After insertion, keep the soil in a semi-dry state; new roots can grow in 2-3 weeks.
III. Leaf Cuttings
Choose plump, healthy fleshy leaves; during the growing season, insert them into a well-draining substrate such as vermiculite or coarse sand. After insertion, keep the potting soil slightly moist; the base of the fleshy leaf readily roots and produces small shoots. Once the small shoots are a little bigger, they can be planted separately.
IV. Sowing
Haworthia cooperi can only set seed through hand pollination. This is generally done on a clear morning during flowering. The method is to choose two Haworthia cooperi plants that are flowering at the same time; you can also use varieties of the same Haworthia genus such as Haworthia retusa and Haworthia maughanii for pollination. The parent plants should have a compact rosette shape, thick and plump leaves, and highly transparent "windows." When pollinating, remove the petals, take the pollen, and smear it onto the stigma of the flower on the other plant. Alternatively, you can remove the pollen the previous afternoon, store it carefully, and pollinate the next morning, which gives a higher success rate. Wait until the plant's seeds have matured, then sow. The seeds can be sown as soon as they are collected. The sowing soil can be a mix of 3 parts vermiculite and 2 parts leaf mold or peat moss. Before sowing, it is best to sterilize the soil at high temperature to eliminate pathogens and insect eggs in the soil. After sowing, cover with a piece of glass; seedlings emerge in about 20 days. After emergence, remove the glass, pay attention to ventilation, and do not let the soil become too dry. When the seedlings become too crowded, take care to thin and transplant them.
Among the sown seedlings, some variant plants may appear. You can select the young plants with a compact rosette shape, thick fleshy leaves, highly transparent "windows," and prominent vein patterns to keep as stock plants. If you find a seedling with a leaf color different from the others, keep it too, as it may be a precious variegated plant.