Detailed Explanation of Camellia Bonsai Propagation Methods and Technical Key Points
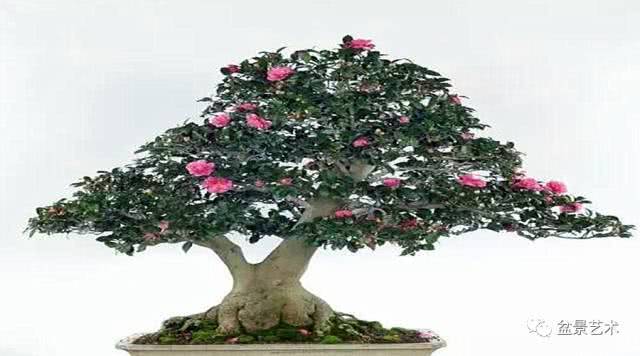
There are cutting, grafting, and sowing
(1) Cuttings
The suitable period for cuttings in East China is mid to late June. The second round of cuttings is carried out from late August to early September. During these two periods, the temperature is around 30°C. With shade facilities, the temperature can be controlled at around 25°C. Cuttings should be selected from the outer canopy: current-year semi-mature branches that are firm in texture, with intact leaves, plump leaf buds, and free of pests and diseases. The length of cuttings is generally 4-10 cm, with 2 leaves retained at the tip, and a heel should be kept at the base when cutting. The planting density is generally 10-14 cm between rows and 3-4 cm between plants, requiring the leaves to interlock without overlapping. Cuttings should be inserted about 3 cm into the soil; shallow insertion leads to faster rooting, while deep insertion leads to slower rooting. After insertion, water thoroughly. From cutting to rooting generally takes about 30 days. The key to survival is maintaining sufficient humidity in the early stage after cutting, taking measures to reduce hot air convection, strictly avoiding direct sunlight, and paying attention to spraying water on the leaf surface to keep a thin film of water covering the leaves at all times. After rooting, gradually increase sunlight. After October, the seedlings should receive full sunlight to accelerate lignification.
(2) Grafting
For seedling rootstock bud grafting, after the seeds are sown in a sand bed and grown for about 2 months, when the seedlings reach 4-5 cm in height, they can be dug up for cleft grafting. Select well-grown semi-lignified branches as scions, and cut them one bud and one leaf at a time from bottom to top. Cut the scion into a wedge shape and place it in a wet towel. Take the dug-up rootstock seedlings, clean off the mud and sand, then cut them off 1-1.5 cm above the cotyledons. Along the cotyledon suture line, make a vertical cut through the stem, with the depth matching the cut surface of the scion; insert the prepared scion into the cleft of the rootstock, align the cambium on one side, and tie it tightly with plastic film tape. Plant the grafted seedlings in the seedbed at a row spacing of 8 cm x 2 cm.
The bed should preferably use fertile, loose sandy loam. After planting, the seedbed should be covered with a plastic tunnel for insulation. Generally, healing begins in 10-15 days, and after 20-25 days the film can be opened at night for ventilation. Afterwards, gradually increase ventilation and appropriately increase light. After new growth emerges, remove the film entirely. For semi-mature branch grafting, use mature plants of rough camellia or oil camellia as rootstocks, and carry out side grafting to reduce the rootstock; within 1-2 years, large plants of famous camellia varieties can be cultivated.
Select healthy plants with plump buds and no pests or diseases as rootstocks. For summer grafting, pruning and shaping should be carried out before the end of February; for autumn grafting, pruning and shaping should be carried out in early to mid-June, cutting off diseased and weak branches, drooping branches, crossing branches, and overly dense branches. The suitable temperature for grafting is 5-30°C. For branches with a diameter of more than 1 cm, bark grafting is used: make one cut each on the upper, left, and right sides of the appropriate part of the rootstock, reaching the xylem, pull the bark down so that its length matches the cut surface of the scion, then attach the prepared scion to the bark-peeled area of the rootstock, pull the bark up to wrap the scion, then bind it with plastic tape, exposing the buds, and then put on a plastic bag to increase humidity and promote healing. After 30 days, remove the binding. After the scion sends out new shoots and gradually lignifies, remove the ties. Cutting off the rootstock is done in 3 stages: the first time, cut off the shoot tip during binding; the second time, after the first new shoot of the scion has fully lignified, cut off the upper 1/3 of the rootstock; the third time, after the second new shoot of the scion has fully lignified, cut off the rootstock at the interface. When grafting in high-temperature seasons, success depends on the control of high temperature. A shade shed must be set up and covered with double-layer curtains so that direct sunlight is basically absent inside the shed. Around noon, spray water to cool down, keeping the local temperature at around 30°C.
(3) Sowing
In early to mid-October, place the harvested fruits indoors in a ventilated place to dry in the shade. After the capsules split and the seeds are removed, sow immediately. If autumn sowing cannot be carried out immediately, the seeds need to be stored in sand until sowing in February of the following year. Before sowing, the seeds can be mixed with new high-fat film. Generally, the germination rate of autumn sowing is higher than that of spring sowing [3].
Commonly used propagation methods include cuttings, grafting, layering, sowing, and tissue culture.