Divide an Asparagus Fern into two pots without damage, easily done with a single playing card
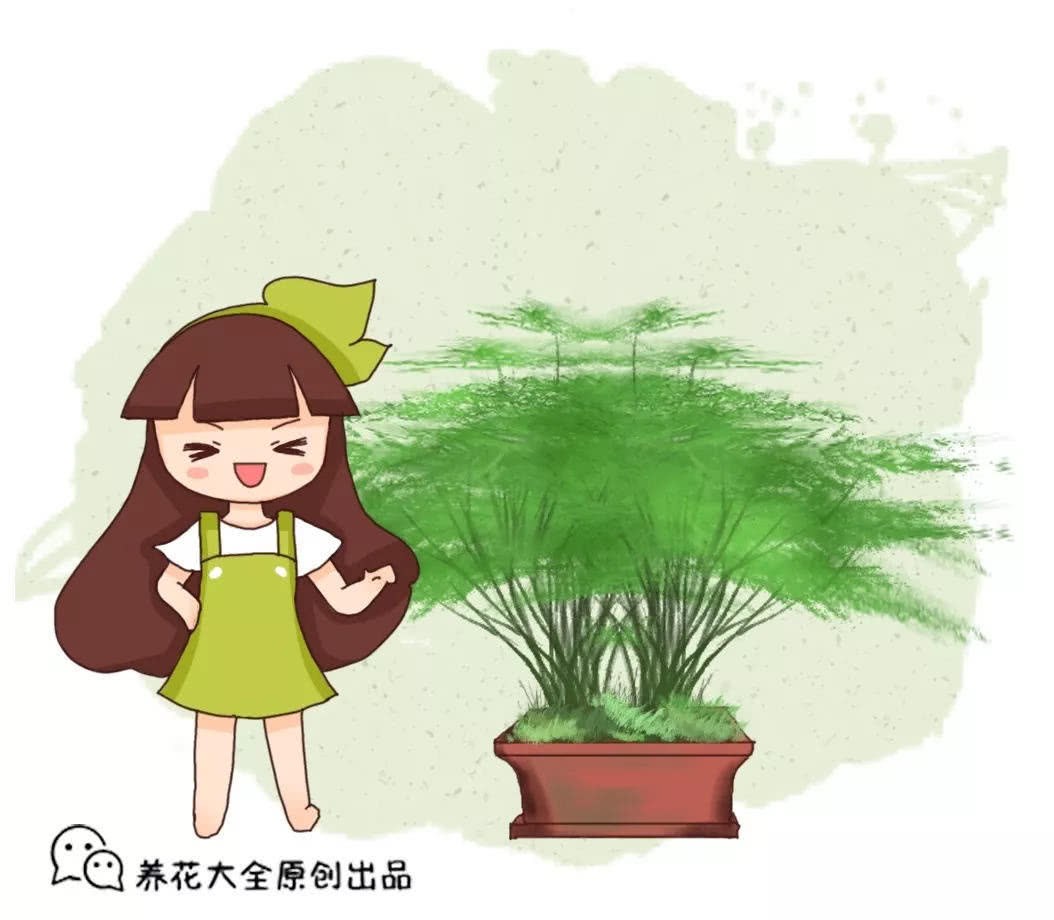
I have an asparagus fern at home, and it keeps growing more and more lush. I keep telling myself it is time to divide and repot it, but I just do not dare to start, afraid that one wrong move will kill it and waste all the hard work of raising it. Do not worry, Huahua is here to teach you a little trick for repotting.
Image and source: The Joy of Early Zen
1. First, choose to do this when the potting soil is half dry and half moist. Observe the stems near the soil surface, decide on the boundary where we plan to divide, and prune away the weak branches in the middle of the asparagus fern.
2. Insert a knife into the soil and cut along the dividing line we have chosen, splitting the root system in the soil into two. Insert a playing card in the middle, then pour a solution of potassium permanganate once to sterilise and disinfect, preventing root rot.
3. When performing the operation, the smaller the cut surface of the wound, the better. After the operation, we should control watering appropriately to prevent too much water from accumulating in the soil and causing the root wound to rot.
4. After one or two months, once the root wounds have gradually healed and resumed growth, we then divide the pots. Splitting the root system in advance can prevent us from pulling and tearing forcefully when dividing the pots and damaging the roots.
5. Half a month after inserting the playing card, we will find that new branches have sprouted from the soil, which also proves that the root system is recovering its growth. After 2 months, it can be divided: turn the pot upside down, take the plant out of the pot, and gently split the root ball into two.
6. Because we performed the operation in advance, the root systems are already separated, so at this point we only need to check whether the roots are damaged.
7. If the roots have not turned black and the fine roots are intact, we can pot them up directly. If there are damaged roots, gently prune them off, apply a little plant ash, and then pot up.
8. When repotting, we can place a layer of clay pebbles at the bottom of the pot. If you do not have clay pebbles, you can also put in some small stones, which can effectively prevent water from accumulating at the bottom of the pot and causing root rot, and the gaps between the granules also help the roots breathe.
9. For the soil, we can choose nutrient soil and perlite, add a small amount of coarse sand, and mix them together. Beginners had best not add base fertiliser; the asparagus fern does not like heavy fertiliser, and if it is not controlled well, it can easily burn the roots!
10. When potting up, it is best to keep the root ball intact; potting up with bare roots is very bad for later root repair. When filling in the soil, tap the side of the pot gently to let the soil settle naturally.
11. After potting up, water once to settle the roots, letting air bubbles in the soil escape so that the soil and roots are tightly bound together.
12. After repotting, place the pot in a ventilated and shady place to recover, and be careful not to move its position often.
The little tricks for repotting an asparagus fern
Huahua will reveal them to you
Flower lovers who need to repot
Do not forget to share and save it~
?