How do you grow microgreens at home? Any container with a little water, and you can eat them in one or two weeks
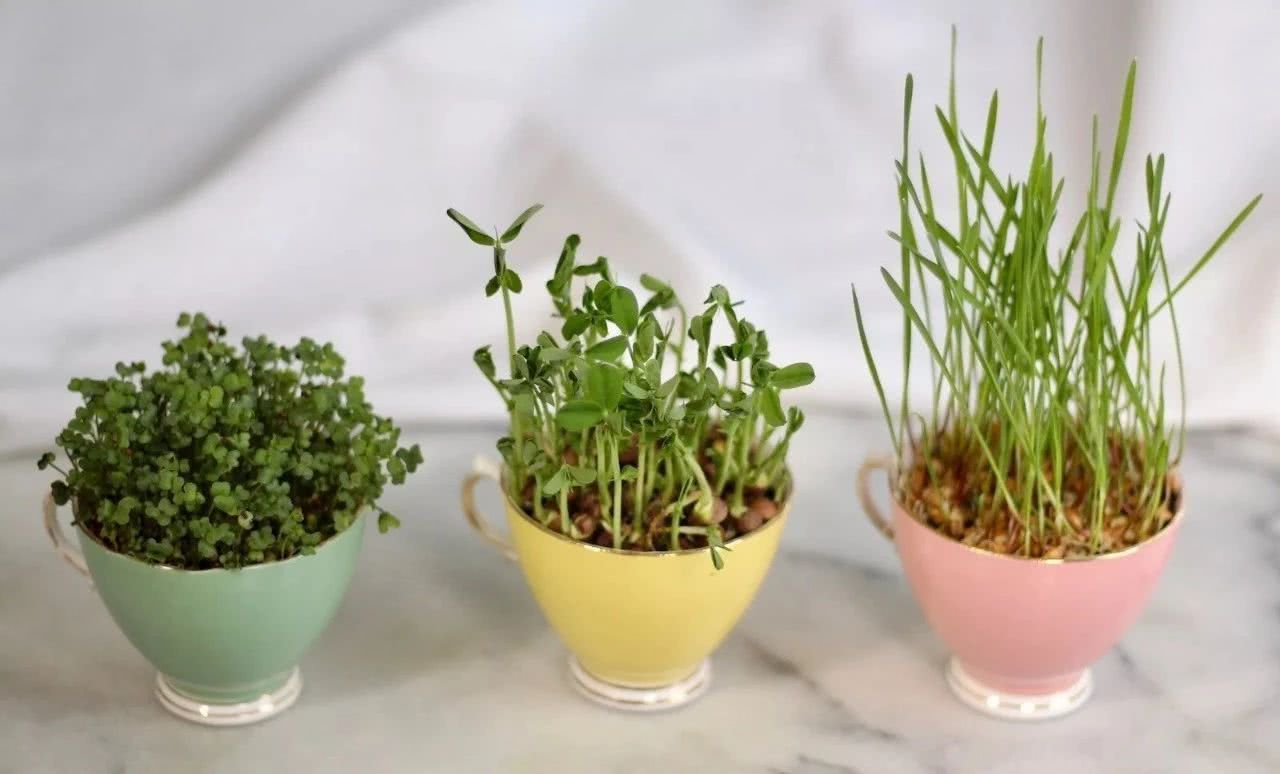
Eating microgreens is very popular now, also called sprouting greens, and growing your own microgreens is becoming popular too. Because it is simple, clean, good for your health, and economically worthwhile. Growing microgreens is indoor sowing, and the harvest period for microgreens is very short, with a harvest just one to two weeks after sowing.
Which plants can be grown as microgreens? The most common are the vegetable types, such as soybean, mung bean, lettuce, spinach, Chinese kale, cabbage, watercress, beet, and the currently very popular buckwheat and wheatgrass.
Growing microgreens is actually very simple, and you do not need many tools, but you must be careful that the soil does not carry bacteria and is clean, and for water it is best to use filtered water. For light, there also need to be certain rules.
First you need two large shallow trays, able to hold a little over one inch of soil, which is enough. One shallow tray must have drainage holes, and the other has no holes. This way the one with holes on top holds the soil, and the one below catches the excess water. Of course the tray below should not constantly have water, to avoid it flowing back into the tray above.
For the soil for growing microgreens, it is best to use organic potting soil. If you cannot buy this type of potting soil, you can use ordinary potting soil. But if you are not at ease, you can put this potting soil into an oven at 85-95°C for about 45 minutes.
Generally speaking, larger seeds are best grown in soil, and finer seeds can be grown in river sand or hydroponically. Seeds all need a certain temperature to germinate, and the average temperature for cultivation should be above 20 degrees.
Plants need very bright light to germinate. If your room does not have many windows, you may have to use artificial light, and you can install grow lights suitable for plant growth.
If you use soil, you must use treated potting soil, and there is organic soil specially prepared for microgreens. With this type you do not need to worry about mold growing.
You usually have to buy a lot of microgreen seeds, so they are usually bought at specialty microgreen shops, and they are sold by the pound or by the kilogram. Of course many people buy them online.
The seeds used for growing microgreens are all special seeds, ones that have not been treated with disinfectants or insecticides, or undergone preservative treatment, so do not buy them just anywhere.
Some seeds need to be soaked in water first to germinate well. This group includes beans, wheat, buckwheat, corn, beet, and sunflower, soaked for about 10-15 hours, or overnight. The water temperature can generally be room temperature, (about the temperature of three cups of cold water with two cups of boiled water added.)
First put about 3 cm of soil into the shallow tray with holes, the organic growing soil mentioned earlier. This soil should already be made moist. Then use something like a wooden board to press the soil firm.
After that put the seeds on the surface of the soil. Growing microgreens uses a lot of seeds, so when sowing do not be afraid to be heavy-handed, with almost every seed touching the next, but avoid the seeds overlapping, then press these seeds down lightly.
For the first 2-3 days just after sowing, to let the seeds germinate, keep them dark, (imitating the seeds being in the soil). You can lay a black cloth or wet newspaper on top, or cover with another pot turned upside down (leaving enough gap for air). Open it after three days, then gradually increase the light, and afterwards they need a lot of light. But remember, 12 hours of light during the day, and 12 hours of darkness at night.
You can also, after scattering the seeds, cover the soil surface with a thin layer of soil, also to keep it dark. Afterwards sprinkle water lightly on the soil surface, and to keep the soil surface moist, sprinkle water two to three times a day on average.
At harvest time it is very simple: just use a clean knife or scissors to cut the microgreens off at the base. It is best to eat microgreens immediately after cutting, so cut only as much as you will eat, and the rest can continue to be sprayed with water, or put in the refrigerator.
Some microgreens can continue to grow and sprout a second time, or even a third time. But the product from the second time onward is not as tasty as the first, is smaller in size, and has somewhat poorer nutrients.
Plants with larger seeds, like sunflower, must be harvested earlier; do not wait too long, otherwise their stems will become woody. They should be harvested in about 7-10 days.
Ordinary tap water tends to be alkaline, or contains too many added minerals, so it is best to let it sit for a day before use. In addition, microgreens and similar plants all like slightly acidic soil, with a pH value of about 6.0. If you are in doubt, you can use, for example, a pH value... you can also test the soil to see whether it is too alkaline, but these all require a soil or water pH test kit.