Learn the skill of repotting clivia, and it will grow vigorously with brighter blooms
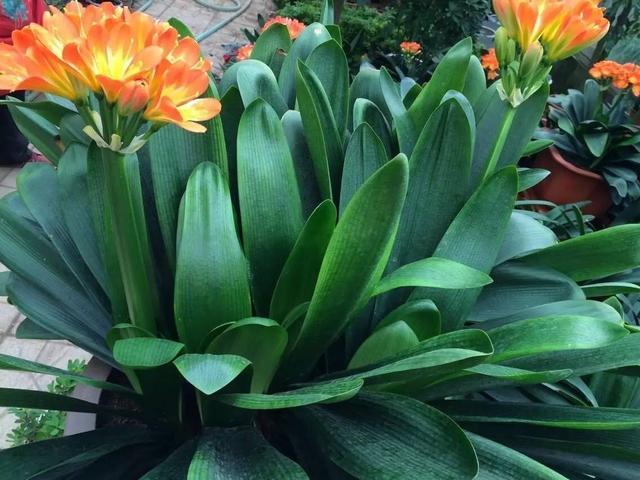
Many people are very fond of clivia. After passing through its dormant period, clivia is about to enter its growing period, and autumn is precisely the best season for repotting clivia. After repotting, clivia can have more ample space to grow, and can also have sufficient nutrients supplied for its growth. So, how should you repot clivia? Let me share it with you below.
Preparation before repotting clivia
Before repotting clivia, first prepare a suitable pot according to the size of the clivia, then prepare soil suitable for clivia growth. You can use a soil mix of leaf mold, river sand, charcoal and so on, as this allows the clivia to grow better. One more point to note before repotting clivia is that you should stop watering the clivia for a period of time, so that it is easier to remove from the pot when repotting.
Removing clivia from the pot
First, before repotting the clivia, you need to remove the clivia from its original pot, that is, take the clivia out of the original pot. Hold the top of the flower pot with one hand, then turn the whole pot upside down, and use the other hand to push the clivia downward through the hole in the bottom of the pot. Once the pot and the clivia's soil separate, the flower pot can be taken off easily, and the removal is successful.
Potting the clivia
Remove the soil from the clivia's roots, but be careful not to damage the clivia's roots. Then gather the clivia's roots together, place them in the prepared flower pot, hold the clivia upright, and cover with soil. After slowly filling in the soil, water the clivia thoroughly, then place it in a cool, well-ventilated spot for care. Here you should note to keep the growing environment around the clivia warm and moist, and simply care for the clivia well. In this way, repotting the clivia is successfully completed.