Cherry tomatoes grown at home not bearing fruit? Pay attention to 3 points and in 30 days the fruit will hang on the branches
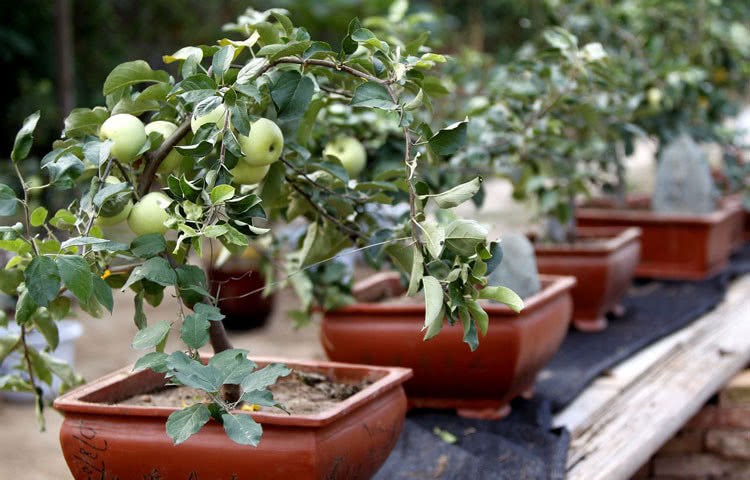
Growing fruits and vegetables on the balcony is no longer anything unusual now; almost any empty space on a home balcony gets filled with them. Actually, growing fruits and vegetables at home has its benefits too. After all, food safety is so important now, and vegetables and fruits you grow yourself won't use pesticides, so what you eat is healthier. Besides, they're right on your own balcony, so picking them is convenient too, isn't it.
When it comes to the most popular choice for growing fruit on a balcony, cherry tomatoes probably can't escape being chosen. That's because cherry tomatoes are simple to grow and taste sweet and tart with rich nutrition. But sometimes even these easy-to-grow cherry tomato pots fail to bear fruit. Why exactly is that? After asking around, Huahua learned that to grow cherry tomatoes well, you have to put in effort from the very start.
1. Choosing soil and sowing
Cherry tomatoes grown at home are usually planted in flower pots. In this case, we need the planting soil in the pot to provide enough nutrients. For the soil used to grow cherry tomatoes, never choose the ordinary potting soil sold on the market, because potting soil has been sterilized at high temperature; it can be used to grow flowers but not vegetables. The best choice for planting soil is humus soil containing leaves; the nutrients in humus soil can promote the growth of cherry tomato seedlings.
2. Sowing the seeds
If you want the tomato pot to grow well, it is best not to put the seeds directly in when sowing. Before sowing, we need to treat the seeds first. In the first step, soak the seeds to be sown in warm water of about 50 degrees for around twelve hours, and then they can be sown into the soil prepared in advance. When sowing, it is best to keep the spacing at around 10 cm, and after everything is planted, cover it with a layer of plastic wrap, then open it after the seeds sprout.
3. Preparing to repot
This step is the most important of all the steps, because how well the repotting is done affects the later growth of the cherry tomato seedlings. When the tomato seedlings have grown a few leaves, they can be repotted. The first step is to dig out the seedlings, being careful to do it gently and not damage the grown roots; the second step is to insert the seedlings directly into the soil prepared in advance; finally, fix the seedlings in place and then water them.
Once the tomato seedlings have been successfully repotted, that means you are halfway to success, and the following care should not be taken lightly either. During the growth period, cherry tomatoes need sufficient light and sufficient water; neither can be missing. In addition, about every week you need to apply a little fertilizer to the cherry tomato seedlings; things like rice-washing water are all good choices. If your tomatoes still haven't borne fruit after this, then you need to consider pruning; generally after pruning there won't be any problems.
Eating the sweet-and-tart cherry tomatoes you grew yourself really brings a full sense of happiness. If you have any better fruit pot recommendations, leave a comment and tell Huahua!