What to do about hollow roots in orchids? Grow them this way, and the flowers will bloom with waves of delicate fragrance
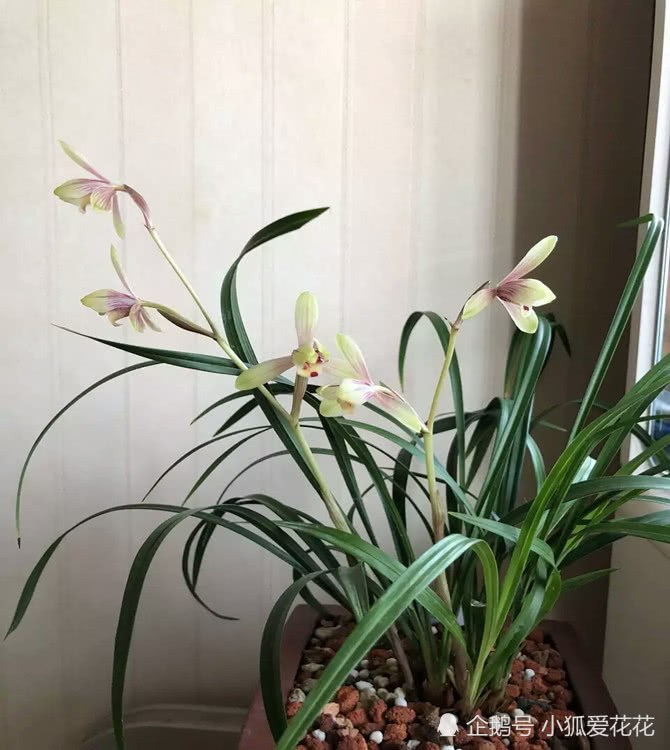
With the progress and development of the times, many people have begun to focus on growing flowers to improve their quality of life, especially orchids. When they bloom, their fragrance is sweet and striking, and their colors are extremely beautiful, so flower lovers especially like to place them on their own balconies to enjoy.
However, in the process of growing orchids, the phenomenon of "hollow roots" often occurs, which makes flower lovers very anxious. This phenomenon in orchids is mainly caused by improper care. If orchids are to grow healthily, some incorrect care methods need to be corrected. After using the following 4 tips, "hollow roots" will no longer occur, and when the flowers bloom, there will be waves of delicate fragrance.
Tip 1: Put an end to "half watering"
Everyone knows that when watering, you need to water thoroughly. If you only water the upper half of the potting soil and the lower half does not get soaked, then "half watering" is formed. This watering method will cause the orchid roots to be unable to absorb enough water, the leaves will begin to wither, it will also be difficult for the flowers to bloom, and hollow roots are inevitable.
Therefore, in order to avoid these phenomena during the growth of orchids, you need to follow the method of "water when dry, and water thoroughly when watering." If you do not know whether the potting soil has been watered thoroughly, you can poke a small wooden stick toward the bottom of the pot several times. If each time you take it out, some moist soil sticks to the stick, it means it has been watered thoroughly. But note that you must not damage the roots. Poke gently, then take it out gently.
Tip 2: Put an end to "compacted soil"
If the surface layer of the potting soil lacks organic matter, or its structure is poor, and the soil feels very hard to the touch, then the soil is compacted. Once the potting soil is compacted, water does not easily flow to the orchid's root system when watering, and the orchid will become short of water, and it will also lack air permeability.
Therefore, in order to avoid this phenomenon, you need to choose loose and breathable nutrient soil. The nutrient soil can be mixed yourself by combining 1 part each of garden soil, coconut coir soil, and perlite and stirring them evenly together.
The stirring tool can be a wooden spatula or an iron shovel. Before use, it needs to be soaked in alcohol for three minutes, then taken out and dried. Wait until it is dry, then use it for stirring. If the 3 kinds of soil are mixed evenly, pile them in a sunny place and expose them to the sun for 3 days, and it is ready.
Tip 3: Put an end to "too few nutrients"
If an orchid cannot absorb enough nutrients during growth, conditions such as failure to bloom, withered leaves, and hollow roots will occur. In order for the orchid to absorb nutrients better and grow, you need to apply some fertilizer to supplement nutrients. The fertilizer can be a nutrient solution specially made for orchids, used once every 9 days, with 1 drop each time.
Tip 4: Put an end to "heavy exposure to the sun"
If an orchid is exposed to strong sunlight and the potting soil is not sufficiently moist, the leaves will be scorched, and the roots will remain dry for a long time, which will also form hollow roots and affect the growth of the orchid.
Therefore, when the sun is strong, move the potted orchid indoors to escape the heat, or use a shade cloth to cover it, so as to prevent the soil from being scorched by the fierce sun and becoming too dry.
The above are the methods to avoid "hollow roots" in orchids. As long as you care for orchids according to these methods, there will basically be no problem.